Calling all peanut butter fanatics! Are you ready for a pie that represents the absolute pinnacle of peanut butter perfection? A dessert that’s unbelievably light, impossibly creamy, and packed with the most intense, dreamy peanut butter flavor imaginable? This incredible, no-bake Easy Peanut Butter Pie is the simple, show-stopping dessert you’ve been searching for.
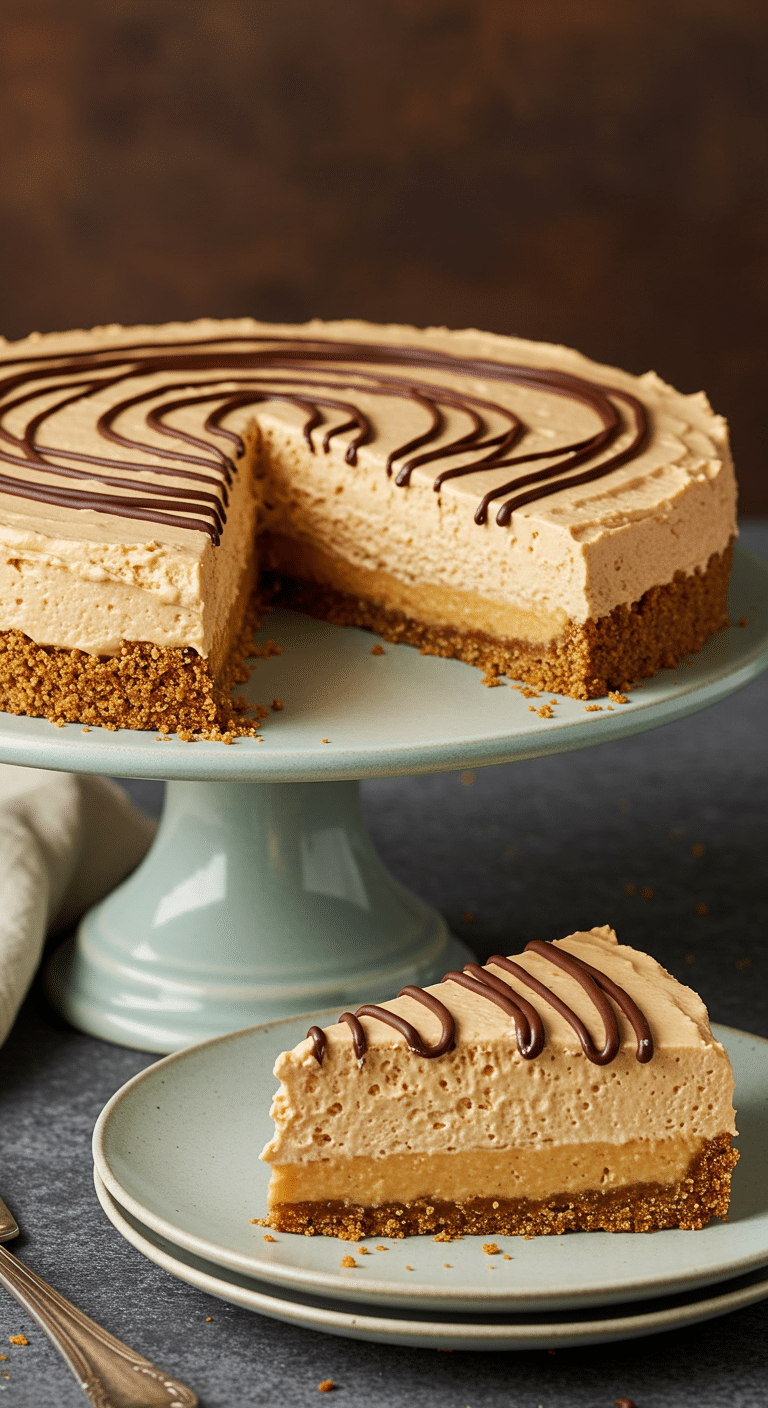
This isn’t your average dense, heavy peanut butter pie. This is a light, airy, and utterly luxurious peanut butter mousse, nestled in a crunchy graham cracker crust. We’ll show you the simple secret to creating this cloud-like texture using a rich peanut butter “ganache” that gets folded into fresh, fluffy whipped cream. It’s a decadent, no-bake masterpiece that is guaranteed to be a hit with every peanut butter lover in your life.
Table of Contents
Table of Contents
Recipe Overview: The Ultimate No-Bake Treat
What makes this Easy Peanut Butter Pie so spectacular is its incredible texture and deep, authentic peanut butter flavor, all achieved with a surprisingly simple no-bake method. This is a true “mix-and-chill” dessert that comes together with minimal effort. The long chill time is the final, magical step, allowing the mousse filling to set up into a perfectly light, airy, and sliceable pie. It’s the perfect make-ahead dessert for parties, holidays, or any time you need a truly impressive treat.
| Metric | Time / Level |
| Total Time | 6 hours 20 minutes (includes chilling) |
| Active Prep Time | 20 minutes |
| Difficulty Level | Easy |
| Servings | 8-10 |
The Essential Ingredients for the Dreamiest Pie
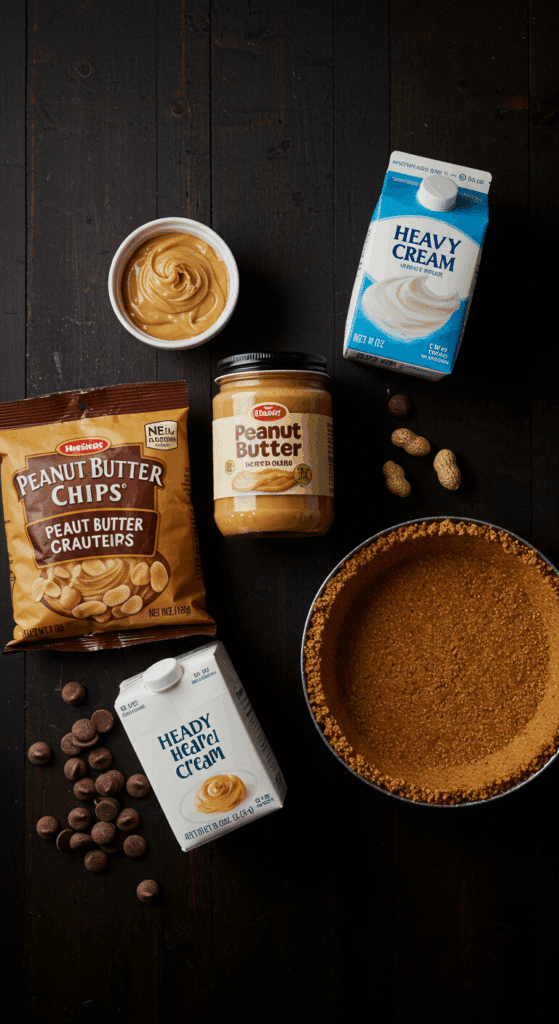
This recipe uses a handful of simple, high-impact ingredients to create its signature light texture and intense peanut butter flavor.
- The Peanut Butter Power Duo: We use two forms of peanut butter for the ultimate flavor and texture.
- Peanut Butter Chips: These are the structural backbone of our filling. When melted down with hot cream, they create a stable, sweet, and firm base with a texture similar to a white chocolate ganache.
- Smooth Peanut butter: We add a couple of ounces of regular, smooth peanut butter (like Jif or Skippy) for that pure, intense, and slightly salty peanut butter flavor that everyone knows and love.
- Heavy Whipping Cream: This ingredient is the key to the pie’s light, mousse-like texture, and it’s used in two crucial ways.
- Part 1 (Hot Cream): A portion of the cream is heated and used to perfectly melt the peanut butter chips and peanut butter into a smooth, luscious ganache.
- Part 2 (Whipped Cream): The rest of the cream is whipped to stiff peaks to create a light, airy base. The peanut butter ganache is then folded into this, transforming it from a dense mixture into a dreamy mousse.
- Prepared Graham Cracker Crust: The ultimate convenience for a no-bake dessert! A store-bought graham cracker crust provides a buttery, crunchy, and perfect base. For a next-level treat, try using a store-bought or homemade chocolate cookie crust!
- Chocolate Syrup: A simple drizzle of chocolate syrup is the perfect finishing touch. The classic combination of chocolate and peanut butter is a match made in heaven.

Step-by-Step to the Perfect Peanut Butter Pie
Follow these simple, detailed steps to create this stunning and delicious no-bake dessert.
Step 1: Create the Smooth Peanut Butter Ganache
First, in a small saucepan, heat 1 cup of the heavy whipping cream over medium heat. Bring it to a gentle simmer, watching for small bubbles to form around the edges. You want it to be very hot, but not at a full, rolling boil.
While the cream is heating, place the 10-ounce package of peanut butter chips, the 2 ounces of smooth peanut butter, and the 2 teaspoons of vanilla extract into the bowl of a food processor.
Once the cream is hot, turn the food processor on. With the processor running, slowly drizzle the hot cream down the pouring chute. Continue to process until the mixture is completely smooth, glossy, and emulsified. Scrape down the sides of the bowl as needed.
Pour the peanut butter mixture into a large bowl and set it aside to cool to room temperature. This is a crucial step!
Pro Tip: If you don’t have a food processor, you can do this step in a heatproof bowl. Pour the hot cream over the peanut butter chips and peanut butter and let it sit for 5 minutes. Then, add the vanilla and whisk vigorously until completely smooth.
Step 2: Whip the Cream to Stiff Peaks
While the peanut butter mixture is cooling, you can whip the rest of the cream. In a large, chilled bowl, pour the remaining 2 cups of cold heavy whipping cream.
Using an electric hand mixer or a stand mixer, begin to beat the cream on medium-high speed until it starts to thicken and form soft mounds (soft peaks).
Slowly add the 1/4 cup of white sugar while continuing to beat. Continue to beat until the cream is thick and forms stiff peaks. This means that when you lift the beaters out of the cream, the peak that forms will stand up straight and not curl over.
Step 3: Fold to Create the Peanut Butter Mousse
This is where the magic happens! Check to make sure your peanut butter mixture has cooled to room temperature.
Crucial Pro Tip: Do not attempt this step if the peanut butter mixture is still warm! A warm mixture will instantly melt and deflate your beautiful, airy whipped cream.
Gently transfer the cooled peanut butter mixture into the large bowl with the stiffly whipped cream. Using a rubber spatula, gently fold the two mixtures together. The recipe notes to leave some white streaks for a beautiful marbled effect. Do not overmix and deflate the air from the whipped cream.
Step 4: Assemble, Chill, and Serve
Carefully pour the light and fluffy peanut butter mousse mixture into the prepared graham cracker crust. Use your spatula to spread it evenly and create a beautiful, swirled top.
Cover the pie loosely with plastic wrap and place it in the refrigerator to chill for at least 6 hours, or preferably overnight. This long, uninterrupted chilling time is essential for the mousse to set up properly so that you can get clean, beautiful slices.
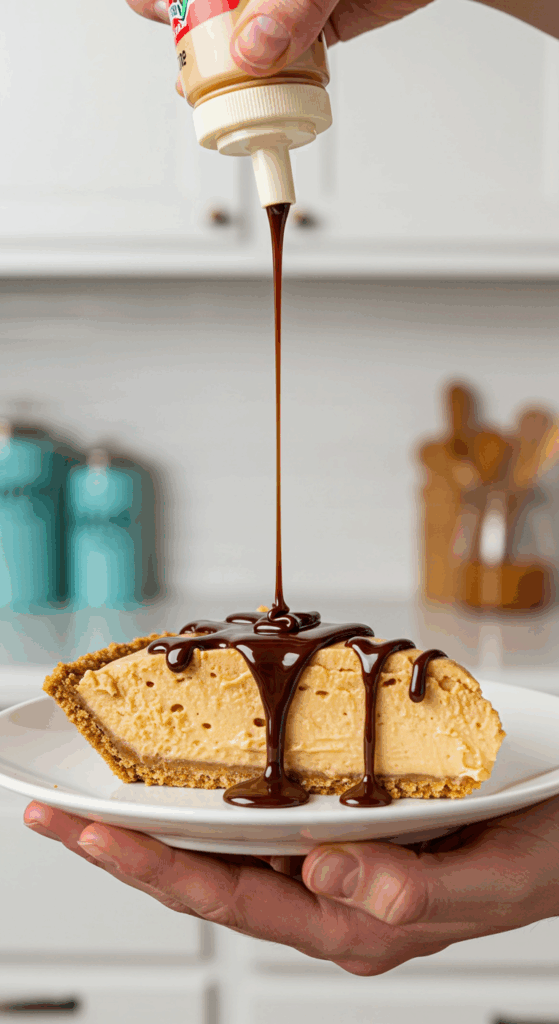
When you are ready to serve, you can drizzle the entire pie with chocolate syrup, or drizzle it over each individual slice.

The Best Dreamy & Easy No-Bake Peanut Butter Pie
An easy, no-bake recipe for a rich and creamy peanut butter pie. The filling is created by melting peanut butter chips and smooth peanut butter into hot heavy cream to make a smooth base. This mixture is then cooled and gently folded into a homemade sweetened whipped cream, creating a marbled effect. The light, airy filling is poured into a pre-made graham cracker crust and chilled for at least six hours until firm. Each slice is served with a drizzle of chocolate syrup.
- Prep Time: 20 minutes
- Cook Time: 5 minutes
- Total Time: 6 hours 55 minutes (includes cooling and chilling time)
- Yield: 8 servings
- Category: Dessert
- Method: No-Bake, Mixing, Chilling
- Cuisine: American
- Diet: Vegetarian
Ingredients
- 1 (9 inch) prepared graham cracker crust
- 3 cups heavy whipping cream, divided
- 1 (10 ounce) package peanut butter chips
- 2 ounces smooth peanut butter
- 2 teaspoons vanilla extract
- ¼ cup white sugar
- ½ cup chocolate syrup, for serving
Instructions
- Place 1 cup of the heavy cream in a small saucepan and heat it until just below the boiling point.
- While the cream is heating, place the peanut butter chips, smooth peanut butter, and vanilla extract in a food processor.
- With the food processor running, slowly drizzle the hot cream through the pouring chute. Process until the mixture is completely smooth. Set this peanut butter base aside to cool to room temperature.
- In a large, chilled bowl, whip the remaining 2 cups of heavy cream with an electric mixer until soft mounds form.
- Slowly add the sugar while continuing to beat until the cream forms stiff peaks.
- Gently fold the cooled peanut butter mixture into the whipped cream. Do not fully incorporate it; leave some white streaks for a marbled appearance.
- Pour the filling into the prepared graham cracker crust and spread evenly.
- Chill the pie in the refrigerator for at least 6 hours, or until firm.
- To serve, drizzle each plate with chocolate syrup before placing a slice of the pie on top.
Notes
- This is a no-bake recipe that uses a prepared crust for convenience.
- Using a food processor is key to achieving a completely smooth peanut butter base.
- It is important to let the hot peanut butter and cream mixture cool completely before folding it into the whipped cream to prevent the cream from deflating.
- The pie requires a long chilling time of at least 6 hours to set properly.
Storage and Make-Ahead Tips
This Easy Peanut Butter Pie is the absolute perfect make-ahead dessert, as it needs a long time to chill and set.
- Make-Ahead: This pie is best when made a full day in advance. This gives it plenty of time to firm up in the refrigerator, ensuring beautiful, clean slices.
- Storage: Store any leftover pie, covered, in the refrigerator. It will stay fresh and delicious for up to 5 days.
- Freezing: This pie also freezes beautifully! You can freeze the whole pie or individual slices. Wrap it tightly in a double layer of plastic wrap and then a layer of aluminum foil. It can be frozen for up to 2 months. You can serve it directly from the freezer for a firmer, more ice-cream-like texture, or let it thaw in the refrigerator for a few hours.
For more recipe follow my Pinterest account
Creative Recipe Variations
This simple and delicious pie is a fantastic canvas for the ultimate peanut butter creation.
- Ultimate Chocolate Peanut Butter Pie: The easiest way to up the chocolate flavor is to use a store-bought or homemade chocolate Oreo cookie crust instead of the graham cracker crust. You can also top the pie with chopped peanut butter cups or chocolate shavings.
- Sweet and Salty Pretzel Crust: For an incredible flavor contrast, make a simple pretzel crust. Just combine 1 1/2 cups of finely crushed pretzels with 1/3 cup of sugar and 6 tablespoons of melted butter. Press this mixture into a pie plate and chill until firm before filling.
- Chunky Peanut Butter Lover’s Version: If you love a bit of texture, use chunky peanut butter instead of smooth. You can also fold in 1/2 cup of chopped, salted, roasted peanuts into the mousse filling at the very end for an extra crunchy, salty bite.
Enjoy Your Dreamy Peanut Butter Creation!
You’ve just created a truly spectacular dessert that is a peanut butter lover’s dream come true. This Easy Peanut Butter Pie is light, airy, intensely flavorful, and incredibly simple to prepare. It’s the perfect, impressive no-bake dessert for any party, holiday, or special occasion.
We hope you and your loved ones enjoy every last, cloud-like bite!
If you enjoyed making this recipe, please leave a comment below or share it with a friend who is a true peanut butter aficionado!
Frequently Asked Questions (FAQs)
Q1: Why did my peanut butter pie not set up properly?
The two most common reasons for a soft or runny pie are not letting the peanut butter ganache cool completely before folding it into the whipped cream, or not chilling the finished pie for long enough. The ganache must be at room temperature, and the finished pie truly needs at least 6 full hours in the refrigerator to firm up and become sliceable.
Q2: Can I make this pie without a food processor?
Yes, you can. To make the peanut butter ganache without a food processor, place the peanut butter chips and peanut butter in a medium, heatproof bowl. Heat the cream as directed, then pour the hot cream over the chips. Let the mixture sit, undisturbed, for 5 minutes to allow the chips to soften and melt. Then, add the vanilla and whisk vigorously and continuously until the mixture is completely smooth and emulsified.
Q3: Can I use natural peanut butter in this recipe?
It is recommended to use a conventional, processed smooth peanut butter (like Jif or Skippy) for this recipe. Natural peanut butters have a tendency to separate, and their grittier texture can result in a filling that is not as smooth and may become oily.
Q4: Can I use Cool Whip or another frozen whipped topping instead of real whipped cream?
You can, but the flavor and texture will be significantly different. The beauty of this pie is its light, airy texture and fresh, dairy flavor that comes from making your own real whipped cream. If you do use a frozen whipped topping, you will need one 12-ounce container, and you can skip the step of whipping the cream and sugar yourself.
Q5: How do I get clean, beautiful slices of my pie?
The key to clean slices is a thoroughly chilled pie and a hot knife. Make sure the pie has chilled for at least 6 hours, or even overnight. To slice, use a long, sharp knife. Run the blade of the knife under hot running water for a few seconds, then quickly wipe it dry with a towel. The hot blade will glide through the cool, creamy pie filling, creating a perfect, clean slice. Repeat this process for each cut

