Are you ready to master one of the most beloved, iconic, and downright delicious Italian-American dishes of all time? We’re talking about a true, restaurant-quality Chicken Parmesan, featuring a perfectly crispy, golden-brown chicken cutlet that actually stays crispy under a blanket of rich tomato sauce and a trio of gooey, bubbly, perfectly melted cheeses.
This isn’t just another recipe; it’s your foolproof guide to avoiding the number one pitfall of homemade chicken parm: a soggy crust. We will walk you through the simple, crucial techniques—from perfectly pounding the chicken to the art of the three-stage breading and a quick pan-fry—that guarantee a spectacular result. Get ready to create a legendary Chicken Parmesan that will have your family and friends cheering.
Table of Contents
Table of Contents
Recipe Overview: A Restaurant Classic, Perfected at Home
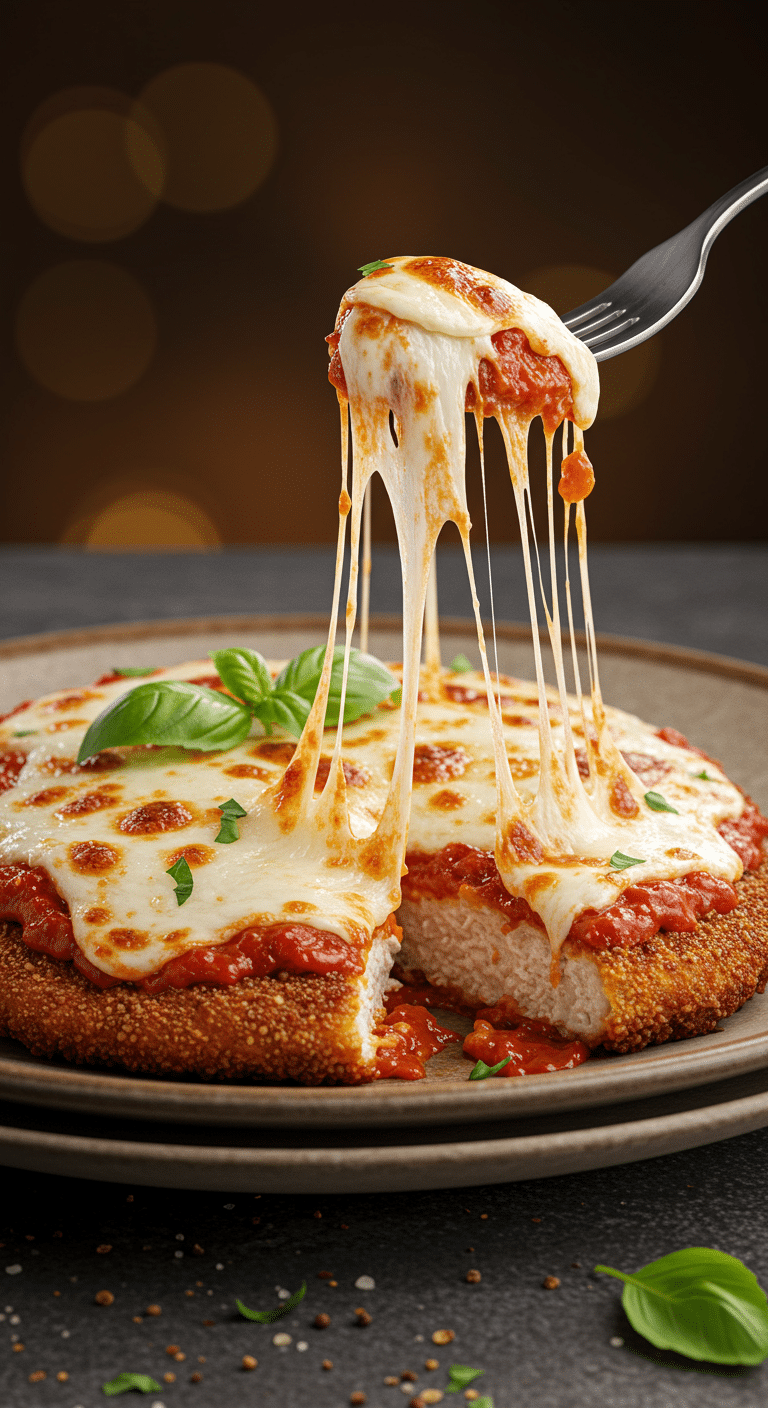
What makes this Chicken Parmesan recipe the ultimate version is its unwavering focus on texture and flavor. The secret lies in creating an ultra-crispy chicken cutlet that serves as a sturdy, delicious base for the toppings. By pan-frying the chicken first and then only topping it with a modest amount of sauce before a final, quick bake, we ensure the crust stays delightfully crunchy. The three-cheese blend of mozzarella, provolone, and Parmesan creates the perfect, flavorful, and melty “cheese pull” experience.
| Metric | Time / Level |
| Total Time | 45 minutes |
| Active Prep Time | 25 minutes |
| Difficulty Level | Intermediate |
| Servings | 4 |
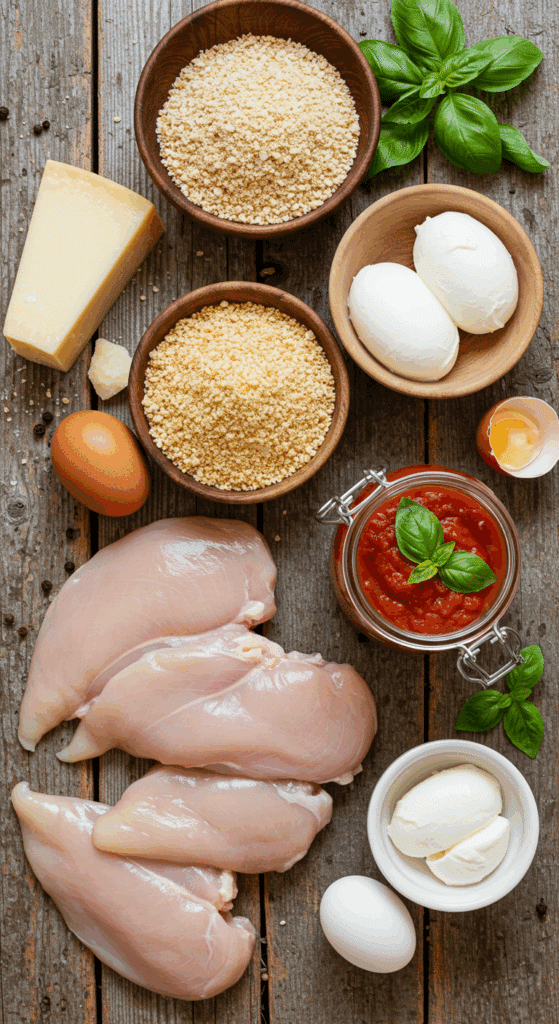
The Essential Ingredients for a Perfect “Chicken Parm”
This recipe uses a handful of classic, high-impact ingredients to create its iconic flavor and texture.
- The Chicken (Boneless, Skinless Chicken Breasts): The foundation of our dish. The most crucial step is pounding the chicken to an even 1/2-inch thickness. This ensures the chicken cooks quickly and evenly, preventing it from drying out before the crust becomes perfectly golden brown and crispy.
- The Crispy Breading: This is the secret to a perfect, crunchy crust.
- The Three-Stage Setup: We use the classic, foolproof method of dredging in flour, dipping in egg, and then coating in breadcrumbs.
- Panko Breadcrumbs: For a superior, extra-crispy and airy texture, we use Japanese-style panko breadcrumbs. They absorb less oil than regular breadcrumbs, resulting in a lighter, crunchier crust.
- Parmesan Cheese: We mix freshly grated Parmesan directly into the breadcrumbs. This not only adds a wonderful, salty, and nutty flavor to the crust itself but also helps it to become even more golden and crispy in the pan.
- The Three-Cheese Topping: This trio of cheeses creates the ultimate melt.
- Fresh Mozzarella: Provides that classic, milky, creamy, and gloriously stretchy cheese pull.
- Provolone Cheese: Adds a slightly sharper, saltier flavor that beautifully complements the other cheeses.
- Parmesan Cheese: A final sprinkle on top adds a final, nutty, savory kick.
- Prepared Tomato Sauce: A high-quality store-bought marinara sauce is a fantastic and convenient shortcut that makes this impressive dish achievable on a weeknight.

Step-by-Step to the Best Chicken Parmesan
Follow these detailed steps to create a truly perfect, classic, and comforting meal.
Step 1: Pound and Season the Chicken Cutlets
First, preheat your oven to a hot 450°F (230°C).
Place the chicken breasts between two sheets of heavy plastic or parchment paper on a sturdy cutting board. Using the smooth side of a meat mallet or a heavy skillet, firmly pound the chicken breasts until they are an even 1/2-inch thickness all over.
Season the pounded chicken cutlets generously on both sides with salt and freshly ground black pepper.
Step 2: Set Up Your Breading Station
To make the breading process clean and efficient, set up three shallow dishes or pie plates in a row.
- Dish 1: Add the all-purpose flour.
- Dish 2: In the second dish, beat the two large eggs.
- Dish 3: In the third dish, combine the 1 cup of panko bread crumbs and the 1/2 cup of grated Parmesan cheese.
Step 3: Bread the Chicken to Perfection
Working with one chicken cutlet at a time, follow this three-step process:
- Flour First: Dredge a seasoned chicken breast in the flour, making sure it is completely coated, then shake off any excess. This dry layer helps the egg wash to stick.
- Egg Next: Dip the flour-coated chicken breast into the beaten eggs, letting any excess drip off.
- Crumbs Last: Press the egg-dipped breast firmly into the panko and Parmesan mixture, coating both sides completely.
Place the breaded chicken cutlets on a plate or a wire rack and let them rest for 10 to 15 minutes. This simple resting step helps the coating to dry out slightly and adhere to the chicken, which results in an even crispier crust.
Step 4: Pan-Fry for a Golden, Crispy Crust
In a large skillet, heat about 1/2 inch of olive oil over medium-high heat until it begins to shimmer.
Carefully place the breaded chicken cutlets in the hot oil. Cook for about 2 minutes per side, until the crust is a beautiful, deep golden brown and very crispy. You will likely need to do this in two batches to avoid overcrowding the pan.
Pro Tip: You are not trying to cook the chicken all the way through at this stage. The goal here is to create that perfect, crispy crust. The chicken will finish cooking through in the hot oven.
Step 5: Assemble and Bake
Transfer the golden, crispy chicken cutlets to a baking dish in a single layer.
To keep the bottom crust crispy, spoon the tomato sauce only on the top of each chicken breast (about 2 tablespoons per piece). Do not place the chicken in a pool of sauce.
Layer each chicken breast with equal amounts of the cubed fresh mozzarella cheese, the fresh basil, and the grated provolone cheese. Sprinkle the remaining Parmesan cheese over the top of everything and give each piece a final, light drizzle of olive oil.
Bake in the preheated oven for 15 to 20 minutes. The chicken is done when the cheese is melted, bubbly, and beautifully browned in spots, and the chicken is cooked through. The most reliable way to check for doneness is with an instant-read thermometer, which should read at least 165°F (74°C).

The Best Crispy & Easy Classic Chicken Parmesan
A classic Italian-American recipe for Chicken Parmesan. Boneless, skinless chicken breasts are pounded to an even thickness, then coated in a three-step breading of flour, beaten eggs, and a mixture of panko breadcrumbs and Parmesan cheese. The chicken is pan-fried in olive oil until golden and crisp, then transferred to a baking dish. Each breast is topped with tomato sauce, fresh mozzarella, provolone, and more Parmesan, then baked until the cheese is browned and bubbly and the chicken is cooked through.
- Prep Time: 35 minutes (includes resting time)
- Cook Time: 25 minutes
- Total Time: 1 hour
- Yield: 4 servings
- Category: Main Course
- Method: Pan-Frying, Baking
- Cuisine: Italian-American
Ingredients
- 4 skinless, boneless chicken breast halves
- Salt and freshly ground black pepper to taste
- 2 large eggs
- 1 cup panko bread crumbs
- ¾ cup grated Parmesan cheese, divided
- 2 tablespoons all-purpose flour
- ½ cup olive oil, for frying
- ½ cup prepared tomato sauce
- ¼ cup fresh mozzarella, cut into small cubes
- ¼ cup chopped fresh basil
- ½ cup grated provolone cheese
- 2 teaspoons olive oil
Instructions
- Preheat the oven to 450°F (230°C).
- Place the chicken breasts between two sheets of heavy plastic and use a meat mallet to pound them to a uniform thickness of 1/2-inch. Season the chicken thoroughly with salt and pepper.
- Lightly coat both sides of each chicken breast with flour.
- In a shallow bowl, beat the eggs. In a separate shallow bowl, mix the panko bread crumbs with 1/2 cup of the Parmesan cheese.
- Dip a flour-coated chicken breast in the beaten eggs, then press it into the bread crumb mixture to coat both sides. Repeat for all breasts and let them rest on a plate for 10 to 15 minutes.
- Heat about 1/2 inch of olive oil in a large skillet over medium-high heat. When the oil is shimmering, cook the chicken for about 2 minutes per side until golden brown. The chicken will finish cooking in the oven.
- Transfer the browned chicken to a baking dish. Top each breast with about 2 tablespoons of tomato sauce.
- Layer each chicken breast with equal amounts of mozzarella cheese, fresh basil, and provolone cheese.
- Sprinkle the remaining Parmesan cheese over the top and drizzle each with 1/2 teaspoon of olive oil.
- Bake in the preheated oven for 15 to 20 minutes, until the cheese is browned and bubbly and an instant-read thermometer inserted into the center of the chicken reads at least 165°F (74°C).
- Serve immediately.
Notes
- Pounding the chicken to an even thickness is a crucial step to ensure it cooks evenly and quickly.
- Letting the breaded chicken rest for 10-15 minutes helps the coating adhere better during frying.
- The chicken is pan-fried first to create a crispy crust, then finished in the oven to cook through and melt the cheese.
- Using panko breadcrumbs results in a lighter, crispier coating than traditional breadcrumbs.
Serving Your Classic Chicken Parmesan
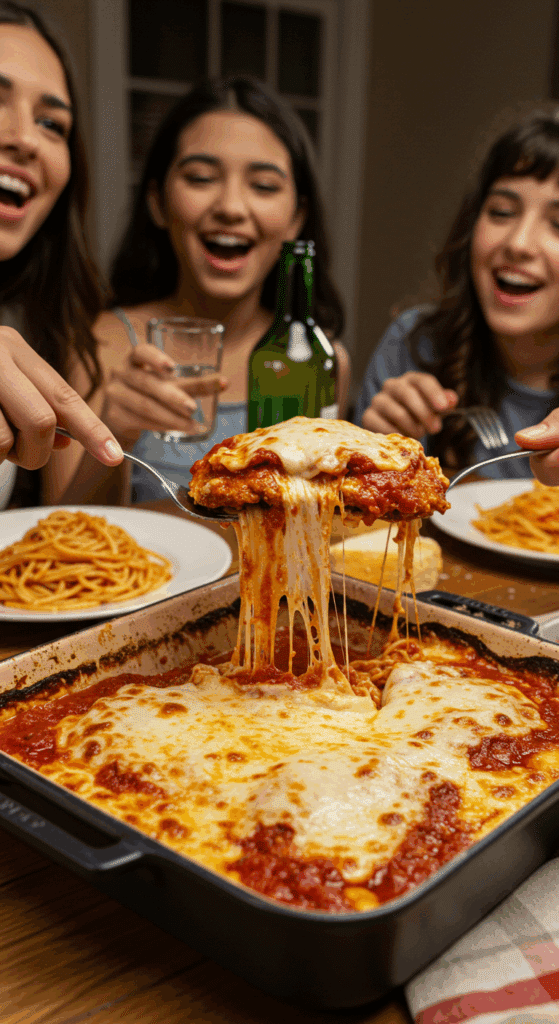
This beautiful, cheesy, and crispy Chicken Parmesan is a showstopper. For a truly classic Italian-American restaurant experience, serve each chicken cutlet over a bed of your favorite pasta, like spaghetti or fettuccine, tossed with some extra warm tomato sauce. It’s also fantastic served with a side of creamy polenta or with a simple green salad and some crusty garlic bread. Garnish with a little extra fresh basil before serving.
Storage and Make-Ahead Tips
While Chicken Parmesan is at its absolute crispiest best when fresh from the oven, the leftovers are still incredibly delicious.
- Make-Ahead: You can bread the raw chicken cutlets and store them in a single layer, covered, in the refrigerator for up to a day. This makes the final frying and baking process incredibly fast for a weeknight meal.
- Storage: Store any leftovers in an airtight container in the refrigerator for up to 3 days.
- Reheating: The best way to reheat Chicken Parmesan and revive some of the crispiness is in the oven or an air fryer. Place it on a baking sheet and warm it in a 375°F oven for about 10-15 minutes, until it is hot and the cheese is bubbly again.
For more recipe follow my Pinterest account
Creative Recipe Variations
This classic recipe is a wonderful base for other “parmigiana” style dishes.
- Make it a Classic Chicken Parm Sub: This is one of the best sandwiches in the world! Simply place a finished, hot chicken cutlet into a toasted, crusty hoagie or sub roll, top with a little extra sauce and cheese if you like, and enjoy.
- Use a Different Protein: The classic “parmigiana” treatment is also fantastic with other proteins. Try it with thinly pounded veal cutlets for a traditional Veal Parmesan, or with thick, breaded slices of eggplant for a delicious and hearty Eggplant Parmesan.
- Add a Spicy Kick: If you love a bit of heat, you can add 1/2 teaspoon of crushed red pepper flakes to your tomato sauce as it warms for a delicious, spicy arrabbiata-style flavor that is wonderful with the rich cheese and chicken.
Enjoy a True Restaurant Classic at Home!
You’ve just created one of the most beloved Italian-American dishes of all time, and you’ve learned the simple secrets to making it perfectly. This Crispy Chicken Parmesan is a perfect harmony of textures and flavors, and it’s a rewarding, deeply satisfying meal that is guaranteed to impress your family and friends.
We hope you enjoy every last, crispy, cheesy, and delicious bite!
If you enjoyed making this recipe, please leave a comment below or share it with a friend who loves classic comfort food!
Frequently Asked Questions (FAQs)
Q1: What is the absolute secret to keeping my Chicken Parmesan crispy and not soggy?
There are two key secrets! First, get a really good, golden-brown crust on your chicken by pan-frying it first. Second, when you assemble the dish for baking, spoon the sauce only on top of the crispy chicken cutlet. Do not place the chicken in a pool of sauce in the bottom of the baking dish, as this will immediately make your beautiful bottom crust soggy.
Q2: What is the best kind of cheese to use?
A combination of cheeses is best for the ultimate flavor and texture. Low-moisture mozzarella (either fresh or the block kind) provides that classic, milky, stretchy “cheese pull.” Provolone adds a slightly sharper, saltier flavor. And Parmesan adds a nutty, savory depth.
Q3: Can I make this Chicken Parmesan in an air fryer?
Yes, an air fryer is a great tool for making a slightly lighter version of this dish! After you have breaded the chicken, you can spray it with cooking oil and air fry it at about 375°F for 10-12 minutes, flipping halfway, until it is golden and cooked through. Then, simply top it with the sauce and cheeses and air fry for another 2-3 minutes until the cheese is melted and bubbly.
Q4: What should I serve with Chicken Parmesan?
The most classic pairing is a side of spaghetti or another long pasta tossed in marinara sauce. It’s also wonderful with a simple side of roasted or steamed vegetables, like broccoli or green beans, and a basket of warm garlic bread for soaking up any extra sauce.
Q5: Why do I need to pound the chicken breasts?
Pounding the chicken breasts to an even 1/2-inch thickness is a crucial step for two reasons. First, it tenderizes the meat by breaking down the tough muscle fibers. Second, and more importantly, it creates an even thickness, which ensures that the entire piece of chicken cooks at the same rate. This allows you to get a perfectly golden-brown crust without the risk of the chicken being dry on the thin end and raw on the thick end.

