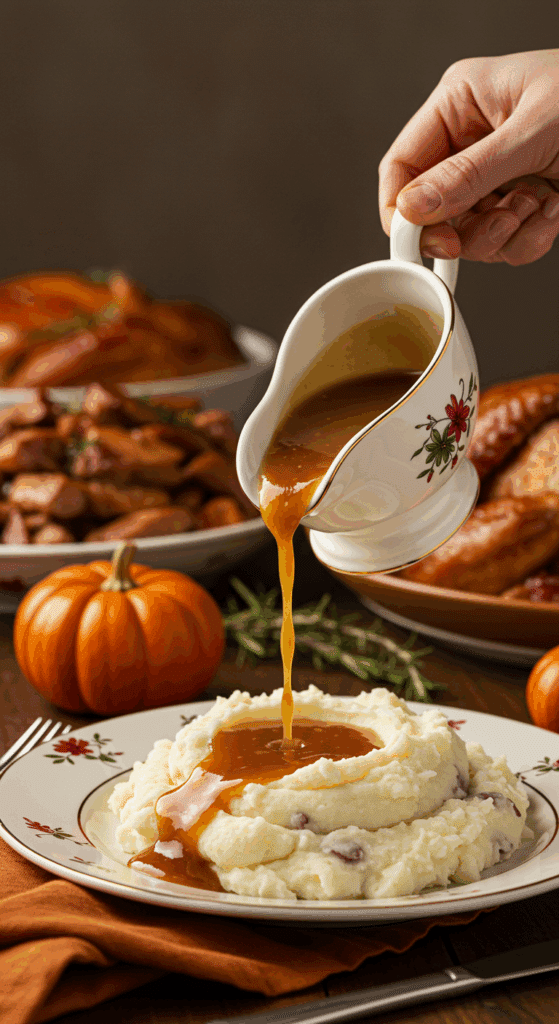
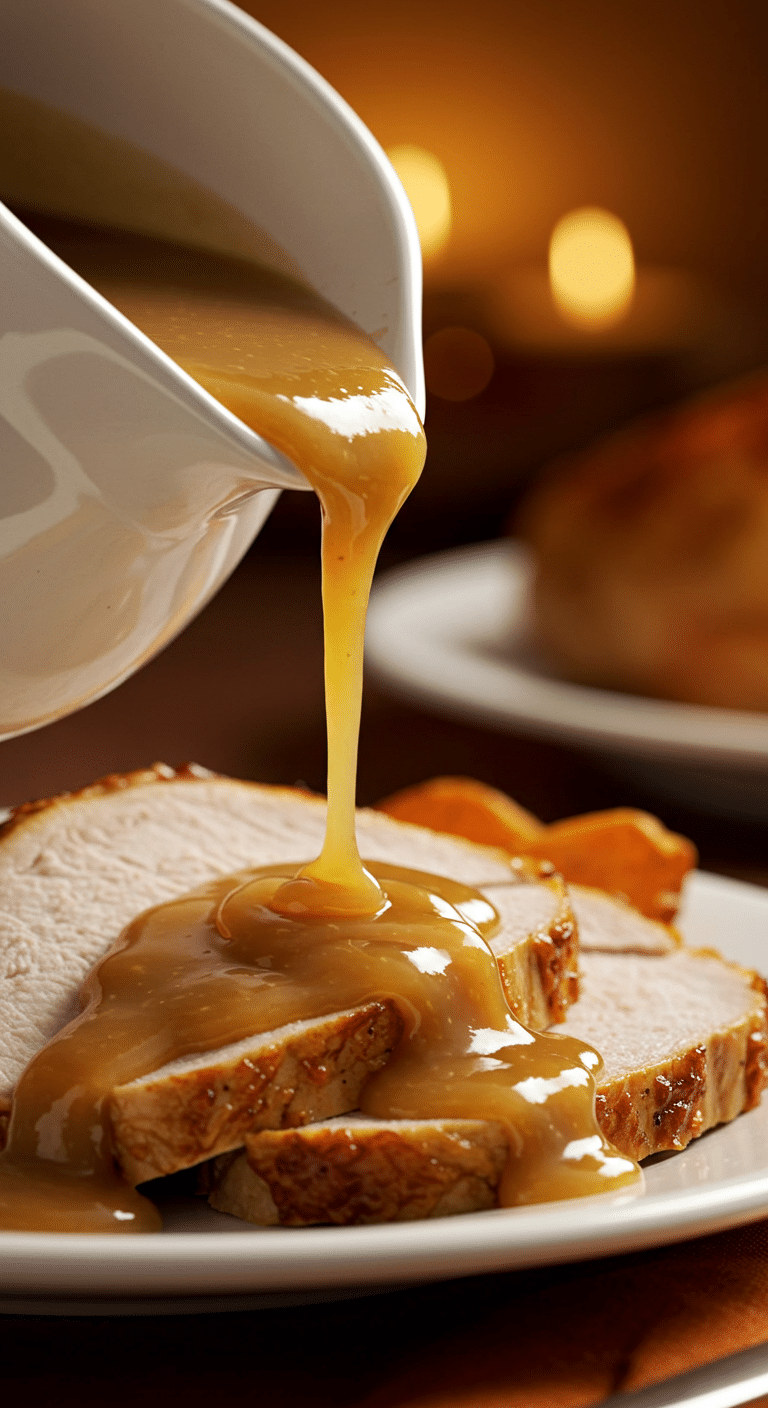
Let’s talk about the undisputed hero of the Thanksgiving table, the liquid gold that ties the entire feast together: a perfect, rich, and savory homemade gravy. A truly great gravy doesn’t just complement the meal; it elevates it, transforming every bite of turkey and mashed potatoes into a moment of pure, unadulterated comfort and joy.
This is your ultimate, in-depth guide to mastering the art and science of the best homemade gravy you’ve ever made. Forget the lumps, the bland flavor, and the last-minute stress. We’ll show you how to build incredible, layered flavor from scratch using your precious turkey drippings and a simple, homemade broth. This is the foolproof, step-by-step recipe that will make you a true gravy master.
Table of Contents
Table of Contents
Recipe Overview: The Anatomy of a Perfect Gravy
What makes this homemade gravy “the best” is its unwavering focus on building deep, complex flavor from multiple sources. This recipe is a masterclass in classic technique. We start by creating a fortified turkey broth using the neck and giblets while the main turkey roasts. Then, we capture every last drop of the flavorful pan drippings and use them to create a classic, silky-smooth, roux-thickened gravy. This two-pronged approach to flavor is the secret to a result that is profoundly savory and infinitely more delicious than any mix or jar.
| Metric | Time / Level |
| Total Time | 2 hours 30 minutes (mostly hands-off simmering) |
| Active Prep Time | 20 minutes |
| Difficulty Level | Easy |
| Servings | 8-10 (makes about 4 cups) |
The Essential Ingredients for the Best Gravy
This recipe uses simple, classic ingredients to create a truly spectacular, from-scratch result.
- The Flavor Foundation (Turkey Trimmings & Drippings):
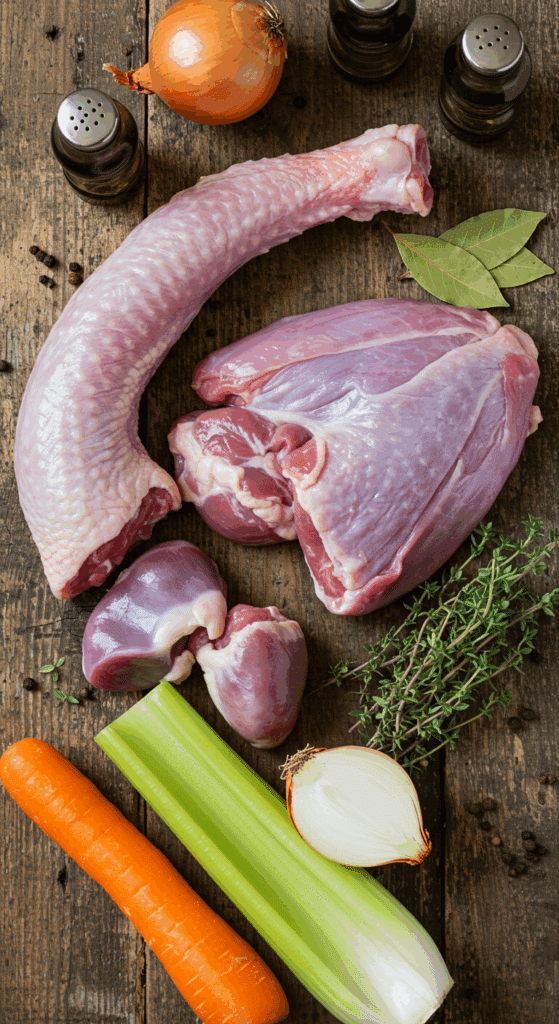
- Turkey Neck and Giblets: Do not throw these away! This packet, found inside your turkey, is a treasure trove of flavor. We simmer the neck, heart, and gizzard (be sure to discard the bitter liver!) with aromatics to create a rich, homemade turkey broth.
- The Pan Drippings: This is the “liquid gold” left in your roasting pan. It consists of two crucial components: the golden, rendered turkey fat (which we use to make our roux) and the dark, concentrated, meaty juices called the jus (which we add at the end for a massive flavor boost).
- The Roux (Reserved Fat & Flour): A simple paste made from an equal amount of reserved turkey fat and all-purpose flour is the classic, foolproof thickener for a perfectly smooth and stable gravy.
- The Broth: We use a low-sodium turkey or chicken broth as a base and then fortify it with the turkey trimmings to create a deep, homemade flavor.
- The Aromatics: A simple blend of onion or leek, along with classic poultry herbs like thyme, parsley, or sage, and a bay leaf build the aromatic foundation of our broth.

Step-by-Step to Perfect, Lump-Free Turkey Gravy
This recipe is a rewarding project that you can do right alongside your roasting turkey.
Part 1: Create the Fortified Turkey Broth
This part can be done on the stovetop while your main turkey is roasting in the oven.
Step 1: In a large saucepan, heat the 2 tablespoons of vegetable oil over medium heat. Add the sliced onion (or leek) and the turkey neck and giblets (remember to discard the liver!).
Step 2: Cook, stirring, for about 15 minutes, until the onions are soft and the giblets are nicely browned. This browning step builds a deep, savory flavor.
Step 3: Add the 8 cups of low-sodium broth, the fresh herb sprigs, and the bay leaf. Bring the mixture to a boil, then cover the pan, reduce the heat to low, and let it simmer gently for about 2 hours.
Step 4: Strain the finished broth through a fine-mesh sieve into a clean pot or a large bowl. Keep this broth warm. You can chop up the reserved giblets and neck meat to add to the finished gravy later, if you desire.
Part 2: Harvest the Pan Drippings (“Liquid Gold”)
Step 1: When your main turkey is done roasting, transfer it from the roasting pan to a cutting board to rest.
Step 2: Pour all the precious drippings from the roasting pan into a large fat separator cup or a large, clear glass measuring cup.
Step 3: Now, let’s deglaze the pan to capture all the flavor. Add a splash (about 1/2 cup) of your prepared warm broth to the hot roasting pan. Use a wooden spoon or a flat-edged spatula to scrape up all the delicious, caramelized browned bits (the “fond”) from the bottom of the pan.
Step 4: Add this incredibly flavorful liquid to the fat separator with the rest of the drippings. Let the cup sit for a few minutes. The clear, golden fat will naturally rise to the top.
Part 3: Build the Perfect Roux and Gravy
Step 1: Carefully pour or spoon off 1/2 cup of the pure, rendered turkey fat from the top of the fat separator and transfer it to a large saucepan over medium heat.
Step 2: Make the roux. Sprinkle the 1/2 cup of all-purpose flour into the hot fat in the pan. Whisk it in to incorporate it completely. Cook this roux, stirring in a figure-eight motion with a wooden spoon, for about 4 minutes, until the flour mixture browns slightly and has a nutty aroma. This step is crucial for cooking out the raw flour taste.
Step 3: Now for the secret to a lump-free gravy. While whisking constantly and vigorously, gradually ladle the hot, fortified broth into the roux mixture. Continue to whisk until all the broth is incorporated and the gravy is perfectly smooth.
Step 4: Bring the gravy to a boil, then immediately adjust the heat so the gravy simmers gently.
Step 5: Add the remaining dark, meaty turkey drippings (jus) to the gravy, leaving any extra fat behind in the fat separator. Simmer, whisking occasionally, for about 10 minutes, until the gravy has thickened to a perfect, luscious consistency that beautifully coats the back of a spoon.
Step 6: Stir in the dash of Worcestershire sauce and season the gravy with salt and pepper to your taste.

The Best Homemade Turkey Gravy (A Foolproof Guide!)
A comprehensive, from-scratch recipe for the ‘Best Gravy,’ perfect for a roasted turkey dinner. The process starts by creating a deeply flavorful stock, made by browning and simmering the turkey neck and giblets with aromatics and broth. After the turkey is roasted, the valuable pan drippings are degreased. A portion of the rendered turkey fat is then used to make a classic roux with flour, which thickens the homemade stock and dark pan juices into a rich, smooth, and savory gravy.
- Prep Time: 10 minutes
- Cook Time: 2 hours 15 minutes
- Total Time: 2 hours 25 minutes
- Yield: 10-12 servings (approx. 6 cups)
- Category: Sauce
- Method: Simmering, Making a Roux
- Cuisine: American
Ingredients
- 2 tablespoons vegetable oil
- 1 medium onion or leek, thinly sliced
- Neck and giblets from your turkey (liver discarded)
- 8 cups low-sodium turkey or chicken broth
- Several sprigs thyme, parsley, rosemary and/or sage
- 1 bay leaf
- Turkey drippings (from the roasting pan)
- 1/2 cup all-purpose flour
- Dash of Worcestershire sauce
- Kosher salt and freshly ground pepper
- Butter (optional, if more fat is needed)
Instructions
- Make the Stock: While your turkey is roasting, heat the vegetable oil in a saucepan over medium heat. Add the onion and the turkey neck and giblets. Cook, stirring, for about 15 minutes until browned.
- Add the broth, herb sprigs, and bay leaf. Cover and simmer for about 2 hours.
- Prepare the Drippings: When the turkey is done roasting and resting, pour all the pan drippings into a large fat separator cup. Strain the homemade broth you prepared; you can save the giblets for a chunky gravy if you wish.
- Place the roasting pan on the stovetop over low heat. Add a splash of the strained broth and scrape up any browned bits (fond) from the bottom of the pan with a wooden spoon. Add this liquid to the fat separator.
- Make the Gravy: Allow the fat to rise to the top of the separator cup. Spoon off 1/2 cup of the fat and transfer it to a large saucepan over medium heat. (If you don’t have enough turkey fat, supplement with butter to reach 1/2 cup).
- Create a roux by sprinkling the flour into the hot fat. Cook, stirring constantly, for about 4 minutes until the mixture browns slightly.
- Gradually ladle the hot broth into the roux, whisking constantly to prevent lumps. Bring the mixture to a boil.
- Adjust the heat so the gravy simmers gently. Pour the remaining dark roasting juices from the fat separator into the gravy, leaving any extra fat behind.
- Simmer, whisking occasionally, for about 10 minutes, until the gravy has thickened.
- Stir in a dash of Worcestershire sauce and season to taste with salt and pepper.
Notes
- This recipe creates a deeply flavorful gravy by making a separate stock with the turkey neck and giblets while the main turkey roasts.
- Using a fat separator cup is the easiest way to separate the flavorful pan juices from the excess fat.
- Scraping up the browned bits (fond) from the bottom of the roasting pan is a key step that adds immense flavor to the gravy.
- Whisking constantly while adding the broth to the roux is crucial for a smooth, lump-free gravy.
Storage and Make-Ahead Tips
Making the gravy is often the last, most stressful step of a holiday meal. The great news is that this gravy can be almost entirely made in advance!
- Make-Ahead: You can make the homemade turkey broth up to 3 days in advance and store it in the refrigerator. You can even make the entire gravy (through Part 3, Step 6, using all broth) a day or two before the big meal.
- Storing & Reheating: Store the finished gravy in an airtight container in the refrigerator for up to 5 days. Reheat it gently in a saucepan over low heat, whisking, until it is hot. On Thanksgiving Day, you can simply whisk in the final pan drippings from your turkey for that fresh-roasted flavor.
- Freezing: This gravy freezes beautifully for up to 3 months.
For more recipe follow my Pinterest account
Creative Recipe Variations
This classic gravy is a perfect base for your own delicious twists.
- Rich Mushroom Gravy: For a deep, earthy flavor, you can finely chop 8 ounces of cremini mushrooms and sauté them in the butter along with the onion and giblets at the beginning of the broth-making process.
- Cider & Sage Gravy: For a wonderful, autumnal flavor, you can deglaze your roasting pan with 1/2 cup of hard or regular apple cider instead of broth. You can also add a few fresh sage leaves to the broth as it simmers.
- Classic Creamy Giblet Gravy: If your family loves a traditional giblet gravy, simply finely chop the cooked, tender giblets (the heart and gizzard) and the neck meat after you’ve made your broth. Stir them into the finished gravy at the very end. For an extra rich finish, you can stir in a tablespoon of heavy cream.
Enjoy The Crowning Glory of Your Feast!
You’ve just created the most important and most delicious component of any classic turkey dinner. This rich, savory, and perfectly smooth homemade Turkey Gravy is a testament to the incredible flavor you can create from simple, traditional techniques. It’s the finishing touch that brings the entire meal together and will have your guests singing your praises.
We hope you enjoy this taste of a true holiday classic!
If you enjoyed making this recipe, please leave a comment below or share it with a friend who is ready to master homemade gravy!
Frequently Asked Questions (FAQs)
Q1: What is “fond” and why is it so important for making a great gravy?
The “fond” is the French culinary term for all the delicious, dark brown, caramelized bits of meat and juices that get stuck to the bottom of your roasting pan. This is not burnt stuff to be thrown away—it is pure, concentrated flavor! The process of adding a liquid (like broth or wine) to the hot pan to dissolve and scrape up these bits is called “deglazing,” and it is the number one secret to a deeply flavorful pan gravy.
Q2: What is a fat separator and is it worth buying one for the holidays?
A fat separator is a special type of measuring cup with a long, low spout that comes from the bottom of the cup. You pour your pan drippings into it, and as the fat rises to the top, the leaner, dark juices (jus) at the bottom can be easily poured out from the low spout, leaving the fat behind. It’s a very convenient tool for making gravy, but if you don’t have one, you can achieve the same result by simply letting the drippings settle in a regular glass measuring cup and then carefully spooning the clear, golden fat off the top.
Q3: My gravy tastes bland. How can I fix it?
A bland gravy usually just needs more seasoning or more depth. First, make sure you have added enough salt. It is the most important flavor enhancer. You can also add a few more dashes of Worcestershire sauce or even a splash of soy sauce for a savory, umami boost. Simmering a few sprigs of fresh thyme in the finished gravy for a few minutes can also add a lot of flavor.
Q4: Can I make a delicious gravy even if I don’t have a roasted turkey?
Yes! You can often buy turkey wings, necks, or drumsticks from your butcher. You can roast these on their own until they are deeply browned, and then use the delicious drippings from that pan to make your gravy, along with a high-quality store-bought turkey or chicken broth.
Q5: What is the absolute best way to reheat gravy?
The best way to reheat gravy is gently, in a saucepan on the stovetop over low heat. Whisk it constantly as it warms up to keep it smooth. Gravy will thicken considerably when it is chilled, so you will likely need to whisk in a splash of warm chicken broth or milk to loosen it back to its perfect consistency.

