Are you the kind of person who secretly believes that the absolute best part of any fruit crisp or crumble is the crunchy, buttery, golden-brown topping? Do you find yourself wishing there was just… more of it? If so, then this recipe is your dream come true. This incredible Crumble Lovers’ Sheet-Pan Apple Crumble is specifically designed with a massive, extra-thick layer of oat crumble over a perfect, jammy layer of tender apples.
This isn’t just a recipe; it’s a revolutionary approach to a classic comfort food. By baking the apple crumble on a sheet pan instead of in a deep dish, we create the ultimate ratio of crunchy topping to soft fruit. It’s an easy, rustic, and crowd-pleasing dessert that is perfect for a cozy fall evening, a holiday gathering, or any time you need a simple, show-stopping treat.
Table of Contents
Table of Contents
Recipe Overview: The Ultimate “Crumble Lovers'” Dessert
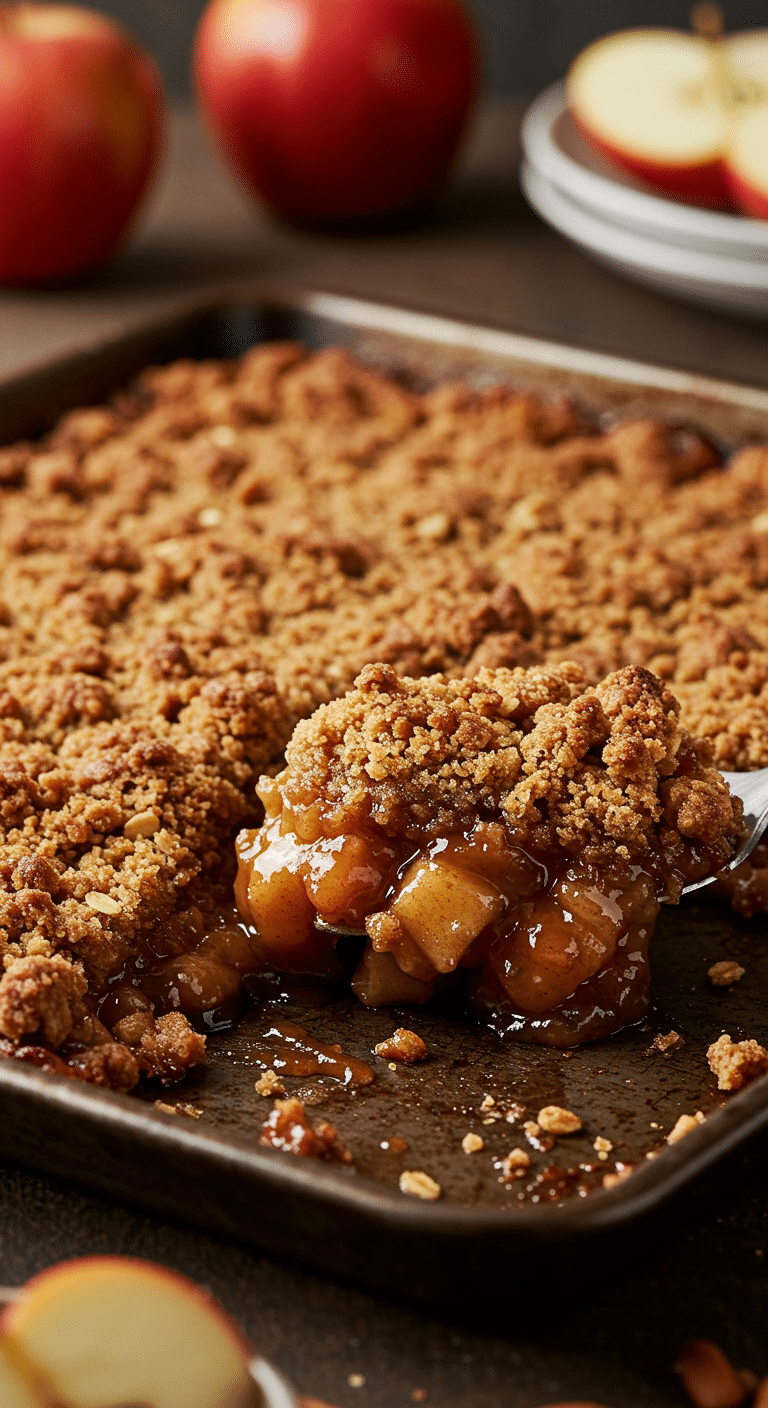
What makes this Sheet-Pan Apple Crumble so spectacular is its brilliant format and its incredible ease. The sheet pan creates a massive surface area, which means you get more of that irresistible, buttery, and crunchy oat topping in every single bite. The thin layer of apples cooks down into a perfect, jammy, and concentrated glaze, preventing the dreaded watery filling that can sometimes plague deep-dish crisps. It’s a foolproof, one-pan method for the most satisfying apple crumble you’ve ever had.
| Metric | Time / Level |
| Total Time | 50 minutes |
| Active Prep Time | 15 minutes |
| Difficulty Level | Easy |
| Servings | 8-10 |
The Essential Ingredients for the Best Crumble
This recipe uses a handful of simple, classic ingredients to let the beautiful seasonal fruit shine.
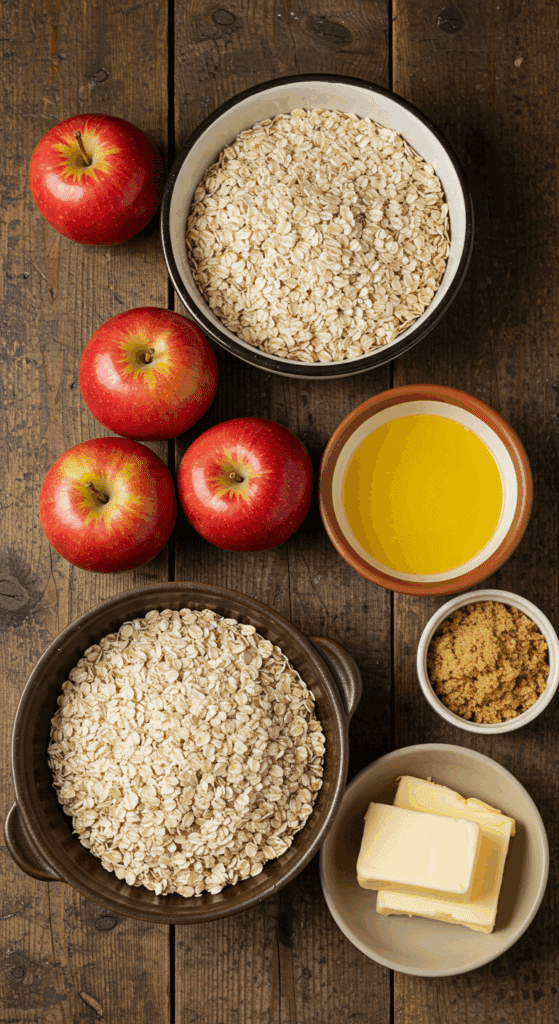
- The Apples: The sweet and tender heart of our crumble. For the best result, you want to use a firm, crisp baking apple that will hold its shape during baking and not turn to mush.
- Best Varieties: The recipe suggests Gala or Fuji apples, which are fantastic, sweet, and firm choices. Other great options include Honeycrisp, Braeburn, or Jonagold.
- The “Crumble Lovers'” Topping: This is what provides the signature, buttery crunch, and we use a lot of it!
- Old-Fashioned Rolled Oats: This is the key to a classic “crisp” or “crumble” texture. Old-fashioned oats provide a wonderful, hearty, chewy, and crispy texture.
- Melted Butter: Using melted butter is a brilliant shortcut for an easy, no-fuss topping. It creates a wonderfully clumpy, crunchy, and almost granola-like texture that is absolutely irresistible.
- Flour & Brown Sugar: All-purpose flour provides structure, while packed light brown sugar lends a deep, caramel-like sweetness that is the perfect complement to the tart apples and warm spices.
- The Flavorings (Lemon & Spices):
- Fresh Lemon Juice: A squeeze of fresh lemon juice not only adds a bright, tart flavor that balances the sweetness but also prevents the apples from browning as you prepare them.
- Ground Cinnamon: The classic, warm, and aromatic spice that is the absolute perfect pairing with baked apples.

Step-by-Step to the Perfect Sheet-Pan Crumble
Follow these simple, detailed steps to create this rustic and deeply satisfying dessert.
Step 1: Par-Bake the Apples
First, position a rack in the center of your oven and preheat it to 425°F (220°C).
Peel, core, and cut your 7 medium baking apples into 1/4-inch-thick slices. Place the apple slices on a large, 18×13-inch rimmed baking sheet.
Add the 1 tablespoon of fresh lemon juice, 1/4 cup of the packed light brown sugar, 2 tablespoons of the melted butter, 1 teaspoon of the cinnamon, and 1/8 teaspoon of salt to the pan with the apples. Toss everything together with your hands or a large spatula until the apple slices are evenly and thoroughly coated.
Spread the apples evenly on the pan in a single layer. Cover the pan tightly with aluminum foil.
Bake for about 20 minutes, until the apples have softened and have released some of their delicious liquid.
Part 2: Make the “Crumble Lovers'” Topping
While the apples are in their initial bake, you can prepare the easy, stir-together topping.
In a large bowl, combine the 2 cups of old-fashioned rolled oats, the 1 1/2 cups of all-purpose flour, the remaining 1 1/4 cups of packed light brown sugar, the 1 teaspoon of cinnamon, and the 1 teaspoon of salt. Use a fork to break up any lumps and mix the dry ingredients together.
Add the remaining melted butter to the oat mixture. Stir with a fork until all the dry ingredients are moistened and a wonderful, crumbly texture has formed.
Part 3: Assemble and Bake to Crispy, Golden Perfection
Carefully remove the hot sheet pan of apples from the oven. Uncover the pan.
Generously and evenly scatter the prepared oat crumble mixture over the top of the par-baked apples.
Return the uncovered sheet pan to the oven and bake until the topping is a beautiful, deep golden brown and crispy, and the juices from the apples are thick and bubbly around the edges. This should take about 15 more minutes.
Let the crumble cool on the pan for at least 10-15 minutes before serving. This important resting period allows the hot, jammy filling to cool down and set up slightly.

The Best Crispy & Easy Sheet-Pan Apple Crumble
A large-batch apple crumble made on a sheet pan, perfect for a crowd and for those who love a generous amount of topping. This recipe features a layer of thinly sliced baking apples tossed with lemon juice, brown sugar, and cinnamon, which are par-baked until they soften. The apples are then covered with a hearty, crumbly topping made from old-fashioned rolled oats, flour, and brown sugar. The crumble is baked uncovered until the top is crisp and golden brown and the fruit juices are bubbly.
- Prep Time: 25 minutes
- Cook Time: 35 minutes
- Total Time: 1 hour
- Yield: 8-12 servings
- Category: Dessert
- Method: Baking
- Cuisine: American
- Diet: Vegetarian
Ingredients
- 7 medium baking apples, such as Gala or Fuji (about 3 pounds)
- 1 tablespoon fresh lemon juice
- 1 1/2 cups packed light brown sugar
- 2 sticks (16 tablespoons) unsalted butter, melted
- 2 teaspoons ground cinnamon
- Kosher salt
- 2 cups old-fashioned rolled oats
- 1 1/2 cups all-purpose flour
- Vanilla ice cream, for serving
Instructions
- Position a rack in the center of the oven and preheat to 425°F.
- Peel and core the apples, then cut them into 1/4-inch-thick slices.
- Place the apple slices on an 18-by-13-inch sheet pan. Toss them with the lemon juice, 1/4 cup of the brown sugar, 2 tablespoons of the melted butter, 1 teaspoon of cinnamon, and 1/8 teaspoon of salt.
- Spread the apples evenly on the pan, cover tightly with foil, and bake for about 20 minutes, until the apples have softened and released some liquid.
- Make the Topping: While the apples are baking, combine the oats, flour, the remaining 1 1/4 cups of brown sugar, 1 teaspoon of cinnamon, and 1 teaspoon of salt in a large bowl.
- Add the remaining melted butter to the oat mixture and stir with a fork until it is moistened and crumbly.
- Finish Baking: Carefully remove the foil from the sheet pan of hot apples. Scatter the oat crumble evenly over the top.
- Return the pan to the oven and bake, uncovered, for about 15 more minutes, until the top is crisp and golden brown and the juices are bubbly.
- Let it cool slightly and serve warm with vanilla ice cream.
Notes
- This recipe is made on a large 18×13-inch sheet pan, which creates a thinner layer and a higher ratio of crispy topping to fruit.
- The two-stage baking process—first baking the apples covered, then adding the topping and baking uncovered—ensures the apples are tender and the topping is perfectly crisp.
- Using a mix of baking apples like Gala or Fuji provides a good balance of sweet and tart flavors.
Serving Your Apple Crumble
The absolute best way to serve a classic apple crumble is warm from the oven. The beauty of this sheet-pan dessert is its rustic, easy-to-serve nature. Simply use a large spoon or a spatula to scoop generous portions into cozy bowls.
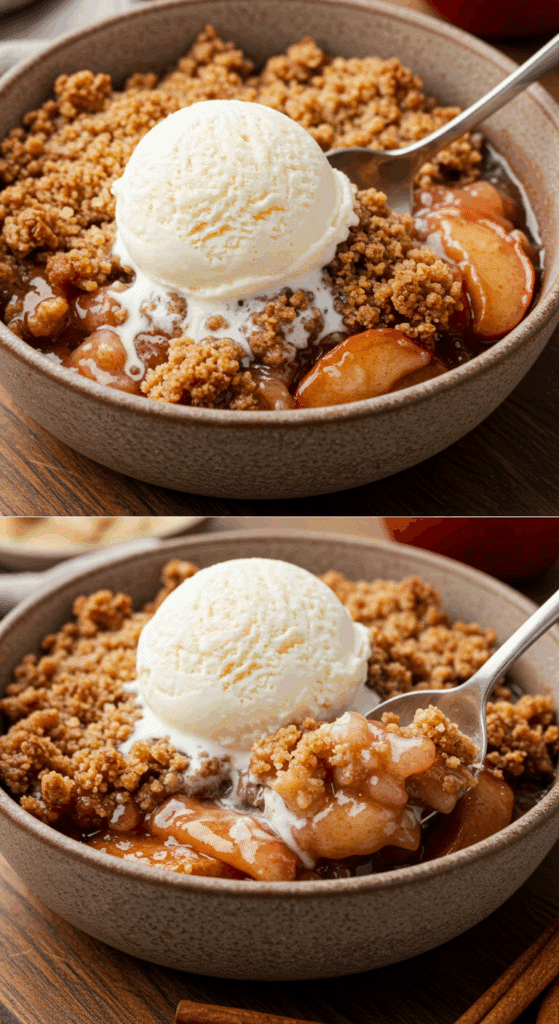
For the ultimate, classic comfort food experience, top each warm scoop of the crumble with a large scoop of high-quality vanilla bean ice cream. The way the cool, creamy ice cream melts into the warm, buttery, and spiced fruit is one of life’s greatest simple pleasures. A dollop of fresh, sweetened whipped cream or a drizzle of heavy cream is also a fantastic choice.
Storage and Make-Ahead Tips
This Sheet-Pan Apple Crumble is a wonderful dessert to have on hand for a sweet treat.
- Make-Ahead: You can prepare the entire oat topping up to 3 days in advance. Store it in an airtight container or a zip-top bag in the refrigerator. This turns the recipe into a super-fast, 10-minute assembly job.
- Storage: Store any leftover crumble, covered, at room temperature for up to 2 days, or in the refrigerator for up to 5 days.
- Reheating: You can enjoy leftovers cold or at room temperature, but it’s best when reheated. The best way to re-crisp the topping is to reheat the crumble in a 350°F oven or an air fryer for 5-10 minutes, until it is warmed through and the topping is crunchy again.
For more recipe follow my Pinterest account
Creative Recipe Variations
This incredibly simple crumble recipe is a fantastic base for all sorts of delicious fruit desserts.
- Add a Nutty Crunch: For a wonderful, buttery crunch and extra texture, you can add 1 cup of chopped pecans or walnuts to the oat topping mixture along with the flour and sugars.
- Use a Different Fall Fruit: This sheet-pan method is also absolutely fantastic with a mix of apples and firm pears, or for a more tart version, a mix of apples and fresh or frozen cranberries.
- Add a Drizzle of Salted Caramel: For an even more decadent and delicious treat, you can drizzle the entire warm, finished crumble with your favorite store-bought or homemade salted caramel sauce just before serving.
Enjoy The Ultimate Fall Dessert!
You’ve just created a truly perfect dessert that celebrates the simple beauty of fresh, seasonal fruit. This Sheet-Pan Apple Crumble is a timeless classic for a reason: it’s incredibly easy to make, it’s a guaranteed crowd-pleaser, and it is the taste of pure, homemade comfort. It’s the perfect ending to any meal.
We hope you and your family love every warm, bubbly, and crunchy bite!
If you enjoyed making this recipe, please leave a comment below or share it with a friend who is a true “crumble lover”!
Frequently Asked Questions (FAQs)
Q1: What are the best apples to use for an apple crumble?
The most important thing is to use a firm baking apple that will hold its shape during baking and not turn into a mushy applesauce. For a sweeter crumble, Gala, Fuji, Honeycrisp, or Braeburn apples are all excellent choices. For a more classic, tarter flavor that contrasts beautifully with the sweet topping, a Granny Smith apple is also a fantastic option.
Q2: What is the difference between an apple crisp and an apple crumble?
It’s a subtle but classic distinction! A Crisp has a streusel-like topping that traditionally includes oats, like in this recipe. A Crumble is very similar, but its topping is made without oats, just from flour, sugar, and butter. However, in modern American cooking, the two names are very often used interchangeably, and this recipe could be called either!
Q3: Why do you make this apple crumble on a sheet pan instead of in a baking dish?
The sheet pan is a brilliant trick for “crumble lovers”! By spreading the apples and the topping out over a large, flat surface, you are creating a much higher ratio of crispy, crunchy topping to soft fruit filling. It also allows the fruit juices to cook down and concentrate into a thick, jammy glaze instead of a watery pool at the bottom of a deep dish.
Q4: Can I make this crumble ahead of time?
Yes, this is a perfect make-ahead dessert! The best method is to prepare the components separately and store them in the refrigerator, as described in the “Make-Ahead Tips” section above. This allows you to do a quick, fresh assembly on the day of, which will give you the best final texture. You can also bake the entire dish a day in advance and simply reheat it before serving.
Q5: Can I use quick-cooking oats instead of old-fashioned rolled oats?
It is highly recommended to use old-fashioned rolled oats. They have a much thicker, heartier texture that will stay chewy and crispy after baking. Quick-cooking oats are much thinner and can sometimes become a bit soft or pasty in the topping.

