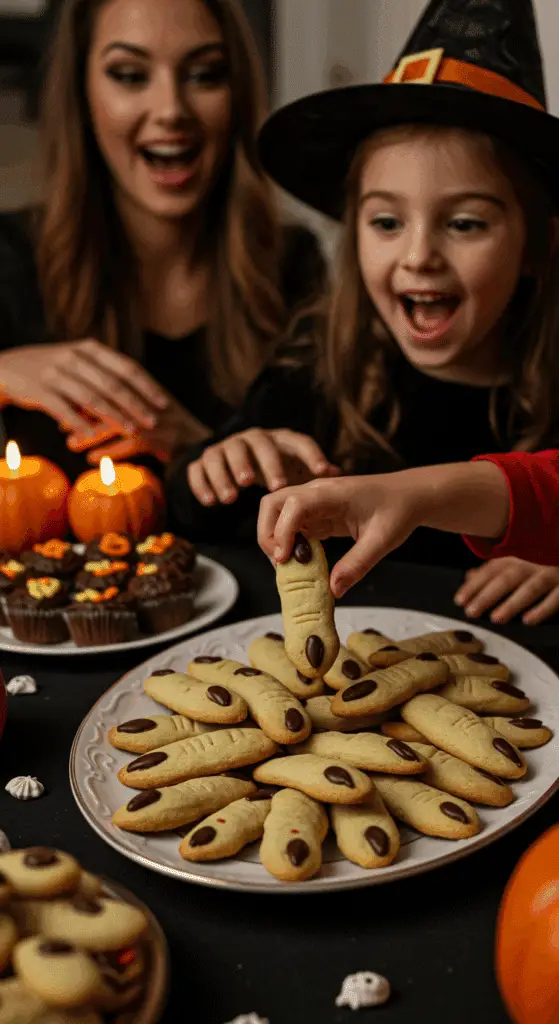
Ready to bake up the most delightfully creepy, crawly, and delicious cookies for your Halloween celebration? A treat that is so much fun to make, it’s the perfect spooky project to do with your kids? These incredible, from-scratch “Witch Finger” Cookies are the ultimate Halloween bake! We’re talking about a buttery, tender sugar cookie, cleverly shaped into a gnarled witch’s finger, complete with a creepy almond fingernail and a “bloody,” jammy tip for the most gruesome and delicious effect.
This isn’t just a recipe; it’s a guide to your new favorite Halloween tradition. We’ll show you the simple secrets to a perfect, no-spread cookie dough and the easy, kid-friendly craft of shaping these spooky snacks. These are a guaranteed hit that will be the star of any Halloween party dessert table.
Table of Contents
Table of Contents
Recipe Overview: The Ultimate Spooky & Fun Halloween Cookie
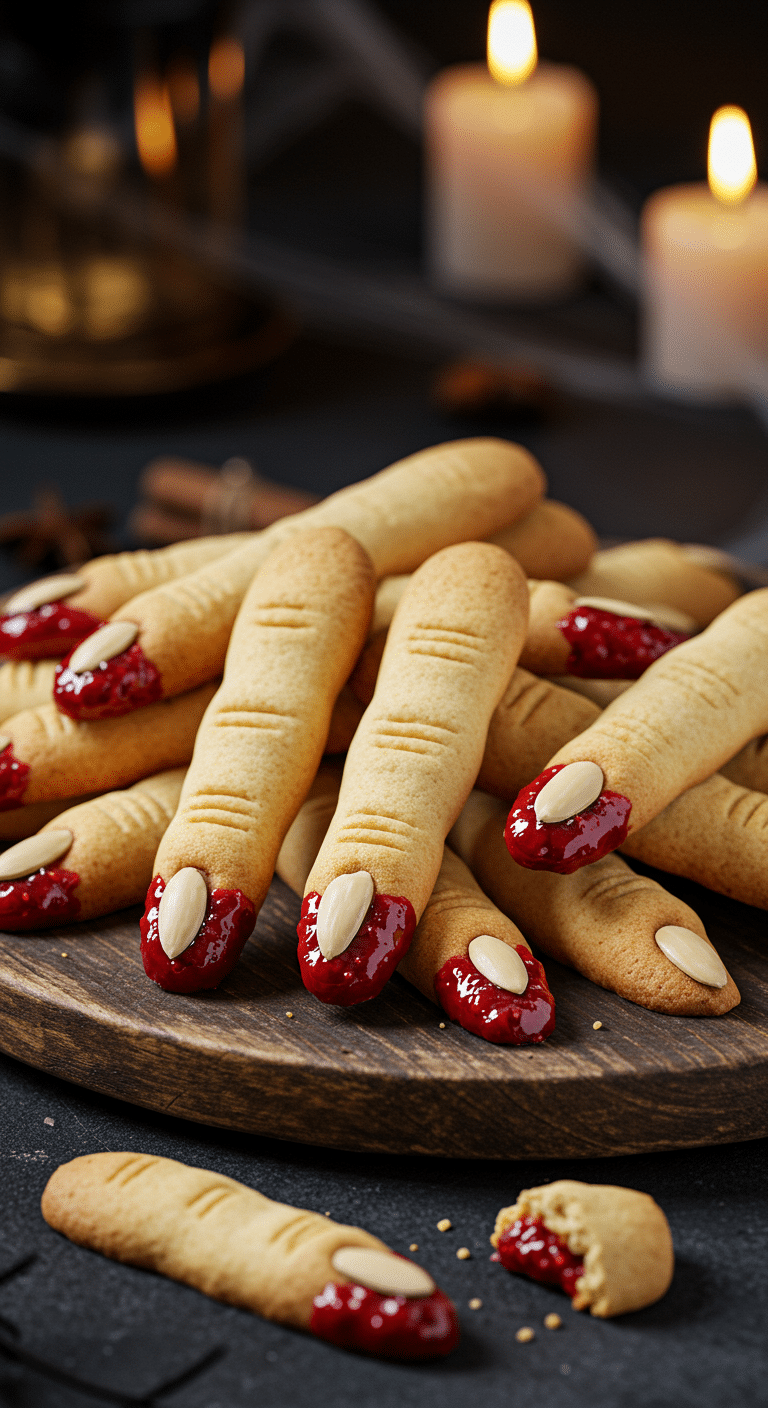
What makes these Witch Finger Cookies so spectacularly fun is their brilliant, spooky design and their classic, buttery flavor. This recipe is a masterpiece of festive simplicity. The “fingers” are made from a classic, from-scratch butter and sugar cookie dough that is tender and delicious. Each cookie is hand-rolled and shaped into a gnarled finger, and a sliced almond is pressed into the tip to create a terrifyingly realistic fingernail. The final, magical touch is dipping the blunt end of the baked cookie in warm raspberry jam, which creates a perfect, “bloody” severed-finger effect that is as delicious as it is gruesome.
| Metric | Time / Level |
| Total Time | 1 hour (plus optional chilling) |
| Active Prep Time | 30 minutes |
| Difficulty Level | Easy |
| Servings | 28 cookies |
The “Witch’s Brew”: The Essential Ingredients
This iconic party treat uses a handful of simple pantry staples to create its signature spooky look and buttery flavor.
- The Cookie Dough: A classic, rich, and tender butter cookie dough.
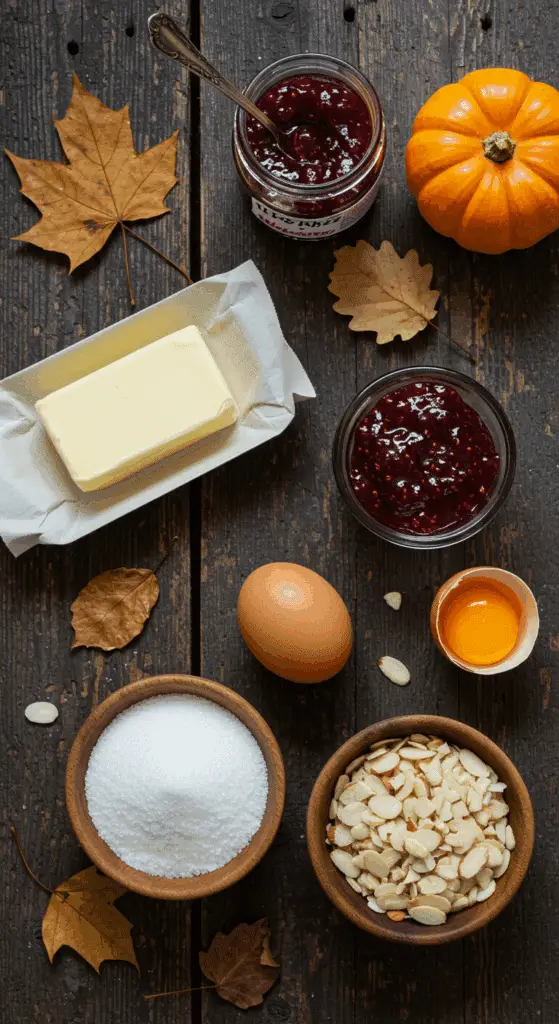
- Unsalted Butter & Egg: It is crucial that both your butter and your egg are at room temperature. This is the key that allows them to emulsify properly with the sugar to create a smooth, uniform dough with a light and tender texture.
- The Spooky Decorations:
- The “Fingernail”: A single, sliced almond, pressed into the tip of each dough “finger,” is the brilliant and simple secret to a spooky and surprisingly realistic-looking fingernail. Blanched almonds are fantastic for a paler, more ghoulish look.
- The “Blood”: A high-quality, vibrant red raspberry jam is the perfect, gruesome dipping sauce. Using a seedless variety will give you the smoothest, most realistic effect.

Step-by-Step to the Best Witch Finger Cookies
This fun and festive treat is incredibly simple to prepare.
Step 1: Make the Cookie Dough
Step 1: First, position an oven rack in the center of your oven and preheat it to 325°F (160°C). Line a large baking sheet with a silicone baking mat or parchment paper.
Step 2: In a medium bowl, whisk together the 2 cups of all-purpose flour, the 1/2 teaspoon of baking powder, and the 1/4 teaspoon of fine salt.
Step 3: In the bowl of a stand mixer fitted with the paddle attachment (or in a large bowl with a hand mixer), beat the 1/2 cup of room temperature unsalted butter and the 1 cup of sugar together on a medium speed until the mixture is light and fluffy. This will take about 2 to 3 minutes. Be sure to scrape down the sides of the bowl with a spatula as needed.
Step 4: Beat in the 1 large, room temperature egg and the 1 teaspoon of pure vanilla extract until the mixture is smooth.
Step 5: Gradually, on a low speed, beat in the flour mixture until a soft dough forms.
Part 2: Shape Your Witch Fingers (The Fun Part!)
Step 1: Using about 1 1/2 tablespoons of dough at a time, use your palms to roll the dough into a 5-inch-long “finger” that is about 1/2-inch thick. You can make it a little knobby and uneven to look more like a gnarled witch’s finger. Step 2: To create the “knuckles,” use a small, sharp knife to gently make several shallow, horizontal cuts in the center of each dough finger. You can then use your fingers to gently pinch and shape the dough on either side of the cuts to make the knuckles look more pronounced. Step 3: Firmly press one sliced almond into the end of each finger to create the “fingernail.” Step 4: Arrange the prepared “fingers” on your prepared baking sheet.
Pro Tip (The Secret to No-Spread Cookies!): For the absolute best, most detailed finger shape that won’t spread in the oven, you can place the entire baking sheet of shaped, unbaked cookies into the refrigerator to chill for about 30 minutes before you bake them.
Part 3: Bake and Decorate
Step 1: Bake the cookies for 16 to 18 minutes, until they are a light golden brown. Step 2: Transfer the baked fingers to a wire rack to cool completely. Step 3: In a small saucepan, gently heat the 1/2 cup of raspberry jam over a low heat for about 2 minutes, until it is warm and has a more fluid consistency for dipping. Step 4: Dip the blunt, “severed” ends of the cooled cookie fingers into the warm jam and arrange them on a platter.
Storage and Make-Ahead Tips
These Witch Finger Cookies are the perfect make-ahead party treat!
- Make-Ahead: The cookie dough can be made up to 3 days in advance and stored, well-wrapped, in the refrigerator. You can also freeze the unbaked, shaped cookie dough for up to 3 months.
- Storage: Store the finished, baked cookies in a single layer in an airtight container at room temperature for up to 1 week.

Witch Finger Cookies (The Perfect Halloween Treat!)
A classic and spooky Halloween recipe for ‘Witch Finger Cookies.’ This festive treat features a simple, buttery sugar cookie dough that is hand-rolled and shaped into long, gnarled ‘fingers.’ A sliced almond is pressed into the tip of each cookie to create a creepy fingernail, and small cuts are made to form realistic knuckles. After being baked until light golden, the blunt ends of the cooled cookies are dipped in warm raspberry jam for a gory, bloody effect, making them a perfect addition to any Halloween party.
Ingredients
- Vegetable oil cooking spray
- 2 cups all-purpose flour
- 1/2 teaspoon baking powder
- 1/4 teaspoon fine salt
- 1/2 cup (1 stick) unsalted butter, at room temperature
- 1 cup sugar
- 1 large egg, at room temperature
- 1 teaspoon pure vanilla extract
- 28 large sliced almonds
- 1/2 cup raspberry jam
Instructions
- Preheat the oven to 325°F. Spray a rimmed baking sheet with cooking spray or line it with a silicone baking mat.
- In a medium bowl, whisk together the flour, baking powder, and salt.
- In the bowl of a stand mixer, beat the room-temperature butter and sugar together for 2 to 3 minutes, until light and fluffy. Beat in the egg and vanilla until smooth.
- Gradually beat in the flour mixture until a dough forms.
- Take about 1 1/2 tablespoons of dough at a time and roll it between your palms into a 5-inch-long ‘finger,’ about 1/2-inch thick.
- Firmly press a sliced almond into one end of each finger to make a fingernail.
- Use a knife to make several horizontal cuts in the center of each finger to create knuckles. Gently press the dough on either side of the cuts to shape the knuckles.
- Arrange the ‘fingers’ on the prepared baking sheet and bake for 16 to 18 minutes, until light golden.
- Transfer the cookies to a wire rack and let them cool completely.
- In a small saucepan, gently heat the raspberry jam over low heat for about 2 minutes until it is warm and slightly thinned.
- Dip the blunt ends of the cooled ‘fingers’ in the warm jam and arrange them on a platter to serve.
Notes
- This is a fun, creative cookie that is perfect for a Halloween party or as a festive baking project.
- Using room-temperature butter and eggs is a key step to ensure the cookie dough has a smooth and uniform consistency.
- The cookies must be cooled completely before dipping them in the jam to prevent them from becoming soggy.
For more recipe follow my pinterest account
Creative Recipe Variations (“Make it Your Own Potion!”)
- Make it a “Monster Finger”: For a delicious and spooky twist, you can add a few drops of green food coloring to your cookie dough to create some creepy, green monster fingers.
- Use a Different “Fingernail”: If you have a nut allergy, you can easily substitute the sliced almond with a pumpkin seed (pepita) or even a piece of a black candy melt to create a monstrous, black fingernail.
- Make them Chocolate Witch Fingers: For a delicious, chocolatey version, you can substitute about 1/2 cup of the all-purpose flour with an equal amount of a high-quality, unsweetened cocoa powder.
Enjoy Your Ultimate Spooky & Fun Halloween Treat!
You’ve just created a truly special treat that is a perfect harmony of fun, classic ingredients and delicious, satisfying flavors. These classic “Witch Finger” Cookies are a testament to the power of a simple, creative idea to become an instant party favorite and a treasured holiday tradition. It’s a rewarding and deeply satisfying recipe that is sure to make your Halloween party a memorable one.
We hope you enjoy every last, perfect, and delicious bite!
If you enjoyed making this recipe, please leave a comment below or share it with a friend who loves an easy and impressive meal!
Frequently Asked Questions (FAQs)
Q1: What is the absolute, number one secret to making shaped sugar cookies that don’t spread out and lose their shape in the oven?
The secret is cold dough. By chilling your shaped cookie dough in the refrigerator for at least 30 minutes before you bake it, you are re-solidifying the butter in the dough. This is the key that will help the cookies to hold their intricate, spooky “finger” shape and will prevent them from spreading into flat, unrecognizable blobs in the hot oven.
Q2: Can I make these Witch Finger cookies ahead of time for a party?
Yes, these are a perfect make-ahead party treat! You can bake the cookies completely and store them in an airtight container at room temperature for up to a week. For the best, freshest result, it is a great idea to wait to dip them in the jam until the day of your party.
Q3: Can I make this cookie dough without a stand mixer?
Of course! You can easily make this dough in a large bowl with a good electric hand mixer. If you don’t have either, you can even make it by hand with a wooden spoon and a little bit of elbow grease! Just be sure that your butter is very soft so that you can cream it properly with the sugar.
Q4: How do I make the knuckle marks look realistic and creepy?
The secret is to use the back of a small knife, not the sharp edge, to gently press two or three shallow, horizontal lines into the middle of your dough finger. After you have made the lines, you can use your fingers to gently pinch the dough on either side of the lines to make the “knuckle” area slightly thicker than the rest of the finger.
Q5: Can I freeze the unbaked cookie dough?
Yes, this dough freezes beautifully! The best method is to shape the cookies completely and place them on a parchment-lined baking sheet. Freeze them until they are solid, and then you can transfer the frozen, unbaked cookies to a freezer-safe, resealable bag. You can bake them directly from frozen, just be sure to add a few extra minutes to the baking time.

