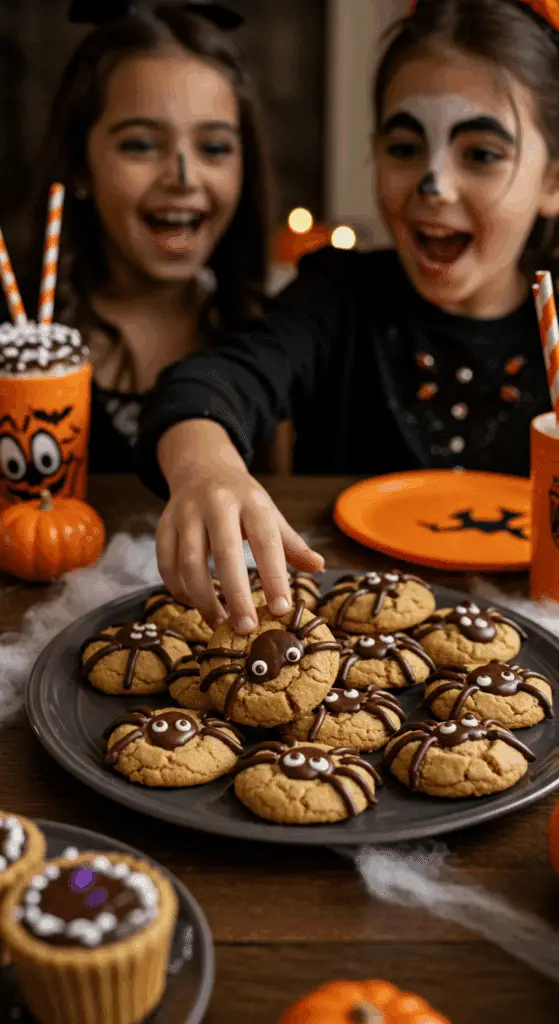
Get ready to spin a web of delicious fun with the ultimate spooky and sweet Halloween treat! These incredible, from-scratch Peanut Butter Spider Cookies are a festive and adorable twist on a classic. We’re talking a soft, chewy, and intensely flavorful peanut butter cookie, topped with a creepy, crawly, and completely delicious chocolate spider that is as fun to make as it is to eat.
This isn’t just a recipe; it’s a guide to your new favorite Halloween tradition. We’ll show you the simple secrets to a perfect, no-spread peanut butter cookie and the easy, kid-friendly craft of turning it into a spooky masterpiece. This is a guaranteed, crowd-pleasing hit that will be the star of any Halloween party dessert table.
Table of Contents
Table of Contents
Recipe Overview: The Ultimate Spooky & Cute Halloween Cookie
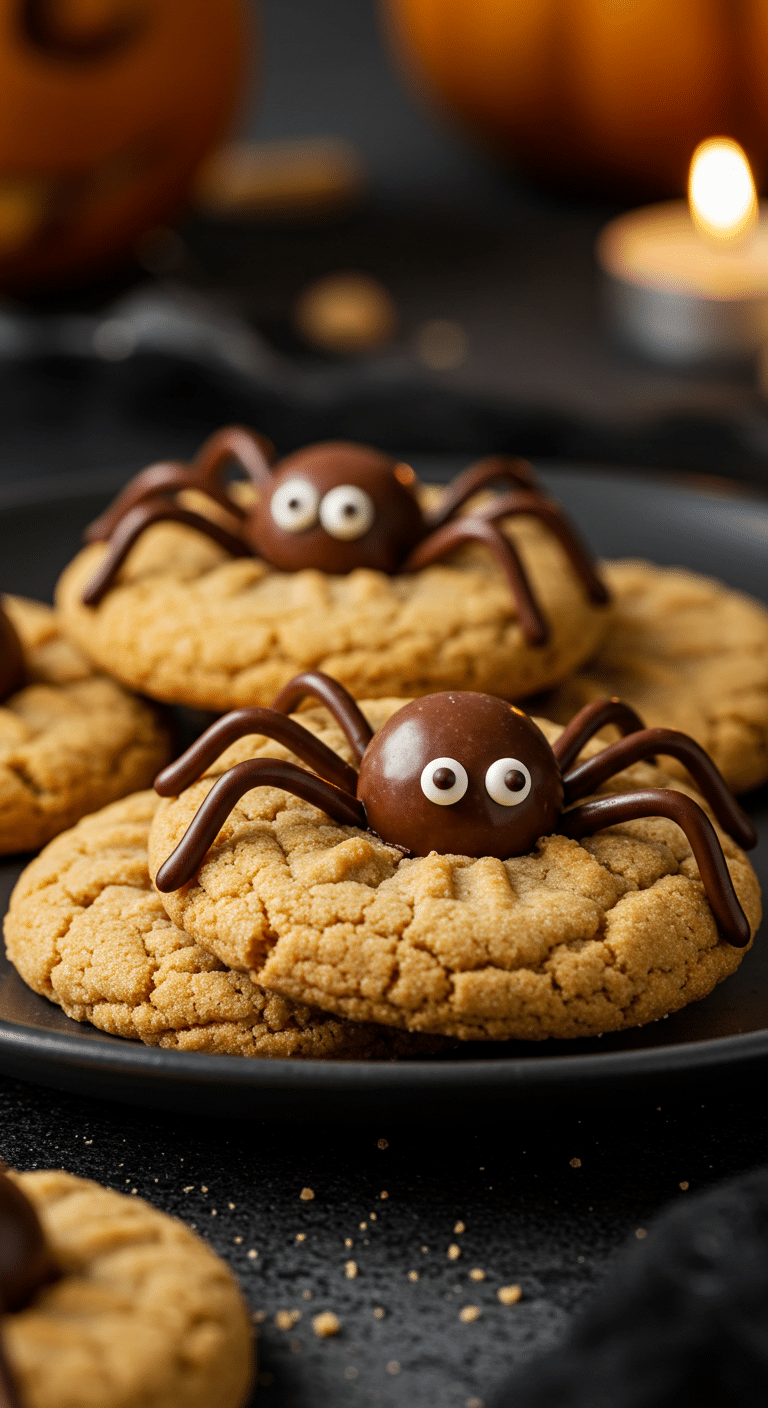
What makes these Peanut Butter Spider Cookies so spectacularly fun is their brilliant, easy-to-make design and their classic, crowd-pleasing flavor. This recipe is a masterpiece of festive simplicity. The cookie itself is a classic, rich, and chewy peanut butter cookie. The magic happens right after they come out of the oven. A chocolate candy “body” and “head” are gently pressed into the warm, soft cookie, and then eight spooky chocolate “legs” are piped on to bring your creepy crawly to life. It’s a foolproof recipe that is perfect for bakers of all skill levels.
| Metric | Time / Level |
| Total Time | 1 hour |
| Active Prep Time | 30 minutes |
| Difficulty Level | Easy |
| Servings | About 2 dozen cookies |
The Spider’s Lair: The Essential Ingredients
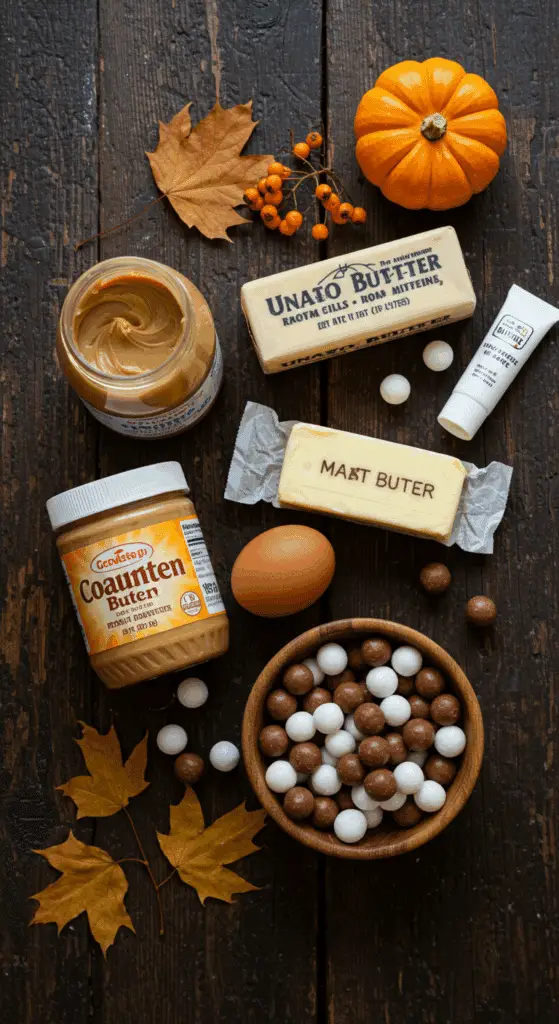
This iconic party treat uses a handful of simple pantry staples to create its signature spooky look and delicious flavor.
- The Peanut Butter Cookie:
- Creamy Peanut Butter: A classic, smooth peanut butter is the key to the rich, nutty flavor of our cookie base.
- Room Temperature Butter & Egg: It is crucial that both your butter and your egg are at room temperature. This is the secret that allows them to emulsify properly with the sugar to create a smooth, uniform dough and a tender, chewy cookie.
- The Chocolate Spider:
- The “Body” and “Head”: The recipe uses ball-shaped chocolates, like malted milk balls (such as Whoppers®), which are perfect for creating a realistic, 3D spider body. You will need a mix of larger and smaller balls.
- The “Legs” and “Eyes”: A handful of melted semisweet chocolate chips is perfect for piping the delicate spider legs, and a small tube of white cake decorating gel is the easiest way to create the spooky, googly eyes.

Step-by-Step to the Best Spider Cookies
This fun and festive treat is incredibly simple to prepare.
Step 1: Make the Peanut Butter Cookie Dough
Step 1: First, position your oven racks in the top and bottom thirds of the oven and preheat it to 375°F (190°C). Line two large baking sheets with parchment paper.
Step 2: In a small bowl, whisk together the 3/4 cup of all-purpose flour, the 1/4 teaspoon of baking soda, and the pinch of fine salt.
Step 3: In a medium bowl, use an electric mixer on a medium-high speed to cream the 1/2 cup of granulated sugar and the 4 tablespoons of room temperature butter together until the mixture is light and fluffy. This will take about 3 to 4 minutes.
Step 4: Add the 1 teaspoon of pure vanilla extract and the 1 large, room temperature egg and mix until they are thoroughly combined. Add the 1/2 cup of smooth peanut butter and mix until the mixture is creamy.
Step 5: Turn the mixer speed down to low and add the flour mixture in two additions, beating on medium until it is just incorporated.
Part 2: Bake the Cookies and Create the Spiders
Step 1: Roll the dough by hand into 1-inch balls. Place the balls about 1 inch apart on your prepared baking sheets.Step 2: Bake for about 16 minutes, rotating the pans halfway through, until the cookies are a beautiful light golden brown and have spread to about 2 inches wide.Step 3 (The Most Important Step!): As soon as you remove the cookies from the oven, you must work quickly while they are still hot and soft. Immediately and gently push two of your chocolate candies directly into each hot cookie. Place a smaller chocolate ball toward the edge of the cookie for the “head” and a larger chocolate ball directly behind it in the center for the “body.” Pro Tip: The heat from the freshly baked cookie is the secret that slightly melts the bottom of the candy, “gluing” it perfectly to the cookie surface.Step 4: Transfer the cookies to a cooling rack.Step 5: While the cookies are cooling, melt your 2 ounces of semisweet chocolate over a double boiler or in the microwave. Let the chocolate cool briefly so that it is slightly thickened but still pipeable.Step 6: Put the melted chocolate into a small plastic bag and snip a very tiny hole in one of the corners to create a piping bag.Step 7: Pipe 8 little “legs” on each cookie, starting from the point where the two chocolate candies meet. Pipe the front 4 legs so that they curve up toward the “head,” and the back 4 legs so that they curve backward beyond the “body.” Step 8: To make the eyes, pipe two small, 1/4-inch circles of the white cake decorating gel on the “head” of each spider. Then, pipe a tiny dot of your reserved melted chocolate in the center of each white circle to create the pupils.

Peanut Butter Spider Cookies (Perfect Halloween Treat!)
A festive and fun recipe for ‘Scary Peanut Butter Spider Cookies,’ perfect for a Halloween treat. This recipe features a classic, soft peanut butter cookie base. Immediately after baking, while the cookies are still warm, two ball-shaped chocolates (like malted milk balls) of different sizes are pressed into the center of each cookie to create the spider’s head and body. The spooky arachnids are brought to life with the addition of eight legs piped on with melted chocolate, and eyes made from white decorating gel.
Ingredients
- One 5-ounce box small ball-shaped chocolates (e.g., malted milk balls)
- 3/4 cup all-purpose flour
- 1/4 teaspoon baking soda
- Pinch of fine salt
- 1/2 cup granulated sugar
- 4 tablespoons (1/2 stick) unsalted butter, at room temperature
- 1/2 teaspoon pure vanilla extract
- 1 large egg
- 1/2 cup smooth peanut butter
- 2 ounces semisweet chocolate
- 1 small tube white cake decorating gel
Instructions
- Preheat the oven to 375°F. Line 2 baking sheets with parchment paper.
- Separate the chocolate candy balls into larger and smaller sizes for the spider bodies and heads.
- Make the Cookies: In a small bowl, whisk together the flour, baking soda, and salt.
- In a medium bowl with an electric mixer, cream the sugar and butter until light and fluffy. Add the vanilla and egg and mix until combined. Add the peanut butter and mix until creamy.
- On low speed, add the flour mixture in two additions, mixing until incorporated after each.
- Roll the dough into 1-inch balls and place them about 1 inch apart on the prepared baking sheets.
- Bake for about 16 minutes, rotating the pans halfway through, until the cookies are light golden brown and have spread.
- Decorate the Spiders: While the cookies bake, melt the semisweet chocolate over a double boiler. Let it cool briefly so it thickens but is still pipeable.
- As soon as the cookies come out of the oven, immediately press two chocolate candies into each hot cookie: a smaller one for the head near the edge and a larger one for the body in the center. Let the cookies cool on a wire rack.
- Transfer the melted chocolate to a small plastic bag and snip off a tiny corner. Pipe 8 legs onto each cookie, starting from where the two chocolate ‘body parts’ meet.
- Use the white decorating gel to pipe two small circles for eyes on each ‘head.’ Pipe a tiny dot of the reserved melted chocolate in the center of each white circle to make the pupils.
Notes
- This is a creative and kid-friendly baking project, perfect for Halloween parties.
- Pressing the chocolate candies into the cookies while they are still hot and soft from the oven is a crucial step that allows them to set into the cookie.
- A simple plastic sandwich bag with a tiny corner snipped off works perfectly as a makeshift piping bag for the delicate chocolate legs.
Storage and Make-Ahead Tips
These Spider Cookies are the perfect make-ahead party treat!
- Make-Ahead: The cookie dough can be made up to 3 days in advance and stored, well-wrapped, in the refrigerator. You can also freeze the unbaked, rolled balls of cookie dough for up to 3 months.
- Storage: Store the finished, decorated cookies in a single layer in an airtight container at room temperature for up to 1 week.
For more recipe follow my pinterest account
Creative Recipe Variations (“Make it Your Own Potion!”)
- Make it a Classic “Blossom” Spider: For a more classic and equally delicious version, you can substitute the malted milk balls with a miniature peanut butter cup (like a Reese’s®) for the spider’s body.
- Use a Different Cookie Base: If you’re short on time, you can use your favorite store-bought, pre-made peanut butter cookie dough. This fun decorating technique is also fantastic on a classic sugar cookie or even a chocolate cookie for a spooky, all-black look.
- Make them Nut-Free: For a completely nut-free version for a school party, you can make these spiders on a classic chocolate chip (without nuts) or a sugar cookie. For the body, you can use a chocolate truffle (like a Lindor®) or another nut-free, round chocolate candy.
Enjoy Your Ultimate Spooky & Fun Halloween Treat!
You’ve just created a truly special treat that is a perfect harmony of fun, classic ingredients and delicious, satisfying flavors. These classic Peanut Butter Spider Cookies are a testament to the power of a simple, creative idea to become an instant party favorite and a treasured holiday tradition. It’s a rewarding and deeply satisfying recipe that is sure to make your Halloween party a memorable one.
We hope you enjoy every last, perfect, and delicious bite!
If you enjoyed making this recipe, please leave a comment below or share it with a friend who loves an easy and impressive meal!
Frequently Asked Questions (FAQs)
Q1: What is the absolute, number one secret to a soft and chewy, not dry and crumbly, peanut butter cookie? The secret is to not overbake them! A perfect peanut butter cookie should be pulled from the oven when the edges are set and a light golden brown, but the very center still looks a little bit soft and underdone. The cookie will continue to bake from the residual heat of the pan as it cools, which is the key that will give you that perfect, soft and chewy center.
Q2: How do I keep my cookies from spreading too much and becoming too thin in the oven? The most important secret is to make sure your butter is at a cool room temperature, not melted or overly soft. Another great trick is to chill your balls of cookie dough in the refrigerator for about 30 minutes before you bake them. Chilling the dough will re-solidify the fat, which will help the cookies to hold their shape and prevent them from spreading too much.
Q3: Can I make these Halloween cookies ahead of time for a party? Yes, these are a perfect make-ahead party treat! You can bake and decorate the cookies completely and store them in an airtight container at room temperature for up to a week. You can also freeze the unbaked balls of cookie dough and bake them fresh on the day of your party.
Q4: What is the best and easiest way to pipe the chocolate spider legs? A simple, household zip-top plastic bag is a perfect substitute for a piping bag! Simply spoon your melted and slightly cooled chocolate into the bag, push it down into one of the bottom corners, and then use a pair of scissors to snip off a very, very tiny piece of the corner.
Q5: What else can I use for the spider’s body? A miniature Reese’s® Peanut Butter Cup is a fantastic and very popular choice! Other great options include a Hershey’s Kiss®, a chocolate truffle (like a Lindor®), or even a Rolo®.

