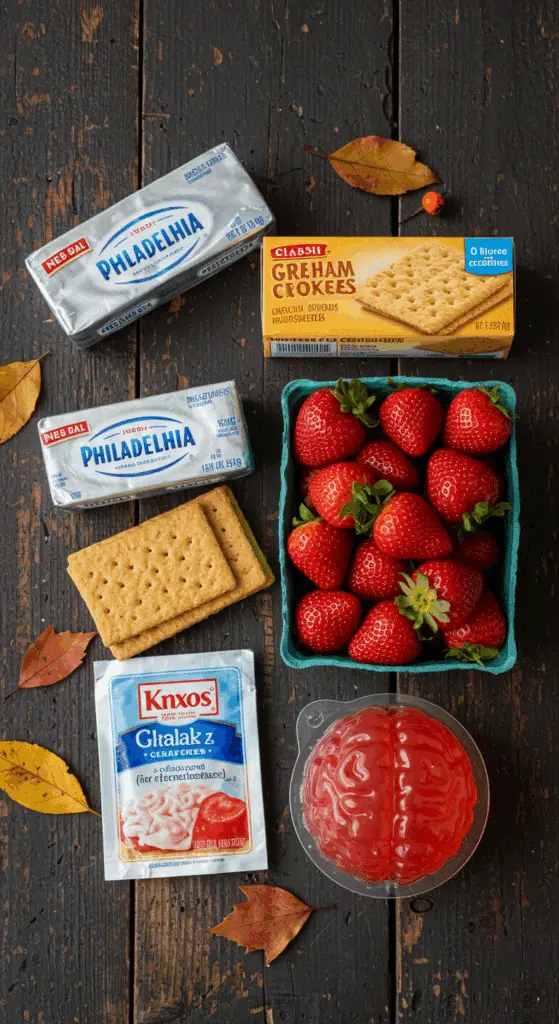
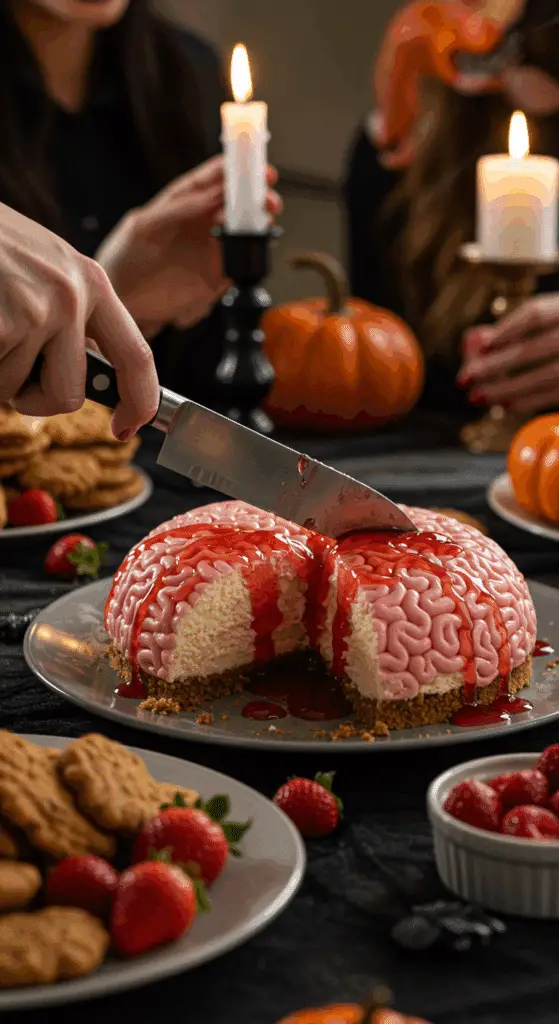
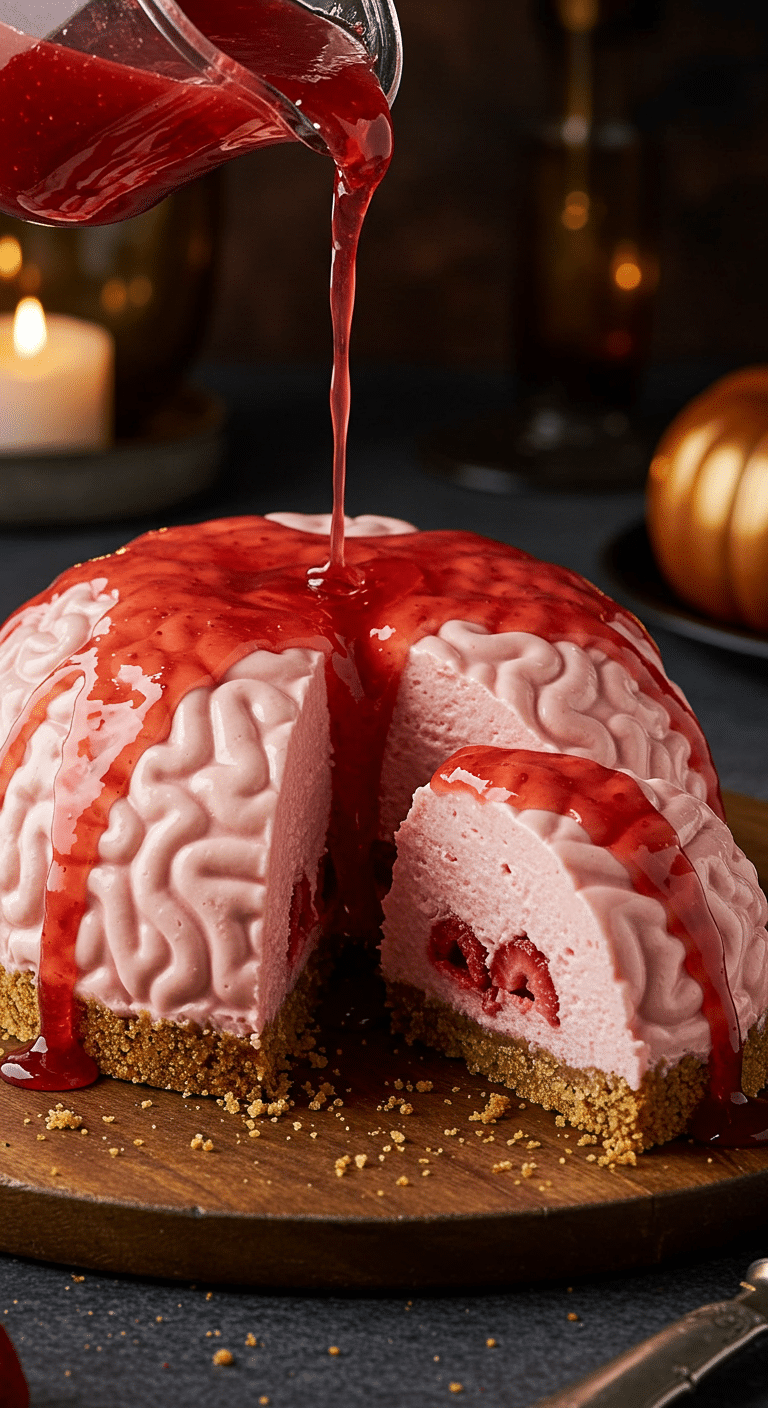
Unleash your inner mad scientist and get ready to create the most brilliantly gruesome and unbelievably delicious centerpiece for your next Halloween feast! This incredible, from-scratch-tasting No-Bake Strawberry Cheesecake Brain is the ultimate edible experiment. We’re talking a smooth, creamy, and tangy no-bake cheesecake with a buttery graham cracker crust and a surprise strawberry center, all molded to look exactly like a giant, creepy brain and then drenched in a cascade of “bloody” strawberry syrup.
This isn’t just a recipe; it’s a guide to your new show-stopping, festive tradition. We’ll show you the simple but crucial secrets to a flawless, from-scratch no-bake cheesecake and the brilliant, easy trick to creating this stunning, edible sculpture. This is a guaranteed, crowd-pleasing hit that is as fun to make as it is to eat, and it will be the undisputed star of your haunted gathering.
Table of Contents
Table of Contents
Recipe Overview: The Ultimate Gory & Gruesome Halloween Centerpiece
What makes this Cheesecake Brain so spectacularly fun is its incredible, show-stopping presentation and its classic, crowd-pleasing flavor. This recipe is a masterpiece of festive creativity. The dessert is a rich and tangy, completely no-bake cheesecake, which gets its perfectly smooth and sliceable texture from a touch of gelatin. The cheesecake is colored a creepy, pale pink and has a surprise center of sweet, cooked strawberries. The entire creation is formed in a brain-shaped gelatin mold and sits atop a classic, buttery graham cracker crust. The final, gory touch is a generous cascade of a vibrant, homemade “bloody” strawberry syrup poured over the top just before serving.
| Metric | Time / Level |
| Total Time | 5 hours (includes chilling) |
| Active Prep Time | 45 minutes |
| Difficulty Level | Intermediate |
| Servings | 12-16 |
The Mad Scientist’s Laboratory: The Essential Ingredients & Tools
This iconic party cake uses a handful of high-quality ingredients and one key piece of equipment.
- The No-Bake Cheesecake “Brain”:
- Cream Cheese: It is absolutely essential to use blocks of full-fat cream cheese that are at room temperature. This is the number one secret to a perfectly smooth, creamy, and completely lump-free cheesecake filling.
- Unflavored Gelatin: This is the non-negotiable secret weapon for a perfect, no-bake cheesecake that sets up beautifully and can be sliced cleanly. Blooming the gelatin in warm water first is the key to a smooth, stable result.
- The “Bloody” Strawberry Syrup & Filling: A from-scratch syrup made from fresh strawberries, sugar, and lemon juice provides a much more vibrant and intense flavor than any store-bought version. The cooked strawberries are cleverly reserved and used as a surprise filling for the center of the brain!
- The Key Equipment: A plastic brain-shaped gelatin mold is essential for creating the iconic and spooky shape of this dessert. You can easily find these online or in the Halloween section of most major craft stores.

Step-by-Step to the Best No-Bake Cheesecake Brain
This fun and festive project is a joy to prepare.
Part 1: Make the Crust and “Bloody” Strawberry Syrup
For the Graham Cracker Crust: In a food processor, pulse your 9 whole graham crackers, the 1/3 cup of packed light brown sugar, the 1/2 teaspoon of ground cinnamon, and a pinch of salt until fine crumbs form. Drizzle in the 1 stick of melted unsalted butter and pulse until the mixture looks like wet sand. Transfer this to a bowl.
For the Strawberry Syrup: In a medium saucepan, combine your 1 pound of halved strawberries, the 3/4 cup of granulated sugar, the juice of 1/2 a lemon, and 1/4 cup of water. Bring the mixture to a simmer over a medium-high heat and cook until the berries are very soft but are still holding their shape. Strain the syrup into a bowl, and transfer the cooked berries to a separate small bowl and chill them. Return the syrup to the saucepan and continue to cook for about 10 more minutes, until it has thickened. Chill the syrup until you are ready to use it.
Part 2: Whip Up the No-Bake Cheesecake “Brain”
Step 1: In a small bowl, whisk your 2 tablespoons plus 1 1/2 teaspoons of unflavored gelatin into 1/3 cup of warm water. Let it sit for about 5 minutes to soften and “bloom.” Step 2: In your cleaned food processor, pulse the 1 pound of room temperature cream cheese until it is completely smooth. Add the 3/4 cup of granulated sugar, the 1/2 teaspoon of pure vanilla extract, a pinch of fine salt, the juice of 1/2 a lemon, and your softened gelatin. Pulse until the mixture is completely smooth.Step 3: With the food processor running, stream in the 2 cups of heavy cream. Add enough of the red gel food coloring to make the batter a creepy, pale pink, and process until everything is combined.
Part 3: Assemble and Chill Your Creation
Step 1: Generously coat your plastic brain-shaped gelatin mold with nonstick cooking spray.Step 2: Pour about half of your cheesecake batter into the mold. Swirl the batter to cover all the sides of the mold. Freeze for 5 minutes to let the batter thicken slightly.Step 3: Use the back of a spoon to spread the batter up the sides of the mold so that there is a 1/2-inch-thick coating around the entire interior. Freeze for another 10 minutes to set this shell.Step 4: Add your chilled, cooked strawberries to the center of the mold. Drizzle about 1 tablespoon of your chilled strawberry syrup over the strawberries.Step 5: Evenly spread the remaining cheesecake batter over the berries, pressing the batter gently into the mold to fill any gaps.Step 6: Top with your prepared graham cracker crumbs, pressing them down firmly to create the crust.Step 7: Place the cheesecake in the freezer for about 2 hours, until the sides are very firm. Then, transfer it to the refrigerator and let it chill for at least 2 more hours, or up to overnight.
Part 4: The Grand Unveiling
Step 1: To unmold your cheesecake, you can carefully place the mold briefly into a bowl of hot water for just a few seconds. Then, run a small offset spatula around the very edge of the mold to help release it from the sides.Step 2: Invert a large serving plate over the mold and carefully flip them both over. You can poke a few small holes in the top of the plastic mold with a paring knife to help break the suction and release the cheesecake.Step 3: Carefully pull off the mold. For the final, ghoulishly glorious touch, pour your remaining “bloody” strawberry syrup over the top of the brain.

Storage and Make-Ahead Tips
This is the ultimate make-ahead party dessert!
- Make-Ahead: You can prepare and fully assemble the entire cheesecake up to 3 days in advance. Simply keep it in its mold, well-wrapped, in the refrigerator.
- Storage: Store any leftovers, well-covered, in the refrigerator for up to 5 days.
For more recipe follow my pinterest account
Frequently Asked Questions (FAQs)
Q1: What is the absolute, number one secret to a perfect, no-bake cheesecake that sets up properly and isn’t runny?
The secret is gelatin! A small amount of unflavored, powdered gelatin is the foolproof key to a no-bake cheesecake that has a beautifully smooth, creamy, and mousse-like texture, but is still perfectly firm and easy to slice. Be sure to “bloom” it in warm water first before you add it to your filling to ensure a smooth, lump-free result.
Q2: What is the best and easiest way to unmold a gelatin dessert from a plastic mold?
The secret is a combination of a quick hot water bath and breaking the suction. By dipping the outside of the cold mold in a bowl of hot water for just a few seconds, you are slightly melting the very outer layer of the cheesecake, which will help it to release. Then, as the recipe suggests, poking a few, small, discreet holes in the top of the mold will allow air to get in and will break the vacuum seal, which is the key to the cheesecake sliding out easily.
Q3: Can I make this cheesecake ahead of time for a Halloween party?
Yes, this is a perfect make-ahead centerpiece! In fact, it must be made ahead, as it needs at least 4 hours to chill and set. You can make it up to 3 days in advance and keep it in its mold in the refrigerator. For the best, most dramatic presentation, wait to unmold it and pour over the “bloody” syrup until just before you plan to serve it.
Q4: Can I freeze this cheesecake?
Yes! A no-bake cheesecake freezes beautifully. For the best result, it is a great idea to freeze the un-decorated cheesecake. Once it has been unmolded, you can wrap it very well in a double layer of plastic wrap and then a layer of foil. It will keep in the freezer for up to 1 month. Let it thaw overnight in the refrigerator before you add the syrup and serve it.
Q5: What can I use if I don’t have a brain mold?
If you don’t have a brain mold, you can still create a fantastic, spooky dessert! You can simply assemble the entire cheesecake in a standard 9-inch springform pan. After it has set, you can decorate the top with the “bloody” syrup and some other spooky toppings, like some gummy worms or some crushed cookie “dirt.”
