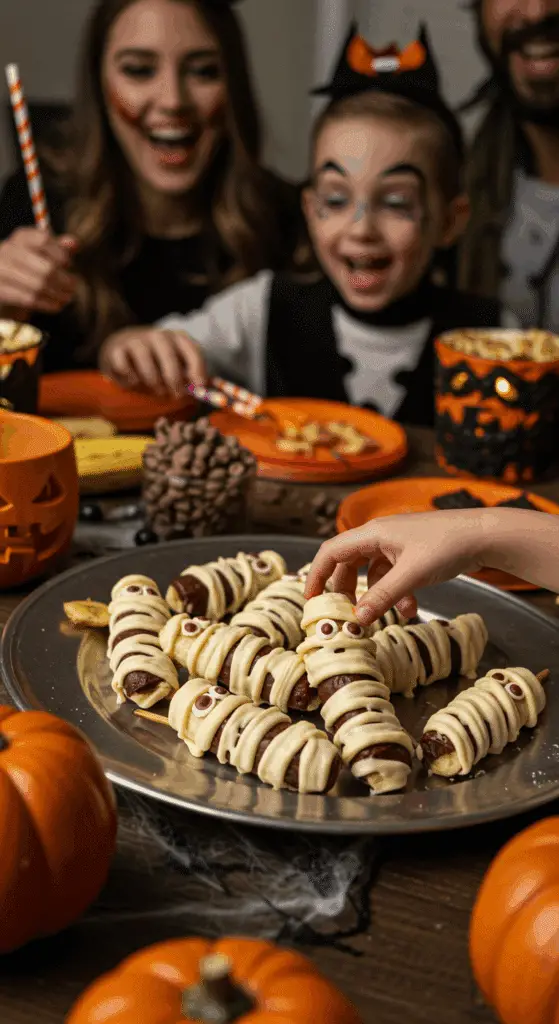
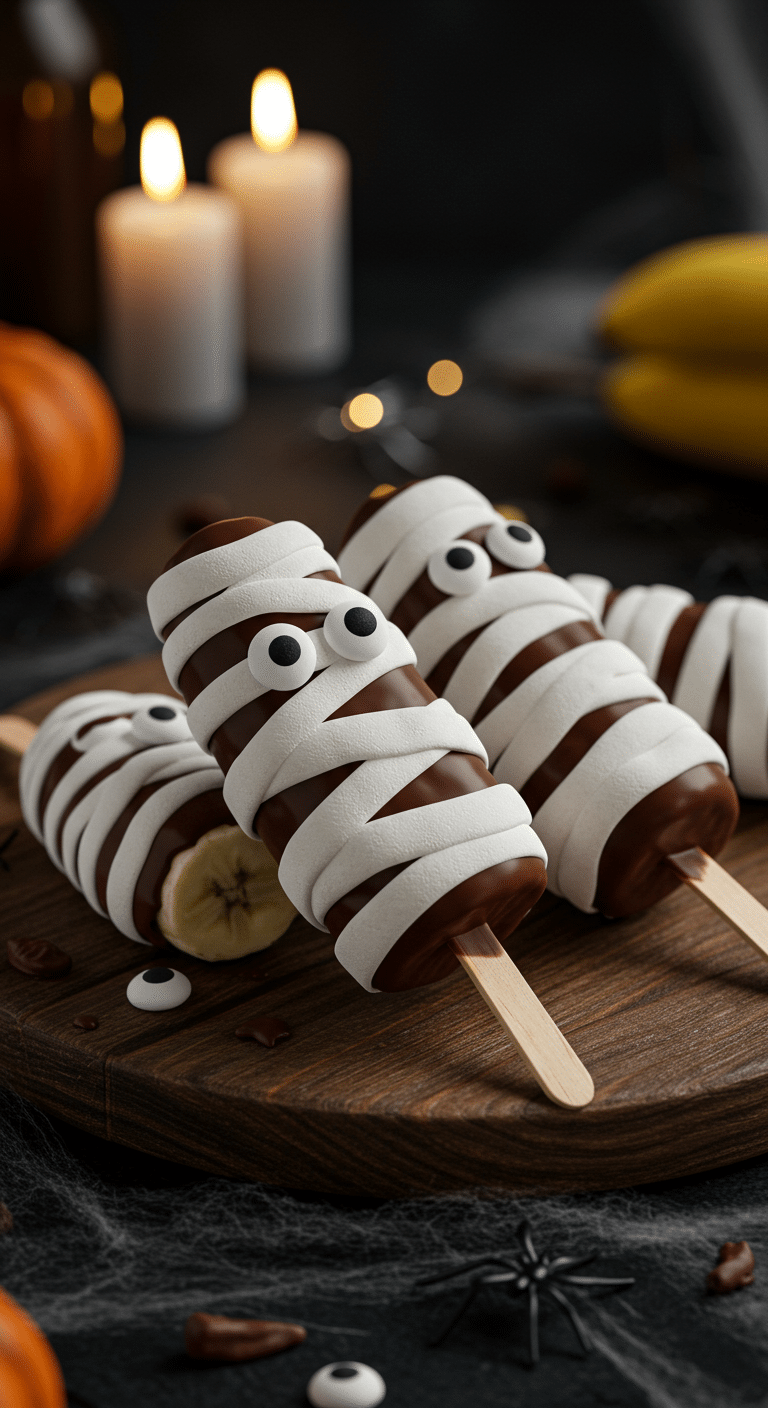
Ready to conjure up the most adorably spooky and unbelievably easy treat for your next Halloween party? A festive, no-bake snack that is so much fun to make, it’s the perfect project to do with your kids? These incredible Banana Mummies are the ultimate spooky-season sweet! We’re talking a sweet, frozen banana, dipped in a rich, snappy chocolate shell and then all wrapped up in gooey, stretchy marshmallow “bandages” with two little eyes peeking out.
This isn’t just a recipe; it’s a guide to your new favorite Halloween tradition. We’ll show you the simple but crucial secrets to a perfect chocolate coating and the brilliant, easy trick to creating the most incredible, spooky marshmallow web. This is a healthy-ish, satisfying, and completely irresistible treat that will be the star of any ghoulish gathering.
Table of Contents
Table of Contents
Recipe Overview: The Ultimate Spooky & Healthy-ish Halloween Treat
What makes these Banana Mummies so spectacularly fun is their brilliant, easy-to-make design and their classic, crowd-pleasing flavor. This recipe is a masterpiece of festive simplicity. The “mummy” itself is a simple, healthy frozen banana on a stick. It’s then dipped in a shell of rich, melted semisweet chocolate. The real magic, however, is in the decoration. A handful of simple melted marshmallows is stretched by hand to create the most realistic, creepy, and completely edible mummy “bandages,” with two cute candy eyeballs peeking through. It’s a completely no-bake, gluten-free, and endlessly fun treat for all ages.
| Metric | Time / Level |
| Total Time | 1 hour 30 minutes (includes freezing) |
| Active Prep Time | 20 minutes |
| Difficulty Level | Easy |
| Servings | 8 mummies |
The Mummy’s Tomb: The Essential Ingredients
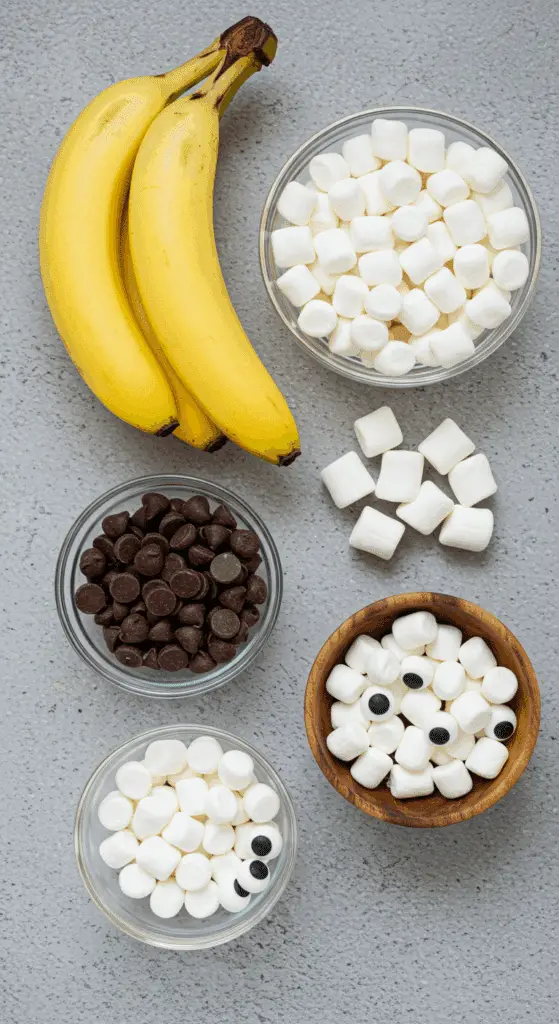
This iconic party treat uses just a handful of simple ingredients.
- The “Mummy”:
- Bananas: The key to a great frozen banana pop is to use bananas that are perfectly ripe—sweet with a few brown spots—but still firm to the touch. Overly ripe or mushy bananas will be difficult to skewer and handle.
- The Chocolate Coating:
- Semisweet Chocolate: A classic choice that has a rich, deep flavor that isn’t overly sweet, which is a perfect balance for the sweet banana.
- Pro Tip: For an even smoother and glossier chocolate shell that is easier to dip, you can stir about 1 teaspoon of coconut oil into your melted chocolate.
- The “Bandages” & “Eyes”:
- Marshmallows: The secret to the incredible, stretchy, and spooky mummy bandages! A handful of regular or mini marshmallows is all you need.
- Candy Eyeballs: These are a fantastic and easy shortcut for creating the cutest, spookiest little faces! You can find them in the baking aisle of most grocery stores, especially around Halloween.

Step-by-Step to the Best Banana Mummies
This fun and festive project is incredibly simple to prepare.
Step 1: Freeze the Bananas and Dip in Chocolate
Step 1: First, peel your 4 bananas and cut them in half crosswise to create 8 pieces. Carefully insert a skewer or a popsicle stick into the cut end of each banana half.
Step 2: Place the skewered bananas on a parchment-lined baking sheet and place them in the freezer until they are frozen solid. This will take at least 1 hour.
Pro Tip: This is the most important secret to a perfect chocolate coating! The cold, frozen banana will help the warm, melted chocolate to set up almost instantly, creating a clean, thick, and snappy shell.
Step 3: Once the bananas are frozen, melt your 4 ounces of chopped semisweet chocolate in a small, deep, microwave-safe bowl in 20-second intervals, stirring in between, until the chocolate is completely smooth.
Step 4: Dip each of your frozen bananas in the melted chocolate, using a spoon to help coat it completely.
Step 5: Immediately press two candy eyeballs onto each of the chocolate-covered bananas. Place them back on the parchment-lined baking sheet and let the chocolate set, which will take about 10 minutes.
Part 2: Wrap Your Mummies in Marshmallow Bandages
Step 1: In a microwave-safe bowl, microwave your 8 marshmallows for just 10 to 15 seconds, until they puff up and become very soft.
Step 2: Stir the marshmallows until they are smooth, and then let them cool slightly for about a minute, until they are just cool enough to touch.
Pro Tip: This cooling step is crucial! If the marshmallow is too hot, it will just be a sticky liquid. As it cools, it will become wonderfully stretchy and pliable.
Step 3 (The Fun Part!): Use a spoon (or your well-greased fingers!) to scoop up some of the warm, melted marshmallow. As you lift it, it will stretch into a long, thin thread.
Step 4: Artfully drape and wrap this marshmallow “thread” around your chocolate-covered bananas to create the spooky, overlapping “mummy bandages.”
Step 5: Transfer the finished mummies to a parchment-lined plate and return them to the freezer to firm up completely.

Banana Mummies (The Perfect Halloween Treat!)
An easy, no-bake recipe for a fun and healthy-ish Halloween treat, ‘Banana Mummies.’ This kid-friendly project features banana halves that are frozen on skewers and then dipped in melted semisweet chocolate. After the chocolate sets, the ‘mummy’ look is created by stretching melted marshmallow into thin threads and wrapping them around the chocolate-covered bananas. The spooky treats are finished with two candy eyeballs.
Ingredients
- 4 bananas, peeled
- 8 skewers or popsicle sticks
- 4 ounces chopped semisweet chocolate
- 16 candy eyeballs
- 8 large marshmallows
Instructions
- Cut each peeled banana in half crosswise and insert a skewer into the cut end of each half.
- Place the banana halves on a parchment-lined plate or baking sheet and freeze for at least 1 hour, until firm.
- Microwave the chopped semisweet chocolate in 20-second intervals, stirring in between, until it is completely melted and smooth.
- Dip each frozen banana in the melted chocolate to coat. Press two candy eyeballs onto each banana.
- Place the chocolate-covered bananas back on the parchment-lined plate and let them set for about 10 minutes.
- In a microwave-safe bowl, microwave the 8 marshmallows for 10 to 15 seconds, until they are puffed. Stir until smooth and let the mixture cool slightly.
- Using a spoon or your fingers, scoop up some of the melted marshmallow. It will stretch into a thread; wrap these threads around the chocolate-covered bananas to create a ‘mummy bandage’ effect.
- Transfer the finished ‘mummies’ to a parchment-lined plate and return them to the freezer to firm up before serving.
Notes
- This is a very easy no-bake treat that is perfect for a Halloween party or as a fun activity to make with kids.
- Freezing the bananas on skewers first is a crucial step that makes them firm and easy to dip in the warm chocolate without becoming mushy.
- The stretched marshmallow creates a realistic and spooky mummy bandage effect.
Storage and Make-Ahead Tips
These Banana Mummies are the perfect make-ahead party treat!
- Make-Ahead: You can make these festive treats up to 1 week in advance.
- Storage: Store the finished banana mummies in a single layer in a freezer-safe, airtight container or a resealable bag in the freezer.
For more recipe follow my pinterest account
Creative Recipe Variations (“Make it Your Own Monster!”)
- Make it a “Ghost” Banana: For a different but equally adorable spooky treat, you can dip your frozen bananas in melted white chocolate instead of the semisweet chocolate. Before the white chocolate sets, you can use two mini chocolate chips to create the spooky eyes and mouth of a ghost.
- Add a Crunchy Coating: For an extra layer of delicious texture, you can roll your freshly dipped, chocolate-covered bananas in your favorite festive Halloween sprinkles or some finely chopped nuts before the chocolate has a chance to set.
- Use a Different “Mummy”: If you’re not a fan of bananas, this fun decorating technique is also absolutely fantastic with a large pretzel rod or even a large, rectangular crispy rice treat as the base.
Enjoy Your Ultimate Spooky & Sweet Halloween Treat!
You’ve just created a truly special treat that is a perfect harmony of fun, classic ingredients and delicious, satisfying flavors. These classic “Banana Mummies” are a testament to the power of a simple, creative idea to become an instant party favorite and a treasured holiday tradition. It’s a rewarding and deeply satisfying recipe that is sure to make your Halloween party a memorable one.
We hope you enjoy every last, perfect, and delicious bite!
If you enjoyed making this recipe, please leave a comment below or share it with a friend who loves an easy and impressive meal!
Frequently Asked Questions (FAQs)
Q1: What is the absolute, number one secret to getting the chocolate to stick to a frozen banana without it cracking?
The secret is to work quickly and to let the chocolate set at room temperature for a few minutes before you put it back in the freezer. Dipping a very cold, frozen banana into warm chocolate can sometimes cause the shell to crack due to the rapid temperature change. Letting it sit for just 5-10 minutes on the counter allows the temperatures to equalize a bit more gently.
Q2: How do I make a marshmallow web or bandage that is stretchy and not just a big, sticky mess?
There are two main secrets! First, and most importantly, you must let your melted marshmallows cool down for a minute or two after you have microwaved them. When they are very hot, they are just a sticky liquid. As they cool, they will become wonderfully stretchy and pliable. Second, it is absolutely essential to liberally spray your hands or your spoon with a nonstick cooking spray. This will prevent the marshmallow from sticking and will allow you to stretch it into those beautiful, thin, bandage-like strands.
Q3: Can I make these Halloween banana pops ahead of time for a party?
Yes, these are a perfect make-ahead party treat! You can prepare them completely and store them in an airtight, freezer-safe container for up to a week before your party.
Q4: What is the best kind of chocolate to use for a dipping shell?
For the easiest, most foolproof result, it is highly recommended to use a good quality chocolate melting wafer or a candy melt. They are specifically designed to melt easily and to set up with a hard, shiny finish. If you are using regular chocolate chips, as this recipe suggests, stirring in about 1 teaspoon of coconut oil is a fantastic trick that will help it to melt more smoothly and to create a beautiful, glossy shell.
Q5: What are the best kind of bananas to use for freezing?
You want to use bananas that are perfectly ripe (with a few brown spots on the peel for the best, sweetest flavor), but are still firm to the touch. Bananas that are overly ripe and mushy will be very difficult to skewer and will not have the best texture once they are frozen.

