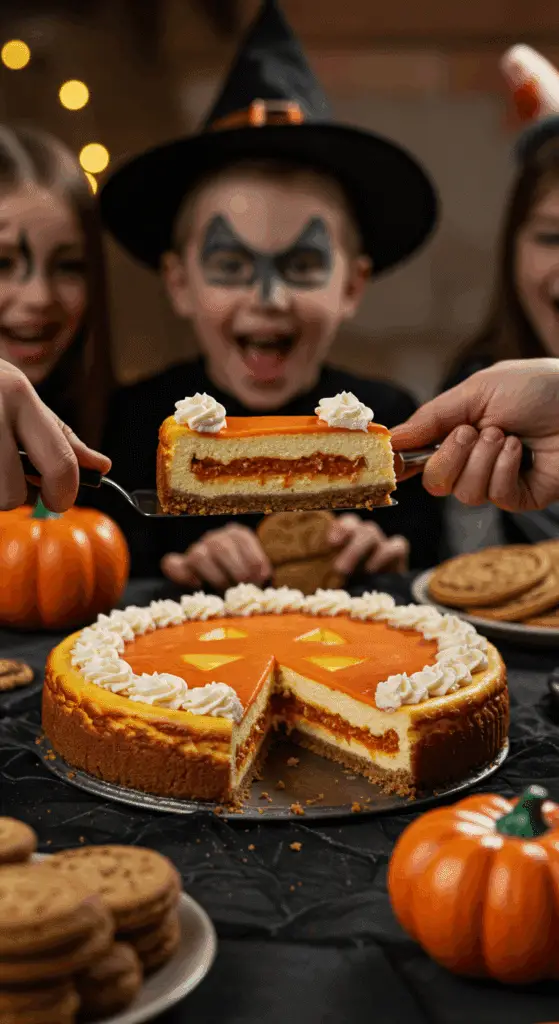
Ready to create the undisputed champion of all Halloween desserts? A show-stopping, edible centerpiece so creative, so delicious, and so spectacularly spooky, it will have everyone at your party gasping in awe? This incredible, from-scratch Jack-o’-Lantern Cheesecake is that perfect recipe! We’re talking a rich, creamy, no-bake pumpkin cheesecake, sitting atop a decadent, fudgy brownie crust, and decorated with a spooky, grinning Jack-o’-Lantern face made from the very same brownie.
This isn’t just a recipe; it’s a guide to your new favorite edible Halloween project. While it looks like a masterpiece from a professional bakery, we’ll show you the simple but brilliant secrets to creating this stunning dessert at home. This is a guaranteed, crowd-pleasing hit that is as fun to make as it is to eat, and it will be the star of any haunted gathering.
Table of Contents
Table of Contents
Recipe Overview: The Ultimate Spooky & Delicious Halloween Centerpiece
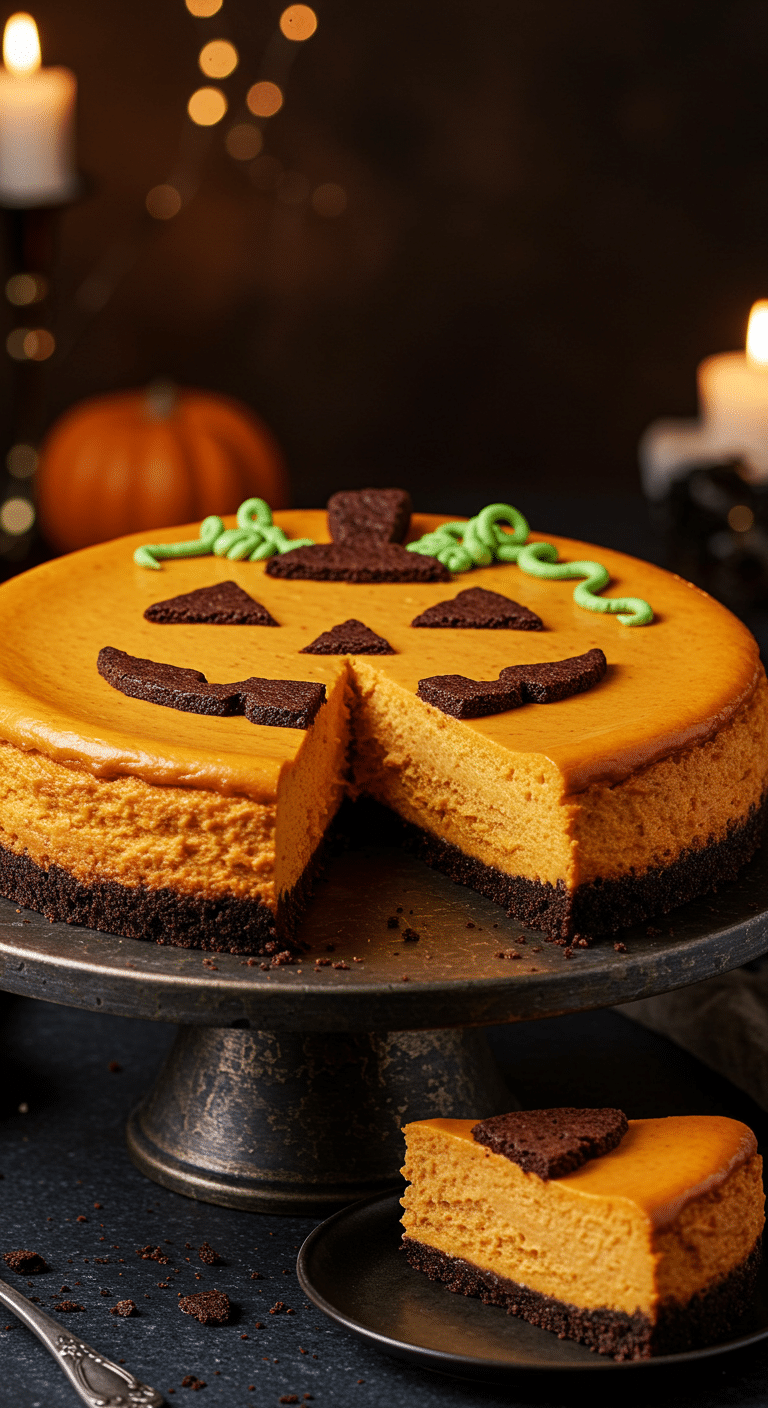
What makes this Jack-o’-Lantern Cheesecake so spectacularly fun is its brilliant, sculptural design and its incredible combination of classic fall flavors. This recipe is a masterpiece of festive creativity. The dessert starts with a rich, dense, and fudgy homemade brownie base, which is topped with a layer of melted chocolate. A circle is cut from this brownie to form the crust, and the leftovers are cleverly used to cut out the spooky eyes, nose, and mouth of our Jack-o’-Lantern. The filling is a luscious, silky, and completely no-bake pumpkin cheesecake, which gets its perfect, sliceable set from a little bit of gelatin. The brownie “face” pieces are gently pressed into the top of the cheesecake before it chills, creating a stunning and spooky final look.
| Metric | Time / Level |
| Total Time | 6 hours (includes cooling & chilling) |
| Active Prep Time | 1 hour |
| Difficulty Level | Intermediate |
| Servings | 12-16 slices |
The Mad Scientist’s Laboratory: The Essential Ingredients
This iconic party cake uses a handful of high-quality ingredients and a few key techniques to create its signature spooky look.
- The Fudgy Brownie Crust & Face:
- The Brownie: The secret to a super-rich, dense, and fudgy (not cakey!) brownie is to use both melted semisweet chocolate and unsweetened cocoa powder, along with a relatively small amount of flour.
- The No-Bake Pumpkin Cheesecake Filling:
- The Creamy Base: A classic and delicious combination of room temperature cream cheese, 100% pure pumpkin puree, and tangy sour cream creates the perfect, rich and creamy cheesecake base.
- Gelatin (The No-Bake Secret!): The magic that allows this creamy, no-bake filling to set up perfectly firm for beautiful, clean slices is a simple packet of unflavored powdered gelatin.
- The Spooky Decorations:
- A bit of green-tinted vanilla frosting and a square of semisweet chocolate are all you need to create the final, adorable pumpkin vine and stem.
The Baker’s Masterclass: The Secret to a Perfect No-Bake Cheesecake
The number one, non-negotiable secret to a successful no-bake cheesecake that slices beautifully is the proper use of gelatin.
- “Bloom” the Gelatin: You must “bloom” your powdered gelatin before you use it. This simply means sprinkling it over a small amount of cold water and letting it sit for about 5 minutes. This is the key that hydrates the gelatin granules and ensures they will dissolve smoothly and evenly into your filling without any lumps.
- Melt and Incorporate: Once the gelatin has bloomed into a thick paste, a quick 30 seconds in the microwave will melt it into a liquid. It is then ready to be blended into your cheesecake filling, where it will work its magic as it chills.

Step-by-Step to the Best Jack-o’-Lantern Cheesecake
This fun and festive project is a joy to prepare.
Part 1: Bake the Fudgy Brownie Base
Step 1: First, preheat your oven to 350°F (175°C). Line a 10×15-inch baking dish with foil, leaving an overhang on the sides, and coat it with nonstick cooking spray.
Step 2: In a medium saucepan, melt the 2 sticks of butter and the 4 ounces of semisweet chocolate together over a medium heat. Let it cool slightly, then stir in the 2 cups of granulated sugar and then the 4 beaten eggs.
Step 3: In a separate bowl, whisk together the 1 1/2 cups of all-purpose flour, the 1/3 cup of cocoa powder, and the 1/2 teaspoon of salt. Add this to your chocolate mixture and stir to combine.
Step 4: Pour the batter into your prepared pan and bake for 20 to 25 minutes. Immediately sprinkle the 1 bag of bittersweet chocolate chips evenly over the top of the hot brownie. Let them sit for 5 minutes to melt, and then use an offset spatula to spread the chocolate into an even layer.
Step 5: Let the brownie cool completely, and then refrigerate it for about 30 minutes, until the chocolate is completely set.
Part 2: Create Your Crust and Spooky Face
Step 1: Use the foil “handles” to lift your chilled brownie out of the pan. Place it on a large piece of parchment paper. Step 2: Use the bottom of your 9-inch springform pan as a guide to trace and cut out a perfect circle from one half of the brownie. Place this brownie circle, chocolate-side up, into the bottom of your springform pan. Step 3 (The Fun Part!): From the remaining brownie half, use a paring knife to cut out two 2 1/2-inch triangles for the “eyes,” one 2-inch triangle for the “nose,” and a 5-inch-wide, half-moon shape for the spooky, toothy “mouth.”
Part 3: Make the No-Bake Filling and Assemble
Step 1: In a small bowl, sprinkle your 1 packet of unflavored gelatin over 1/4 cup of cold water and let it bloom for 5 minutes. Step 2: In a food processor, combine the two 8-ounce packages of room temperature cream cheese, the 1 can of pumpkin puree, the 1 1/2 cups of confectioners’ sugar, the 1/2 cup of sour cream, the 1 tablespoon of vanilla extract, and a pinch of salt. Process until the mixture is completely smooth. Step 3: Microwave your bloomed gelatin for about 30 seconds until it has melted, and then add it to the cream cheese mixture and process to combine. Step 4: Pour your cheesecake batter into the springform pan, on top of your brownie crust. Step 5: Gently press your brownie “eyes,” “nose,” and “mouth” into the top of the batter until they are even with the surface. Step 6 (The Most Important Step!): Chill the cheesecake in the refrigerator until it is completely set, for at least 4 hours, or preferably overnight.
Part 4: The Final, Festive Touches
Mix your 1/2 cup of store-bought vanilla frosting with a few drops of green food coloring. Transfer this to a piping bag and pipe a curly “vine” along the top edge of your Jack-o’-Lantern. Push your 1-ounce square of semisweet chocolate into the top side of the cheesecake to make the “stem.”

Jack-o’-Lantern Cheesecake (with a Fudgy Brownie Crust!)
An elaborate and festive recipe for a ‘Halloween Cheesecake’ decorated to look like a jack-o’-lantern. This impressive dessert features a rich, from-scratch brownie base that is baked and then cut to form the crust and the shapes for the jack-o’-lantern’s face. The filling is a creamy, no-bake pumpkin cheesecake made with cream cheese, pumpkin puree, and sour cream, and set with gelatin. The brownie face pieces are pressed into the top of the cheesecake before it chills, creating a fun and spooky centerpiece for a Halloween party.
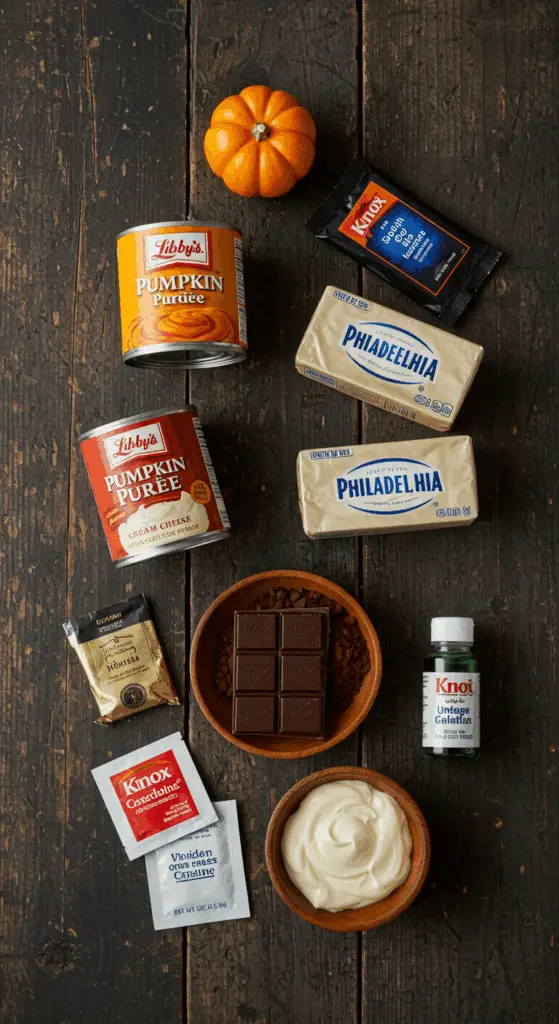
Ingredients
- For the Brownie:
- Nonstick cooking spray
- 1 1/2 cups all-purpose flour
- 1/3 cup unsweetened cocoa powder
- 1/2 teaspoon fine salt
- 2 sticks (1 cup) unsalted butter
- 4 ounces semisweet chocolate, chopped
- 2 cups granulated sugar
- 4 large eggs, slightly beaten
- One 10-ounce bag bittersweet chocolate chips
- For the Cheesecake:
- One 1/4-ounce packet unflavored powdered gelatin
- Two 8-ounce packages cream cheese, at room temperature
- One 15-ounce can pure pumpkin puree
- 1 1/2 cups confectioners’ sugar
- 1/2 cup sour cream
- 1 tablespoon vanilla extract
- Pinch of fine salt
- For Decoration:
- 1/2 cup store-bought vanilla frosting
- Green gel food coloring
- 1 ounce square semisweet chocolate
Instructions
- Make the Brownie Base: Preheat the oven to 350°F. Line a 10-by-15-inch baking dish with foil, leaving an overhang, and coat with nonstick spray.
- Melt the butter and semisweet chocolate in a saucepan. Let cool slightly, then stir in the sugar and eggs. Stir in a mixture of the flour, cocoa powder, and salt. Pour into the prepared pan.
- Bake for 20 to 25 minutes. Sprinkle the bittersweet chocolate chips over the hot brownie and let them melt for 5 minutes, then spread into an even layer. Let it cool completely, then refrigerate for 30 minutes to set the chocolate.
- Cut the Brownie Shapes: Lift the brownie from the pan. Cut out a 9-inch circle for the cheesecake crust. From the remaining brownie, cut out two triangles for the eyes, one smaller triangle for the nose, and a half-moon shape for the mouth.
- Fit the brownie circle, chocolate-side up, into the bottom of a 9-inch springform pan.
- Make the Cheesecake Filling: In a small bowl, let the gelatin soften in 1/4 cup of water for 5 minutes.
- In a food processor, process the cream cheese, pumpkin puree, confectioners’ sugar, sour cream, vanilla, and salt until smooth.
- Microwave the softened gelatin for about 30 seconds until melted. Add the melted gelatin to the cream cheese mixture and process to combine.
- Pour the cheesecake batter into the springform pan over the brownie crust.
- Gently press the brownie eyes, nose, and mouth pieces into the batter until they are flush with the top.
- Chill in the refrigerator for at least 4 hours, or up to overnight, until completely set.
- Decorate and Serve: Mix the vanilla frosting with green food coloring. Transfer to a pastry bag and pipe a curly vine on top of the cheesecake. Push the chocolate square into the top for a stem.
Notes
- Special Equipment: The recipe requires a 10×15-inch baking dish, a 9-inch springform pan, and a pastry bag.
- This is a multi-component dessert where the crust is baked, but the cheesecake filling is a no-bake style set with gelatin.
- The jack-o’-lantern face is cleverly made from the leftover pieces of the brownie base.
- The article references a ‘Cook’s Note’ that is not provided in the text.
Storage and Make-Ahead Tips
This is the ultimate make-ahead party centerpiece!
- Make-Ahead: This dessert must be made ahead, as it requires at least 4 hours to chill and set. It is the perfect dessert to prepare the day before a party or a holiday gathering.
- Storage: Store any leftover cheesecake, well-covered, in the refrigerator for up to 5 days.
For more recipe follow my pinterest account
Frequently Asked Questions (FAQs)
Q1: What is the absolute, number one secret to a no-bake cheesecake that slices cleanly and holds its shape?
The secret is gelatin! A small amount of bloomed, unflavored gelatin is the brilliant and foolproof ingredient that will give your creamy, no-bake filling a beautiful, sturdy set that is perfect for getting those clean, impressive slices. The long chilling time is also crucial.
Q2: Can I make this Halloween cheesecake ahead of time for a party?
Yes, absolutely! This is an ideal make-ahead dessert. You can prepare it completely a day or two in advance and keep it, well-covered, in the refrigerator. The flavors will actually have even more time to meld and will be even more delicious.
Q3: Can I make this with a different kind of crust?
Of course! For a more classic cheesecake experience, you can substitute the brownie crust with a simple, no-bake graham cracker or a chocolate cookie crumb crust.
Q4: Do I have to use a food processor for the cheesecake filling?
While a food processor is fantastic for getting a super-smooth result, you can absolutely make the filling in a large bowl with a good electric hand mixer. Just be sure to beat the cream cheese first until it is completely smooth and free of lumps before you add your other ingredients.
Q5: What is the best way to get beautiful, clean slices of this cheesecake?
The secret is to use a large, sharp chef’s knife and to clean the blade of the knife between each cut. A hot knife also works wonders! You can run your knife under hot water and then wipe it completely dry before each slice. This will allow the knife to glide through the creamy filling, creating a perfect, clean cut every single time.

