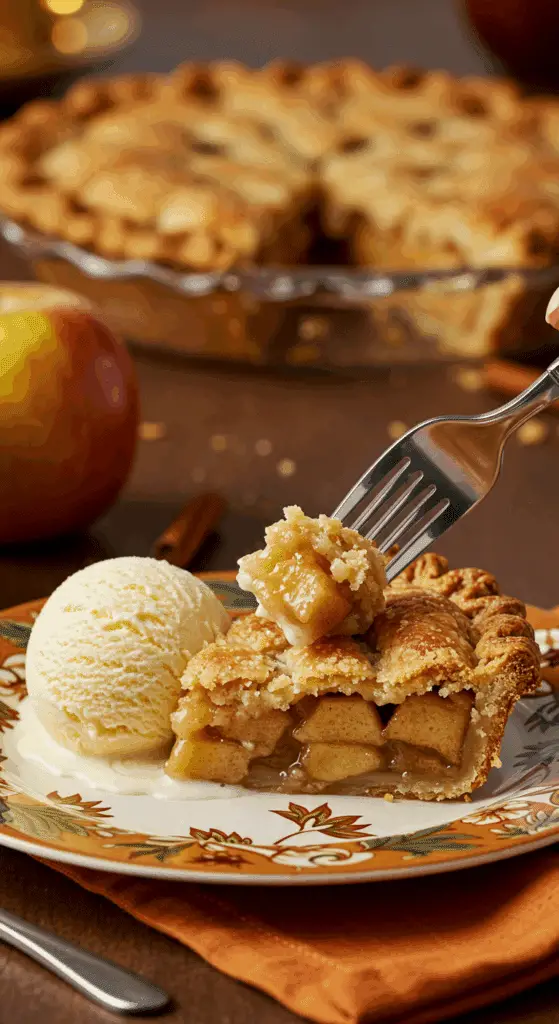
Are you searching for the ultimate, iconic dessert to be the star of your holiday table? A magnificent, from-scratch apple pie so perfect, so packed with flavor, and so impossibly flaky, it will become the stuff of family legend? This incredible, Classic All-Butter Apple Pie is that perfect recipe. We’re talking a shatteringly crisp and buttery crust, packed to the brim with tender, sweet-tart apples that are bathed in a rich, spiced, and deeply caramelized syrup made from their own juices.
This isn’t just another apple pie recipe; it’s your definitive guide to mastering an American classic. We’ll show you the two most important, non-negotiable professional secrets to a flawless pie: a flaky, all-butter crust that never fails, and a brilliant, foolproof filling technique that guarantees your pie will be perfectly sliceable, never watery, and will have absolutely no dreaded gap between the filling and the top crust.
Table of Contents
Table of Contents
Recipe Overview: The Ultimate “No-Soggy-Bottom” Apple Pie
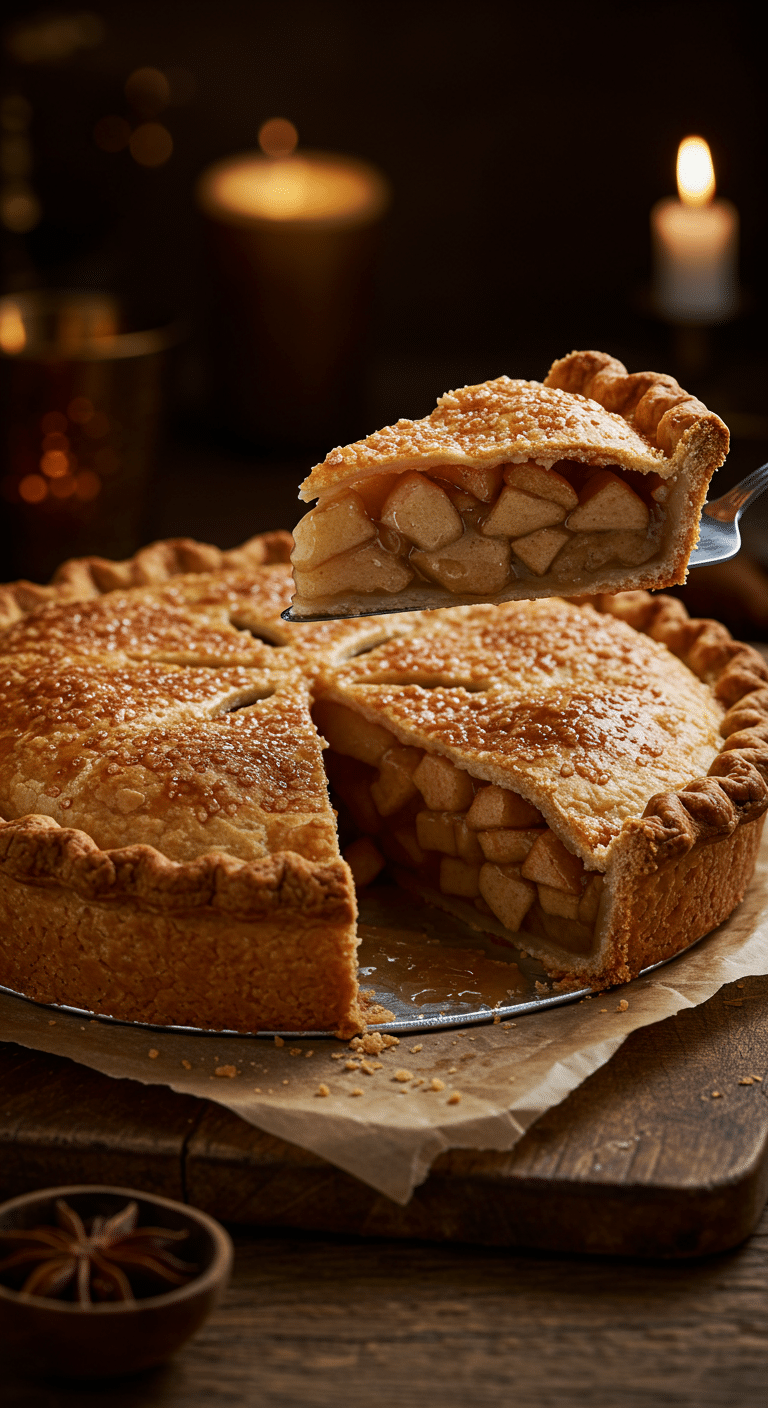
What makes this Apple Pie so spectacularly delicious is its incredible depth of flavor and its perfect, sturdy structure. This recipe is a masterpiece of classic American baking, elevated with a few brilliant, professional techniques. The foundation is a classic, from-scratch all-butter pie crust (pâte brisée), which bakes up unbelievably flaky and tender.1 The real magic, however, is in the filling. Instead of raw apples, this recipe has you pre-cook the apples, drain off their juices, and then reduce those juices into a thick, caramelized syrup. This genius step not only concentrates the apple flavor to an incredible degree but is also the foolproof secret to a pie that holds its shape beautifully and has a perfectly crisp bottom crust.
| Metric | Time / Level |
| Total Time | 4 hours (includes chilling & cooling) |
| Active Prep Time | 50 minutes |
| Difficulty Level | Intermediate |
| Servings | 8 slices |
The Baker’s Orchard: The Essential Ingredients
This iconic dish uses a handful of high-quality, classic ingredients to create its signature rich and comforting flavor.
- The All-Butter Crust:
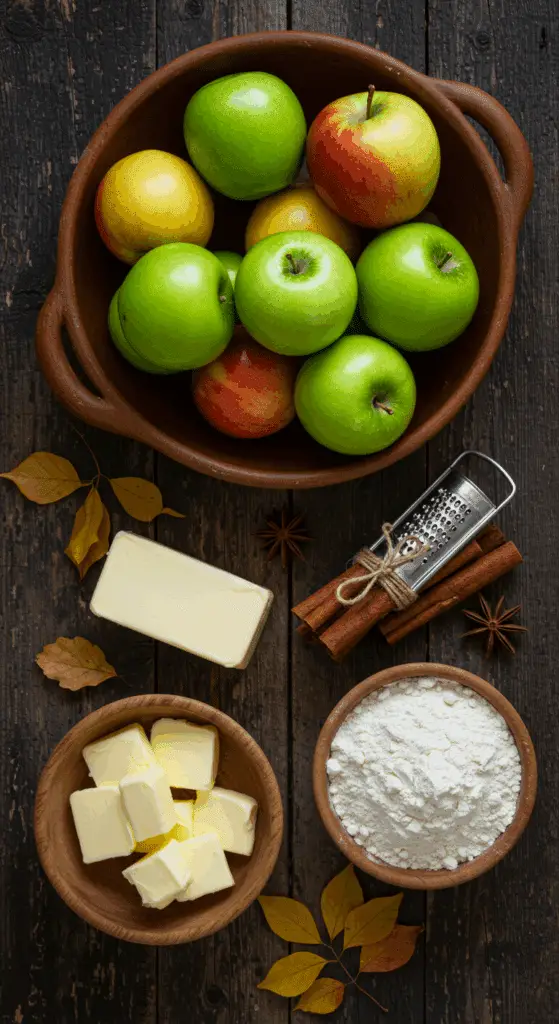
- Cold, Unsalted Butter: The number one, non-negotiable secret to a wonderfully flaky crust is to use very cold, cubed, unsalted butter.2 The little pockets of butter are the key that creates steam in the oven, which results in those beautiful, flaky layers.3
- The Apple Filling:
- The Apples: For the best, most flavorful filling that holds its shape and doesn’t turn to mush, it is essential to use a good baking apple. A combination of apples is even better! Fantastic choices include Golden Delicious, Cortland, Mutsu, Honeycrisp, or a classic Granny Smith.
- The Spices: A simple, classic, and perfect combination of warm cinnamon and fragrant, freshly grated nutmeg.
The Baker’s Masterclass: The Secrets to a Perfect Pie
This recipe uses two simple but brilliant professional techniques that guarantee a flawless, impressive result.
- The Flaky Crust Secret: Keep it COLD!: The key to a perfect, flaky crust is to keep your ingredients, especially your butter, as cold as possible.4 This is why the recipe has you chill the dough after mixing, after rolling, and one last time after assembling the pie. This is the foolproof secret that solidifies the butter, which prevents it from melting too quickly and guarantees a beautiful, flaky texture.
- The “No-Gap” Filling Secret: Pre-Cook & Reduce!: This is the game-changing, professional secret that solves the two biggest problems in apple pie: a soggy bottom and the dreaded gap between the fruit and the top crust. By pre-cooking your apples, you are releasing their juices before they go into the pie. By reducing those juices into a thick, caramelized syrup, you are creating an intensely flavorful “glue” that coats the apples, prevents a watery filling, and ensures your pie is packed to the brim with fruit, with no sad, empty dome under your top crust.

Step-by-Step to the Best Classic Apple Pie
This elegant, festive dessert is a joy to prepare.
Part 1: The Art of the Flaky All-Butter Crust
In a large bowl, whisk together your 2 1/2 cups of all-purpose flour, 4 teaspoons of sugar, and 1/4 teaspoon of salt. Using your fingers or a pastry blender, work your 14 tablespoons of cold, diced butter into the dry ingredients until the mixture resembles coarse cornmeal with some bean-sized bits of butter remaining.
In a small bowl, lightly beat 1 large egg with 2 tablespoons of cold water. Add this to your flour mixture and use a fork to bring the dough together.
Form the dough into a disk, wrap it in plastic wrap, and refrigerate it until it is thoroughly chilled, for at least 1 hour.
Part 2: The Perfect Caramelized Apple Filling
Step 1: In a large bowl, place your 2 tablespoons of lemon juice. Peel, core, and cut your 3 pounds of baking apples into wedges and toss them with the lemon juice. Add the 2/3 cup of sugar and toss to combine.
Step 2: In a large skillet, melt the 1/4 cup of butter over a medium-high heat. Add your apples and cook, stirring, for about 2 minutes. Cover the pan, reduce the heat, and cook for about 7 more minutes, until the apples have softened and released their juices.
Step 3 (The Most Important Step!): Strain the apples in a colander set over a medium bowl to catch all the delicious juice. Return just the juices to the skillet and simmer over a medium heat for about 10 minutes, until the liquid has thickened and become a light, beautiful caramel.
Step 4: In a medium bowl, toss your cooked apples with the reduced caramel syrup and your spices. Let this filling cool completely.
Part 3: The Festive Assembly and Final Bake
Step 1: Preheat your oven to 375°F ($190^{\circ}C$) with a rack in the lower third.
Step 2: Cut your chilled dough in half. On a lightly floured surface, roll one half into a 12-inch disc and line the bottom of your 9-inch pie pan.
Step 3: Fill the pan with your cooled apple filling, mounding it slightly in the center. Brush the top edges of the dough with a beaten egg.
Step 4: Roll out your second disc of dough and place it over the top. Fold the top layer under the bottom layer and crimp the edges to seal. Brush the surface of the dough with your egg wash and sprinkle generously with sugar. Cut a few slits in the top of the dough to allow steam to escape. Refrigerate the assembled pie for at least 15 minutes.
Step 5: Bake the pie on a baking sheet for about 50 minutes. You will know it is perfectly done when the crust is a deep golden brown and you can see the filling bubbling through the steam vents. Let the pie cool completely on a wire rack before serving. This is crucial for the filling to set!

Classic Apple Pie (A Foolproof Holiday Recipe!)
A classic, from-scratch recipe for a double-crust apple pie. This traditional dessert features a flaky, all-butter pie dough and a flavorful filling made with baking apples like Golden Delicious. A key technique involves pre-cooking the apples to soften them and then reducing their juices with butter to create a rich, lightly caramelized sauce. The pie is encased in the buttery crust, finished with an egg wash and a sprinkle of sugar, and baked until golden brown.
Ingredients
- For the Dough:
- 2 1/2 cups all-purpose flour
- 4 teaspoons sugar
- 1/4 teaspoon fine salt
- 14 tablespoons cold butter, diced
- 1 large egg
- 2-3 tablespoons cold water
- For the Filling:
- 3 pounds baking apples (e.g., Golden Delicious, Cortland)
- 2 tablespoons freshly squeezed lemon juice
- 2/3 cup sugar, plus more for sprinkling
- 1/4 cup unsalted butter
- 1/4 teaspoon ground cinnamon
- Generous pinch of ground nutmeg
- For Assembly:
- 1 large egg, lightly beaten
Instructions
- Make the Dough: In a large bowl, whisk together the flour, sugar, and salt. Work the cold, diced butter into the flour with your fingers or a pastry blender until it resembles coarse crumbs with some bean-sized bits of butter remaining.
- In a small bowl, whisk the egg with 2 tablespoons of cold water. Add this to the flour mixture and stir with a fork until the dough just comes together. Add another tablespoon of water if it seems dry. Form the dough into a disk, wrap in plastic, and refrigerate for at least 1 hour.
- Make the Filling: Peel, core, and slice the apples into wedges. Toss them in a bowl with the lemon juice and 2/3 cup of sugar.
- In a large skillet, melt the butter over medium-high heat. Add the apples and cook for about 2 minutes. Cover, reduce the heat, and cook for about 7 minutes until the apples soften and release their juices.
- Strain the apples in a colander set over a bowl to catch the juice. Return the juices to the skillet and simmer over medium heat for about 10 minutes, until thickened and lightly caramelized.
- Toss the cooked apples with the reduced juice and the spices. Let the filling cool completely.
- Assemble and Bake: Preheat the oven to 375°F. Cut the chilled dough in half. Roll one half into an 11 to 12-inch circle and fit it into a 9-inch pie pan.
- Pour the cooled apple filling into the pan. Brush the edges of the bottom crust with a beaten egg.
- Roll out the second half of the dough and place it over the top. Trim the dough, fold the top layer under the bottom layer, and press to seal. Crimp the edges as desired.
- Brush the surface of the top crust with the beaten egg and sprinkle with sugar. Cut several slits in the top to allow steam to escape.
- Bake the pie on a baking sheet for about 50 minutes, until the crust is golden. Cool on a wire rack before serving.
Notes
- This is a classic holiday dessert, perfect for Thanksgiving or Christmas.
- The key technique of pre-cooking the apples and reducing their juices prevents a soggy bottom crust and creates a rich, concentrated apple flavor.
- It is important that the butter for the crust is very cold to achieve a flaky texture.
- The filling can be made up to 2 days ahead and refrigerated.
Storage and Make-Ahead Tips
- Make-Ahead: This is the perfect make-ahead holiday dessert! You can prepare the pie dough up to 3 days in advance and store it, well-wrapped, in the refrigerator.5 The apple filling can also be made up to 2 days ahead. You can also fully assemble the entire, unbaked pie and freeze it for up to 3 months.
- Storage: Store the finished, baked pie, loosely covered, at room temperature for up to 2 days, or in the refrigerator for up to 4 days.
For more recipe follow my pinterest account
Frequently Asked questions (FAQs)
Q1: What is the absolute, number one secret to an apple pie that isn’t a watery, soupy mess?
The secret is the brilliant pre-cooking and juice-reducing method! By cooking the apples first and then reducing their juices into a thick syrup, you are removing all that excess water before it ever gets into your pie, which is the foolproof key to a perfect, sliceable filling and a crispy bottom crust.
Q2: Can I use a store-bought pie crust?
You can, but for the absolute best, most authentic flavor and the flakiest texture, the homemade, all-butter crust in this recipe is highly recommended and truly worth the little bit of extra effort!
Q3: Can I make this pie with a lattice top?
Yes, absolutely! A beautiful, woven lattice top is a stunning and classic choice for an apple pie. Simply cut your top disc of dough into strips and weave them over your filling.
Q4: How do I keep the edges of my pie crust from burning?
If you notice the delicate, fluted edges of your crust are getting too dark before the rest of the pie is done, you can create a simple “pie shield” by loosely covering the edges with a ring of aluminum foil.
Q5: Why is it so important to let the pie cool completely?
This is a crucial, patient step! A hot apple pie filling is essentially molten. Letting the pie cool for at least 2 to 3 hours is the non-negotiable key that allows the juices and the natural pectins in the apples to cool down and to set up into a perfect, sliceable consistency.

