Are you searching for the ultimate, “foolproof,” and nostalgic treat for your holiday celebration? The kind of soulful, “from-scratch” candy that tastes just like the ones grandma used to make—impossibly rich, perfectly chocolatey, and packed with a nutty, peanut butter crunch? This incredible, “Grandma’s” Classic Christmas Candy is that perfect recipe. We’re talking a classic, no-bake, 3-ingredient fudge-like bar, made from the timeless, perfect combination of chocolate, butter, and crunchy peanut butter.
This isn’t just another candy recipe; it’s a guide to mastering the legendary, multi-generational secret to the easiest holiday treat… ever. Forget the complicated, finicky candy thermometers and fussy ingredients. We’ll show you the simple but crucial professional secrets to a flawless, foolproof, and unbelievably delicious candy that will be the star of your Christmas cookie platters and holiday gift-giving.
Table of Contents
Table of Contents
Recipe Overview: The Ultimate “3-Ingredient” Holiday Treat
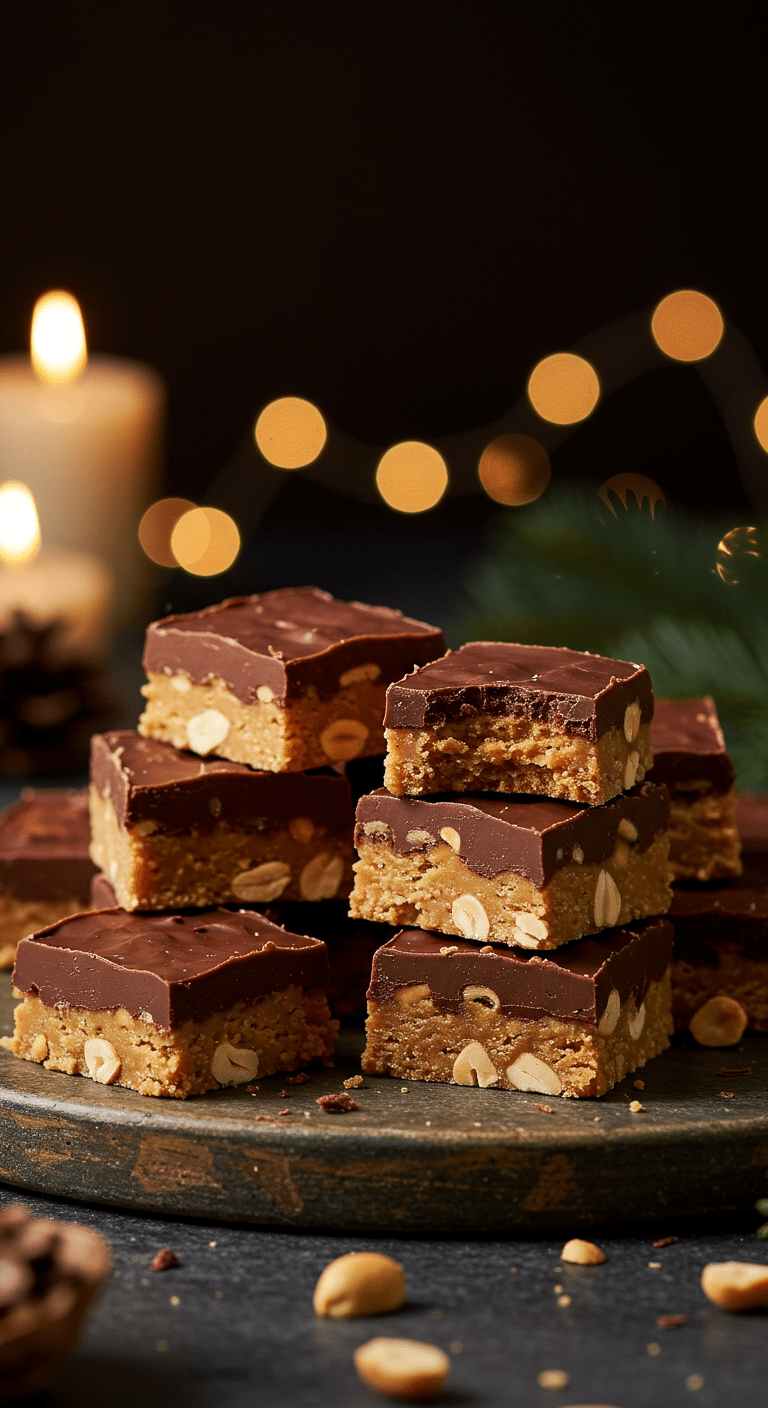
What makes this “Grandma’s” Christmas Candy so spectacularly delicious is its incredible simplicity and its perfect, rich flavor. This recipe is a masterpiece of classic, old-fashioned, “no-bake” candy-making. The star of the show is the “magic” of the crunchy peanut butter, which provides both the savory, nutty flavor and the wonderful, crunchy texture all in one easy ingredient. The brilliant, foolproof technique involves gently melting semisweet chocolate chips and butter in a double boiler, which is the non-negotiable secret to a perfectly smooth, glossy, and never-burnt chocolate. This beautiful, melted mixture is then stirred with the peanut butter, chilled until firm, and cut into perfect, decadent squares.
| Metric | Time / Level |
| Total Time | 2 hours 30 minutes (includes 2+ hours chilling) |
| Active Prep Time | 15 minutes |
| Difficulty Level | Easy |
| Servings | 3-4 dozen squares |
The Baker’s Pantry: The Essential Ingredients & Tools
The beauty of this classic recipe is in its “Big 3” simplicity, which means the quality of your ingredients and the proper technique are absolutely paramount.
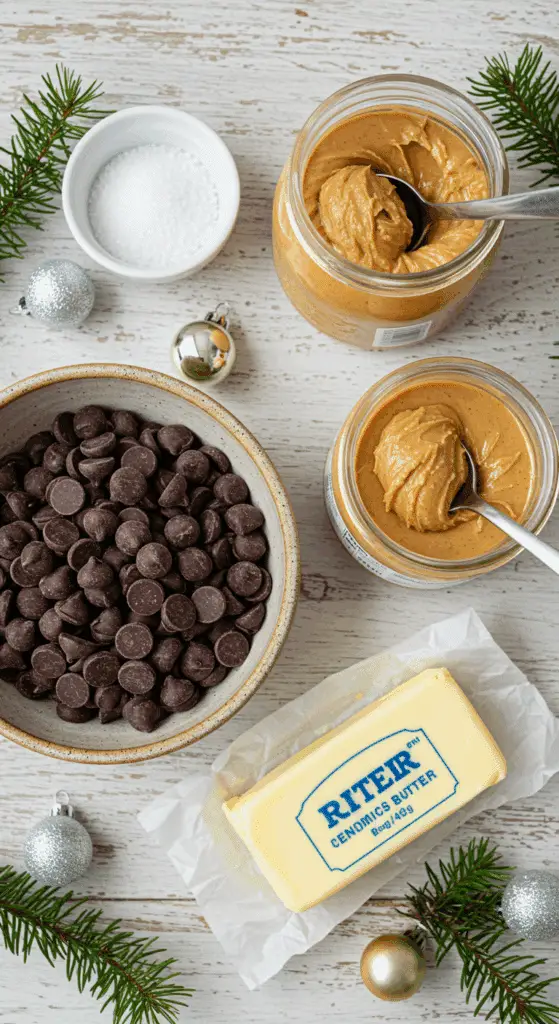
- The “Big 3” Ingredients (The Heart of the Candy!):
- Crunchy Peanut Butter: This is the brilliant, all-in-one “Grandma’s secret”! Using a high-quality, crunchy peanut butter is the key that provides the salty, savory peanut flavor and the perfect, nutty, and crunchy texture, all in one simple step.
- Semisweet Chocolate Chips: The classic, “not-too-sweet” choice that provides the perfect, rich chocolate flavor to balance the sweet and salty peanut butter.
- Butter: The final, crucial ingredient that makes the melted chocolate perfectly smooth, glossy, and rich, and gives the finished candy that wonderful, melt-in-your-mouth texture.
- The Key Equipment (The “No-Burn” Secret!):
- A Double Boiler: The number one, old-fashioned secret to melting chocolate perfectly is gentle, indirect heat. A double boiler is the classic, foolproof tool that ensures your chocolate melts slowly and evenly, which is the key that prevents it from “seizing” (getting grainy) or scorching.1
The Baker’s Masterclass: The Secrets to a Perfect, Foolproof Candy
This recipe is all about a few simple but brilliant techniques that guarantee a flawless, impressive result.
- The “Foolproof” Double Boiler is KEY!: This is the single most important secret to this recipe’s success. By melting your chocolate and butter over indirect, simmering water (not direct heat!), you are guaranteeing a gentle, even melt. This is the non-negotiable key that ensures your chocolate will be perfectly smooth, glossy, and never, ever grainy or burnt.
- The “Foil Sling” for Clean Cuts: The professional secret to perfect, clean-cut squares is to line your 9×13-inch pan with foil, making sure to leave a 2-inch overhang on the sides. This creates a “foil sling,” which will allow you to easily lift the entire, hardened block of candy out of the pan before you cut it.
- The CHILL is CRUCIAL!: This is a true, no-bake, “set-it-and-forget-it” candy. It must chill in the refrigerator for at least 2 hours, or until it is completely firm. This crucial, patient step is the key that allows the candy to set up, which is the magic that will allow you to get those beautiful, clean, and professional-looking squares. Do not skip this step!

Step-by-Step to the Best “Grandma’s” Christmas Candy
This elegant, festive dessert is a joy to prepare.
Part 1: The Art of the “No-Burn” Double Boiler Melt
Step 1: First, line a 9×13-inch pan with foil, leaving a 2-inch overhang on two sides to create a “sling.”
Step 2: In the top pot of a double boiler, combine your 2 cups of semisweet chocolate chips and the 1/2 cup of butter. Set the pot over simmering (not boiling) water.
Step 3: Let the chocolate and butter melt slowly, stirring occasionally, until the mixture is completely smooth and glossy.
Part 2: The “Magic” Mix and Final Chill
Step 1: Add your 2 cups of crunchy peanut butter to the melted chocolate mixture. Stir until everything is well mixed and perfectly combined.
Step 2 (The Fun Part!): Pour your chocolate-peanut butter mixture into your prepared 9×13-inch pan and spread it into an even layer.
Step 3 (The Most Important Step!): Cover the pan and chill it in the refrigerator for at least 2 hours, or until the candy is completely hardened.
Step 4: Once the candy is firm, use your foil “handles” to lift the entire block out of the pan. Cut it into small, 1-inch squares and serve.
What to Serve With Your Christmas Candy
These beautiful and nostalgic squares are a fantastic and essential part of any holiday celebration.

3-Ingredient Christmas Candy (Grandma’s Old-Fashioned Recipe!)
A no-bake recipe for a ‘White Christmas Pie.’ This classic holiday dessert features a pre-baked 9-inch pie crust filled with a light, fluffy, and voluminous coconut cream filling. The filling is made by creating a cooked custard base (milk, sugar, flour), which is set with gelatin. This base is then lightened with both folded-in whipped cream and a stiffly beaten egg white meringue. The pie is topped with more flaked coconut and must be chilled for at least 2 hours to set completely.
Ingredients
- 1 (.25 ounce) package unflavored gelatin
- ¼ cup cold water
- 1 cup white sugar, divided
- 4 tablespoons all-purpose flour
- ½ teaspoon salt
- 1 ½ cups milk
- ¾ teaspoon vanilla extract
- 1 cup flaked coconut
- ½ cup heavy whipping cream
- 3 egg whites
- ¼ teaspoon cream of tartar
- 1 (9 inch) pie crust, baked
- 2 tablespoons flaked coconut, for topping
Instructions
- In a small bowl, sprinkle the gelatin over the cold water and set it aside to soften.
- In a medium saucepan, combine 1/2 cup of the sugar, the flour, and the salt. Gradually stir in the milk to create a smooth mixture.
- Cook over low heat, stirring constantly, until the mixture boils and thickens. Boil for 1 minute, then remove from the heat.
- Transfer the mixture to a large bowl. Stir in the softened gelatin until it is completely dissolved.
- Let the mixture cool until it is partially set. Once partially set, beat it with a rotary or electric mixer until smooth.
- Blend in the vanilla extract and 1 cup of the flaked coconut.
- In a separate bowl, whip the heavy cream until stiff peaks form. Gently fold the whipped cream into the coconut mixture.
- In a clean, dry bowl, beat the 3 egg whites with an electric mixer until frothy. Add the cream of tartar and the remaining 1/2 cup of sugar. Continue beating until stiff peaks form.
- Gently fold the beaten egg white mixture (meringue) into the coconut-cream mixture.
- Pile the final filling into the pre-baked 9-inch pie shell.
- Sprinkle the top with the remaining 2 tablespoons of flaked coconut.
- Chill the pie for at least 2 hours, or overnight, to allow it to set completely before serving.
Notes
- This is a classic no-bake (or chiffon-style) pie that must be chilled for several hours to set properly.
- The recipe uses raw, uncooked egg whites in the filling. For modern food safety, it is recommended to use pasteurized egg whites.
- The filling is lightened by two separate components: whipped cream and a beaten egg white meringue.
- The 9-inch pie crust must be pre-baked and completely cooled before adding the filling.
- The Perfect Pairing: They are absolutely perfect served on a holiday cookie platter alongside other classics like gingerbread, spritz, and “Grandma’s Snowball Cookies.”
- A Cozy Treat: They are the perfect, decadent bite to enjoy with a cup of hot coffee, a cup of tea, or a rich, homemade hot chocolate.
Storage and Gifting Tips
These are the ultimate make-ahead holiday treat!
- Make-Ahead: This is a perfect make-ahead dish! You can prepare the entire recipe up to 2 weeks in advance.
- Storage: Store the finished, cut squares in an airtight container in the refrigerator for up to 3 weeks.
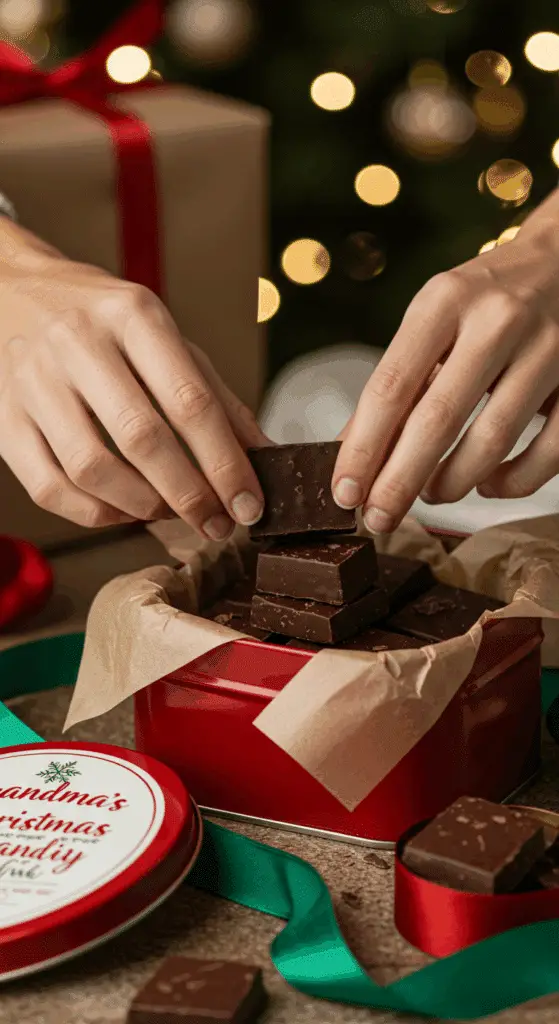
- The Perfect Homemade Gift: For a beautiful and thoughtful gift, simply stack your candy squares in a festive holiday tin (be sure to separate the layers with wax paper!) or in a clear cellophane bag tied with a beautiful, festive ribbon.
For more recipe follow my pinterest account
Frequently Asked questions (FAQs)
Q1: Do I really need a double boiler?
A double boiler is the most foolproof method, but you can absolutely make your own “DIY” version! Simply place your chocolate and butter in a heatproof glass or metal bowl and set it over a saucepan of simmering (not boiling) water. The key is to make sure the bottom of the bowl is not touching the water.
Q2: Can I make this in the microwave?
You can, but you must be extremely careful. The number one way to ruin chocolate is to scorch it in the microwave. If you choose this method, you must combine your chocolate and butter in a microwave-safe bowl and heat them in very short, 20-second bursts, stirring well after each burst, until the mixture is smooth.
Q3: Can I use creamy peanut butter?
Yes, but you will lose all the wonderful, nutty crunch that is the signature of this recipe! If you only have creamy peanut butter, you can stir in about 1 cup of finely chopped, roasted peanuts along with it to get that classic, crunchy texture.
Q4: Can I use a different kind of chocolate?
Of course! This recipe is wonderful with milk chocolate chips (for a sweeter, “Reese’s-cup” style candy) or dark chocolate chips (for a more intense, sophisticated, and less-sweet flavor).
Q5: Can I make this dairy-free or vegan?
Yes, easily! To make this recipe vegan, simply substitute the butter with an equal amount of your favorite high-quality, stick-style vegan butter substitute or a refined coconut oil, and be sure to use a high-quality, dairy-free chocolate chip.

