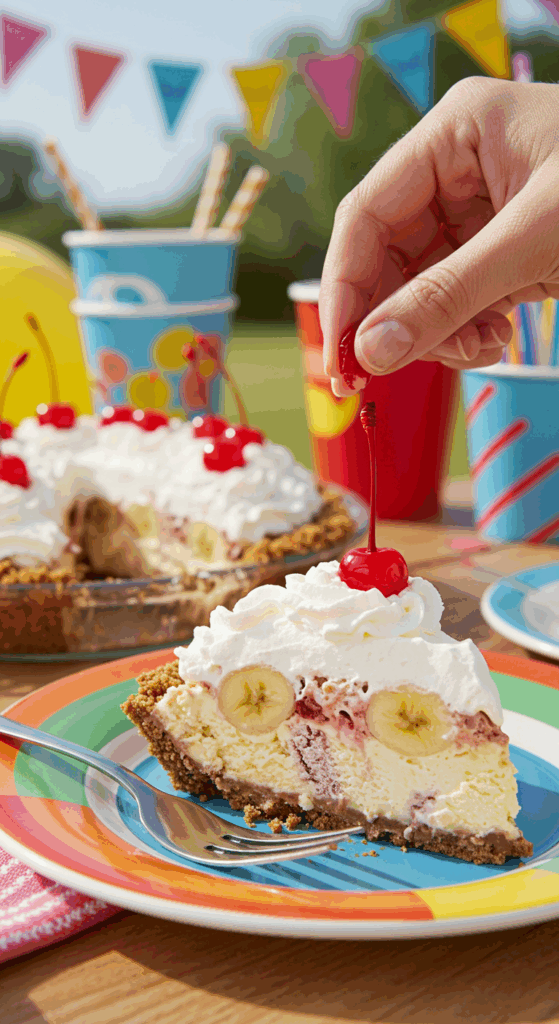
Remember the pure, unadulterated joy of a classic, towering banana split sundae from your favorite ice cream parlor? That perfect combination of sweet ice cream, fresh banana, tangy pineapple, whipped cream, nuts, and a cherry on top? What if you could capture all that fun, nostalgic flavor in an incredibly easy, no-bake, and perfectly sliceable pie? This amazing Banana Split Ice Cream Pie is that dream come true.
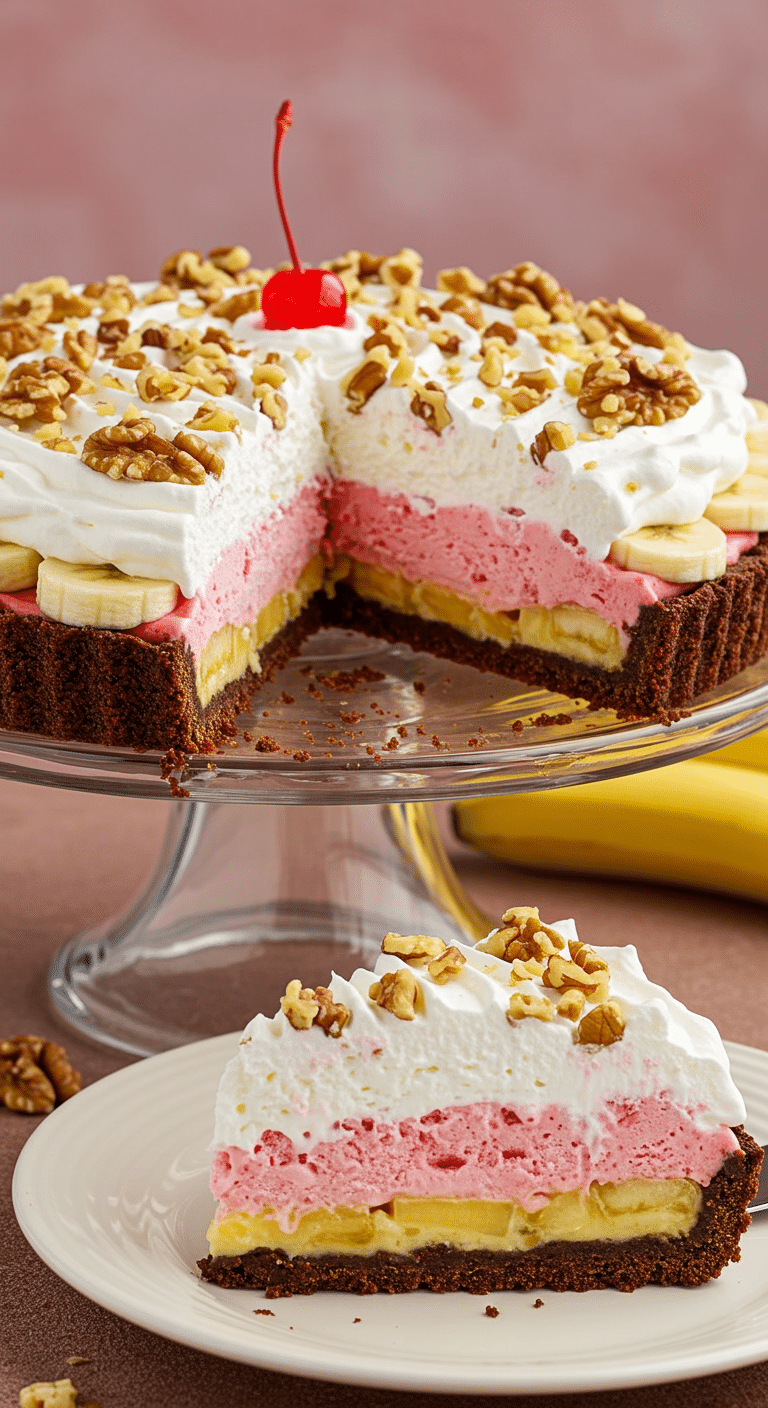
This isn’t just a recipe; it’s the ultimate party dessert, a celebration of summer, and a guaranteed hit with both kids and adults. We layer all the classic components of a banana split—a chocolatey crust, fresh bananas, strawberry ice cream, and sweet pineapple—and top it with fluffy whipped cream and crunchy nuts. It’s a completely stress-free, assembly-only dessert that is sure to be the star of any celebration.
Table of Contents
Table of Contents
Recipe Overview: Your Favorite Sundae in a Pie!
What makes this Banana Split Ice Cream Pie a legendary dessert is its incredible ease and its fun, nostalgic flavor profile. This is a true no-bake, freezer-aisle masterpiece that uses a simple layering technique to create a stunning and delicious frozen treat. With a homemade chocolate wafer crust and layers of fruit and ice cream, it’s the perfect make-ahead dessert for summer barbecues, birthday parties, or any time you need a guaranteed crowd-pleaser.
| Metric | Time / Level |
| Total Time | 4 hours 20 minutes (includes freezing) |
| Active Prep Time | 20 minutes |
| Difficulty Level | Easy |
| Servings | 8 |
The Essential Ingredients for This Fun Freezer Pie
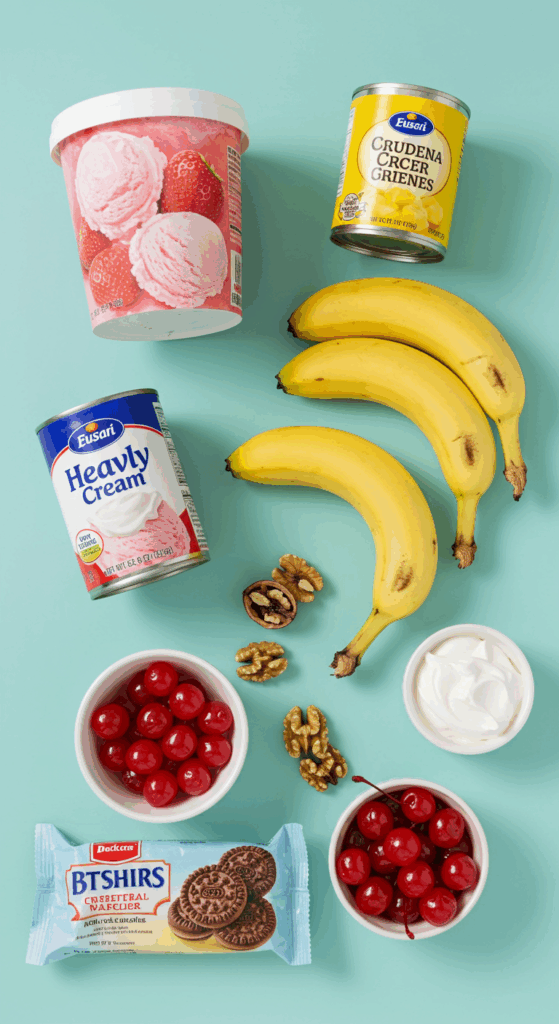
This recipe uses a handful of simple, classic ingredients to recreate the iconic banana split experience.
- The Chocolate Wafer Crust: The perfect, rich, and chocolatey foundation for our pie. A simple, 2-ingredient press-in crust made from crushed chocolate wafer cookies and melted butter provides a wonderful, crunchy contrast to the creamy layers.
- Fresh Bananas: You can’t have a banana split without bananas! We use two ripe but still firm bananas, sliced and layered on the bottom of the crust.
- Strawberry Ice Cream: This represents the classic strawberry topping from a banana split. A full quart of your favorite brand of strawberry ice cream creates a thick, creamy, and fruity main layer. Be sure to let it soften slightly so it’s easy to spread!
- Crushed Pineapple: This provides the signature sweet and tangy tropical flavor of a classic banana split. It’s crucial that you drain the canned pineapple very well to prevent a layer of ice crystals from forming in your pie.
- Homemade Whipped Cream: While the recipe calls for whipped cream, we’ll show you how to make your own! It’s incredibly easy and tastes so much better than the stuff from a can. It provides that light, fluffy, classic sundae topping.
- The Toppings (Walnuts & Maraschino Cherries): The essential final touches! A sprinkle of crunchy, chopped walnuts and a few bright red, sweet maraschino cherries make this pie truly look and taste like a classic banana split.

Step-by-Step to the Ultimate Ice Cream Pie
This recipe is all about simple, fun assembly. The freezer does most of the work!
Step 1: Prepare the Chocolate Wafer Crust
First, let’s make the simple, delicious crust. In a medium bowl, mix the 20 finely crushed chocolate wafer cookies with the 1/4 cup of melted butter. Stir with a fork until all the crumbs are evenly moistened.
Press this crumb mixture firmly and evenly into the bottom and up the sides of a 9-inch pie plate. You can use the bottom of a flat measuring cup to help you get a nice, compact crust.
Step 2: Assemble the Fruit and Ice Cream Layers
Arrange the slices from the two bananas in an even layer over the bottom of the chocolate wafer crust.
Next, spread the softened strawberry ice cream in an even layer over the top of the bananas. Use the back of a spoon or a small offset spatula to smooth the top.
Pro Tip: To soften your ice cream perfectly, simply transfer it from the freezer to the refrigerator for about 20-30 minutes before you plan to assemble the pie. This will make it easy to spread without being a melted mess.
Top the ice cream layer with the well-drained crushed pineapple, spreading it out evenly.
Step 3: Top with Whipped Cream and Nuts
In a chilled bowl, beat the 1 cup of cold heavy whipping cream with an electric mixer on high speed until soft peaks form. You can add a tablespoon of powdered sugar if you like your whipped cream a little sweeter.
Spread the fresh whipped cream over the top of the pineapple layer.
Sprinkle the 1/4 cup of chopped walnuts evenly over the whipped cream.
Step 4: Freeze to Perfection
Carefully place the assembled pie in the freezer. Let it freeze for at least 4 hours, or until it is completely firm. For the best results, freezing it overnight is a great option.
When you are ready to serve, you can garnish the pie with the maraschino cherries.

The Ultimate Easy No-Bake Banana Split Ice Cream Pie
A no-bake frozen dessert that captures all the classic flavors of a banana split in a pie form. This recipe features a simple crust made from crushed chocolate wafer cookies and melted butter. The crust is layered with fresh banana slices, a thick layer of softened strawberry ice cream, and well-drained crushed pineapple. The pie is then topped with a layer of fresh whipped cream, sprinkled with chopped walnuts, and garnished with maraschino cherries before being frozen until firm.
- Prep Time: 20 minutes
- Cook Time: 0 minutes
- Total Time: 4 hours 20 minutes (includes freezing time)
- Yield: 8 servings
- Category: Dessert
- Method: No-Bake, Layering, Freezing
- Cuisine: American
- Diet: Vegetarian
Ingredients
- 20 chocolate wafer cookies, finely crushed
- ¼ cup butter, melted
- 2 bananas, sliced
- 1 quart strawberry ice cream, softened
- 1 (20 ounce) can crushed pineapple, drained
- 1 cup heavy whipping cream
- ¼ cup chopped walnuts
- ¼ cup maraschino cherries (Optional)
Instructions
- In a bowl, mix the finely crushed cookie crumbs with the melted butter.
- Press the crumb mixture firmly into the bottom and up the sides of a 9-inch pie plate to form the crust.
- Arrange the sliced bananas in an even layer over the bottom of the crust.
- Carefully spread the softened strawberry ice cream in an even layer over the bananas.
- Top the ice cream with the drained crushed pineapple.
- In a separate bowl, whip the heavy cream until stiff peaks form. Spread the whipped cream over the pineapple layer.
- Sprinkle the chopped walnuts over the top of the whipped cream.
- Place the pie in the freezer for at least 4 hours, or until it is firm.
- Garnish with maraschino cherries, if desired, just before serving.
Notes
- This is a completely no-bake recipe, perfect for a hot day when you don’t want to use the oven.
- It is important to drain the crushed pineapple very well to prevent the pie from becoming icy.
- Let the ice cream soften at room temperature for about 10-15 minutes to make it easily spreadable.
Serving Your Frozen Masterpiece
For the cleanest, easiest slices, it’s helpful to let the pie sit at room temperature for about 5-10 minutes before you plan to serve it.
Use a long, sharp knife to cut the pie into wedges. A great trick is to run the blade of the knife under hot water and then wipe it dry before each cut. The hot knife will glide through the frozen pie, creating beautiful, clean slices that show off all the delicious layers. For a true, over-the-top banana split experience, you can even serve each slice with a drizzle of chocolate syrup!
Storage and Make-Ahead Tips
This Banana Split Ice Cream Pie is the absolute perfect make-ahead dessert for any party or celebration.
- Make-Ahead: You can assemble this entire pie up to a week in advance. After the initial 4-hour freeze, wrap it tightly in a layer of plastic wrap and then a layer of aluminum foil to protect it from freezer burn.
- Storage: Store any leftover pie, well-covered, in the freezer. It will stay fresh and delicious for at least a week.
For more recipe follow my Pinterest account
Creative Recipe Variations
This fun and festive pie is a great base for all sorts of ice cream creations.
- “True” Banana Split Pie: To more closely mimic the three scoops of ice cream in a classic banana split, you can use three different flavors of ice cream. After the banana layer, add softened scoops of vanilla, chocolate, and strawberry ice cream to fill the pie crust before topping with the pineapple.
- Add a Chocolate Fudge Layer: For an even more decadent treat, you can add a layer of your favorite hot fudge sauce. After you add the pineapple layer, drizzle a generous amount of fudge sauce over the top before spreading on the whipped cream.
- Try a Different Crust or Nut: For a different flavor profile, you can make the crust with crushed vanilla wafers or graham crackers. For a salty-sweet twist, swap the walnuts for chopped, salted peanuts.
Enjoy Your Fun and Festive Dessert!
You’ve just created a truly joyful dessert that is guaranteed to bring a smile to everyone’s face. This Easy Banana Split Ice Cream Pie is a celebration of classic, nostalgic flavors in a fun, new, and incredibly simple format. It’s the perfect, stress-free dessert for any occasion where you want to serve up a big slice of happiness.
We hope you and your loved ones enjoy every last, cool and creamy bite!
If you enjoyed making this recipe, please leave a comment below or share it with a friend who loves a good ice cream treat!
Frequently Asked Questions (FAQs)
Q1: How do I soften ice cream without it melting into a soupy mess?
The best and most controlled way to soften a quart of hard, frozen ice cream is to place it in the refrigerator for about 20 to 30 minutes before you need to use it. This will soften it evenly, making it easy to spread without it becoming completely melted.
Q2: How do I keep the banana slices from turning brown in the pie?
The bananas are layered on the bottom and are quickly covered by the ice cream, which protects them from the air and largely prevents them from browning. If you are concerned, you can gently toss the banana slices with a teaspoon of fresh lemon or pineapple juice before layering them in the crust.
Q3: How do I get clean, beautiful slices of a frozen ice cream pie? T
The secret is a very firm freeze and a hot knife. Make sure the pie has been in the freezer for at least 4 hours, or preferably overnight. When you’re ready to slice it, fill a tall glass with hot water. Dip a long, sharp knife in the hot water for a few seconds, quickly wipe it dry with a towel, and then make one clean cut. Repeat this process of heating and wiping the knife for every single slice you make.
Q4: Can I make this dessert dairy-free or vegan?
Yes, with the wide variety of dairy-free products available today, you can easily make a vegan version of this pie! Use a vegan chocolate cookie to make the crust with melted coconut oil or vegan butter. Use your favorite brand of dairy-free strawberry ice cream, and top it with a whipped topping made from coconut cream.
Q5: What are the best chocolate wafers to use for the crust?
The classic choice for a chocolate wafer crust is the 9-ounce box of Nabisco Famous Chocolate Wafers, which are usually found in the cookie aisle or near the ice cream toppings. If you can’t find them, you can also use about 20-22 Oreo cookies (with the filling removed), finely crushed in a food processor.

