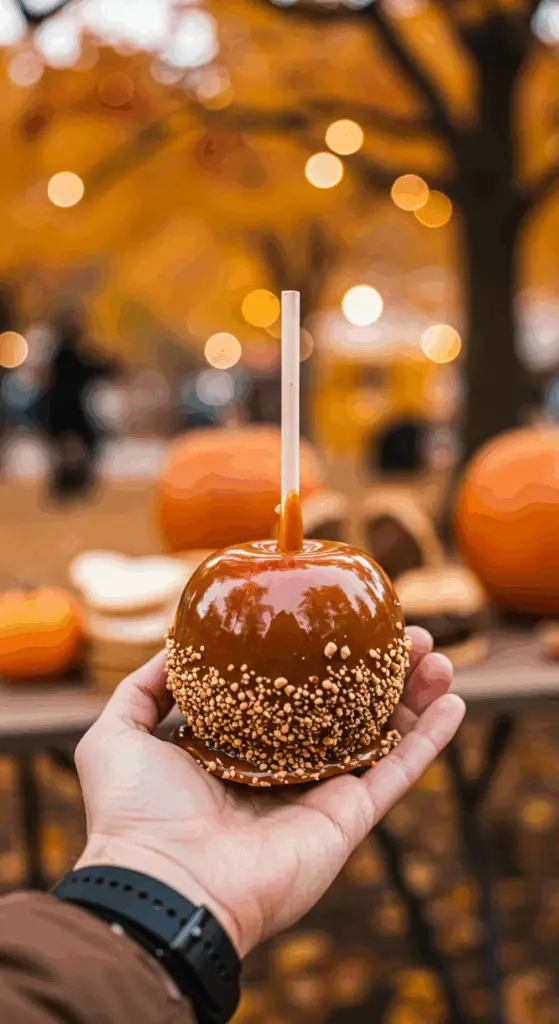
Are you ready to create the ultimate, iconic fall treat right in your own kitchen? A crisp, juicy apple, enrobed in a shatteringly crisp, buttery, and deeply flavorful hard caramel shell? This incredible, from-scratch Homemade Caramel Apple recipe is your ultimate guide to mastering the beloved classic! Forget the soft, chewy, store-bought versions. We’re talking about the real deal—a true, old-fashioned, candy-coated apple that will transport you straight to a crisp autumn day at the state fair.
This isn’t just a recipe; it’s a guide to your new favorite fall tradition. While making candy from scratch can seem intimidating, we’ll show you the simple but crucial secrets to a flawless, from-scratch hard caramel that sets up perfectly every single time. This is a show-stopping, festive treat that is as fun to make as it is to eat!
Table of Contents
Table of Contents
Recipe Overview: The Ultimate Classic Fall Treat
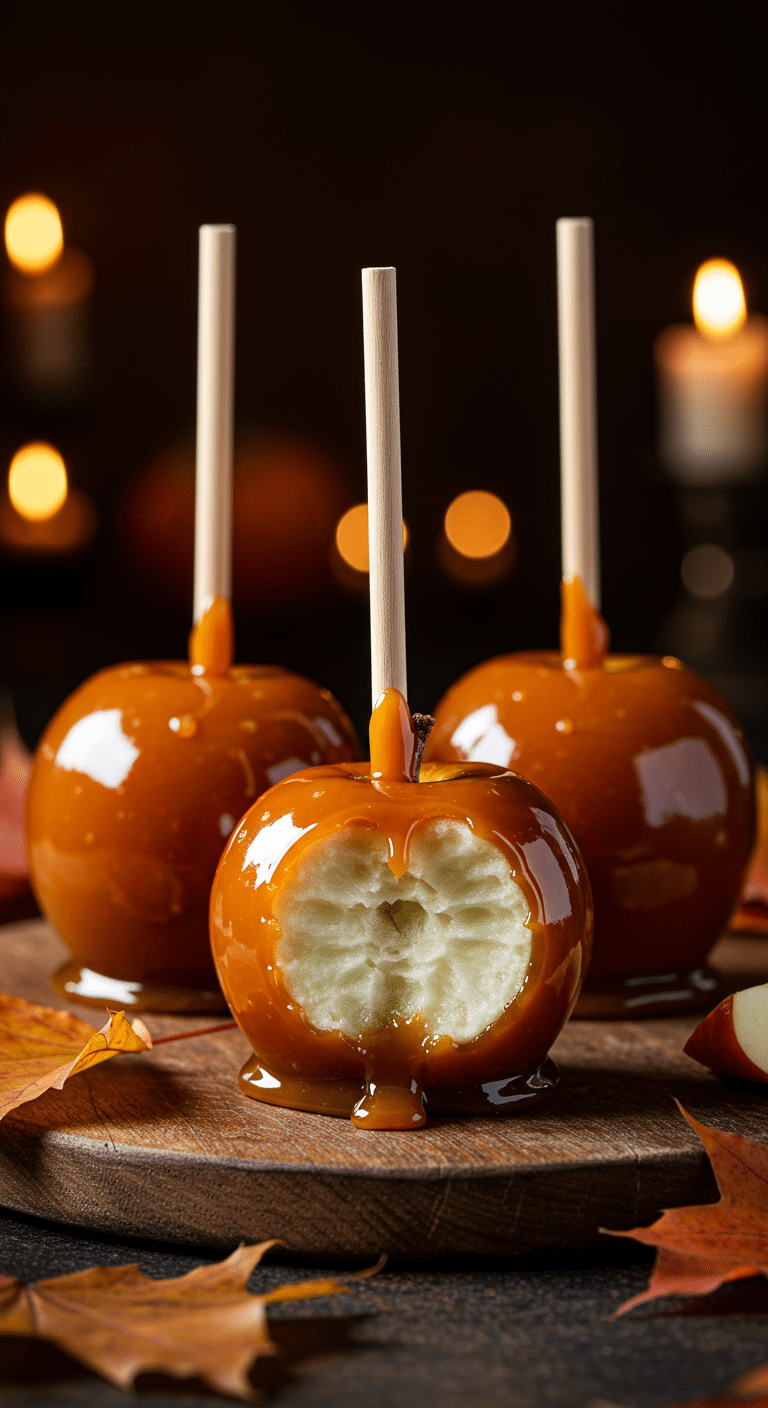
What makes these homemade Caramel Apples so spectacularly delicious is their incredible, authentic texture and their deep, buttery flavor. This recipe is a masterpiece of classic, old-fashioned candy making. The “caramel” is a true hard caramel, which creates a beautiful, glassy, and translucent amber-colored shell with a satisfying “crack” when you bite into it. The sauce is made by carefully cooking a mixture of sugar, corn syrup, and water to the “hard crack” stage, and then enriching it with heavy cream, butter, and vanilla. This beautiful, hot caramel is then used to coat crisp, tart apples, creating the perfect, nostalgic fall treat.
| Metric | Time / Level |
| Total Time | 1 hour 30 minutes (includes cooling) |
| Active Prep Time | 30 minutes |
| Difficulty Level | Intermediate |
| Servings | 6 caramel apples |
The Candy Maker’s Kitchen: The Essential Ingredients & Tools
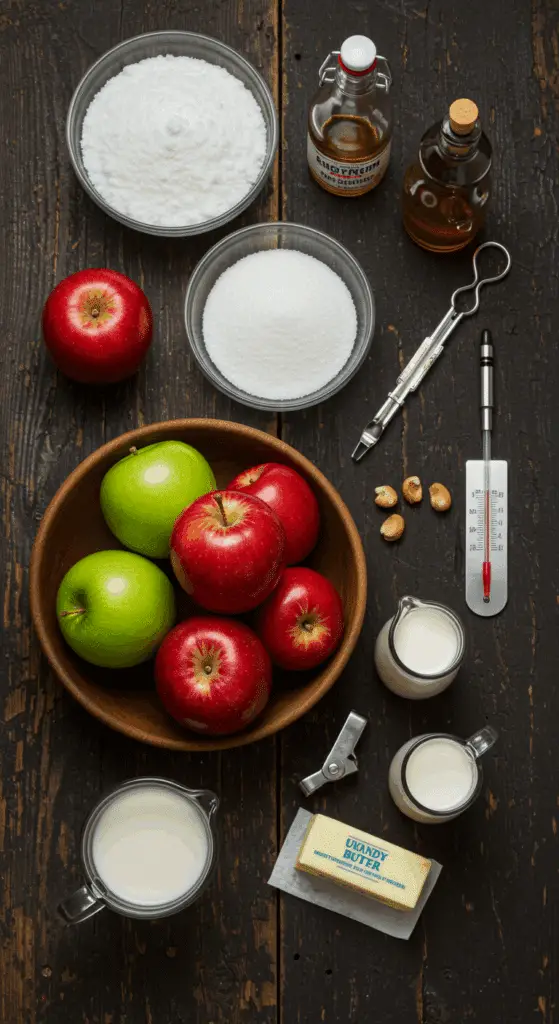
The beauty of this classic recipe is in its simplicity, but the technique is paramount. Having the right ingredients and tools is the key to success.
- The Apples (The Perfect Canvas!):
- The secret to a great caramel apple is the apple itself! You want to use a very crisp, firm, and slightly tart apple that can stand up to the sweet caramel. Classic, bright green Granny Smith apples are a perfect, traditional choice. Other fantastic options include Honeycrisp, Pink Lady, or Braeburn.
- Wash and Dry Thoroughly: This is a non-negotiable step! Apples from the grocery store are coated in a thin layer of food-grade wax, which will cause your beautiful, hot caramel to slide right off. Be sure to wash your apples very well with hot water and dry them completely before you begin.
- The Hard Caramel (Candy-Making 101!):
- The Key Equipment: For perfect, foolproof candy making, a candy thermometer is your non-negotiable best friend. It is the only way to accurately know the temperature and the stage of your hot sugar syrup.
- Corn Syrup: This is a crucial ingredient! A little bit of corn syrup is the secret that will prevent your sugar from crystallizing and becoming grainy, ensuring a perfectly smooth and glassy final caramel.
The Candy Science Masterclass: The Secret to a Perfect Hard Caramel
Making candy is all about science, and it’s surprisingly easy if you understand the “why.”
- Safety First: Working with hot, melted sugar is dangerous. Be sure to have a bowl of ice water nearby, just in case. Work slowly and carefully, and keep any children or pets away from the hot stove.
- The “Hard Crack” Stage: For a glassy, crunchy caramel apple, you need to cook your sugar syrup to the “hard crack” stage. The recipe directs you to cook the syrup to 375-380°F before adding the cream. This is a very deep caramelization stage that creates a beautiful amber color and a rich, toasted flavor.
- The Cooling Stage: It is crucial to let your finished, hot caramel cool down to about 190°F before you dip your apples. If the caramel is too hot, it will be too thin and will simply slide off the apple, leaving you with a very thin, disappointing coat. A slightly cooler, thicker caramel is the key that will create that perfect, thick, and even shell.

Step-by-Step to the Best Old-Fashioned Caramel Apples
This fun and festive project is a joy to prepare.
Part 1: Prepare Your Apples and Workstation
Step 1: Prepare your 6 crisp apples by washing and drying them very thoroughly. Remove the stems and pierce each apple through the stem end about halfway through with a candy apple stick.
Step 2: Line a large baking sheet with parchment paper and lightly spray it with nonstick cooking spray. This will prevent your finished caramel apples from sticking.
Part 2: The Art of Making Hard Caramel
Step 1: In a small saucepan, add the 2 cups of sugar, the 1/4 cup of light corn syrup, and 1/2 cup of water. Stir the ingredients together a few times before the sugar begins to boil.
Step 2: Attach your candy thermometer to the inside of the pan and bring the syrup to a boil over a medium-high heat. Once it is boiling, do not stir it. Let the syrup cook until it begins to turn an amber color. You can gently swirl the pan to even out the color.
Step 3: Continue to cook until the syrup has reached a deep amber color and the thermometer reads between 375°F and 380°F.
Step 4: Immediately remove the pan from the heat. Very carefully and slowly pour in the 1/2 cup of heavy cream and gently whisk to combine. The mixture will bubble up violently, so be careful!
Step 5: Stir in the 2 tablespoons of unsalted butter, the 1/2 teaspoon of pure vanilla extract, and a pinch of salt until the caramel is smooth. Keep the candy thermometer attached to the pan.
Part 3: Dipping and Cooling Your Apples
Step 1 (The Final, Crucial Step!): Let the caramel cool, undisturbed, until the temperature reads around 190°F on your thermometer. Step 2: Holding one of your prepared apples by its stick, dip it into the caramel, tilting the pan and swirling the apple to coat it completely. Step 3: Allow any excess caramel to drip off the bottom of the apple. You can use a spatula to help remove any large drips. Step 4: Place the dipped apple on your prepared baking sheet to cool. Repeat this process with all your remaining apples.
Let the caramel apples cool and harden completely before serving, which will take about 1 hour.

Caramel Apples (An Easy Homemade Recipe!)
A classic, from-scratch recipe for perfect homemade caramel apples, a quintessential fall treat. The recipe involves making a rich caramel sauce by carefully cooking sugar and corn syrup to a deep amber color, then enriching it with heavy cream, butter, and vanilla. Crisp, fresh apples are washed, dried, and inserted with sticks, then dipped into the warm caramel to create a thick, even coating. The finished apples are set on a prepared baking sheet to cool and harden.
Ingredients
- 2 cups sugar
- 1/4 cup light corn syrup
- 1/2 cup heavy cream
- 2 tablespoons unsalted butter
- 1/2 teaspoon pure vanilla extract
- Kosher salt
- 6 medium crisp apples (such as Honeycrisp or Granny Smith)
- 6 candy apple sticks
- Nonstick cooking spray
Instructions
- Prepare the Caramel: Add the sugar, corn syrup, and 1/2 cup of water to a small saucepan over medium-high heat. Attach a candy thermometer to the pan. Bring the syrup to a boil and cook, swirling the pan occasionally, until the syrup is a deep amber color and the thermometer reads between 375°F and 380°F.
- Remove the pan from the heat. Carefully pour in the heavy cream and gently whisk to combine (the mixture will bubble up).
- Stir in the butter, vanilla, and a pinch of salt until the caramel is smooth. Keep the thermometer attached to the pan and let the caramel cool.
- Prepare the Apples: While the caramel is cooling, wash and dry the apples thoroughly. Pierce each apple through the stem end with a candy apple stick.
- Line a baking sheet with parchment paper and lightly spray it with nonstick cooking spray.
- Dip the Apples: When the temperature of the caramel cools to around 190°F, it is ready for dipping.
- Holding the stick as a handle, dip an apple into the caramel, swirling to coat it completely. Allow the excess caramel to drip off.
- Place the coated apple on the prepared baking sheet to cool. Repeat with the remaining apples, gently reheating the caramel over low heat if it becomes too thick.
- Allow the caramel to set and cool completely before serving, which takes about 1 hour.
Notes
- Special Equipment: A candy thermometer and candy apple sticks are essential for this recipe.
- Using a candy thermometer to monitor the sugar temperature is crucial for achieving the correct caramel consistency.
- It is very important that the apples are washed and dried well before dipping, as any wax or moisture can prevent the caramel from adhering properly.
- The caramel must be cooled to about 190°F before dipping; if it is too hot, it will be too thin and run off the apples.
- The article references a ‘Cook’s Note’ that is not provided in the text.
Storage and Make-Ahead Tips
- Make-Ahead: For a super-fast and impressive party treat, you can get a head start by preparing all your apples a few hours in advance.
- Storage: Store the finished caramel apples, loosely covered, at room temperature for up to 3 days.
For more recipe follow my pinterest account
Frequently Asked Questions (FAQs)
Q1: What is the absolute, number one secret to getting my caramel to stick to my apples?
The secret is to thoroughly wash and dry your apples before you dip them. Apples from the grocery store are coated in a thin layer of food-grade wax. If you do not remove this waxy coating, your beautiful, hot caramel will simply slide right off the slippery surface of the apple.
Q2: Can I make caramel apples without a candy thermometer?
It is highly not recommended. Making candy is a very precise science that relies on specific temperatures. While there are some old-fashioned methods to test the sugar stage in cold water, a simple, inexpensive candy thermometer is the only truly foolproof way to guarantee a perfect result every single time.
Q3: Can I make a soft, chewy caramel apple with this recipe?
This recipe is specifically for a classic, hard-crack caramel shell. For a softer, chewier caramel (the kind that is often made with caramels that you unwrap), you would need to use a different recipe that cooks the sugar to a much lower temperature (the “firm ball” stage, which is around 245-250°F).
Q4: How do I clean my pot after I have made caramel?
It’s easier than you think! Simply fill your dirty saucepan with water and place it back on the stove. Bring the water to a boil, and the hot water will dissolve all the hardened caramel that is stuck to the pan and your utensils.
Q5: Can I add toppings to my caramel apples?
Yes, absolutely! For a fun and festive touch, you can roll the bottom of your freshly dipped (and still sticky!) caramel apples in a variety of your favorite toppings, like some chopped peanuts, some mini chocolate chips, or some colorful, festive sprinkles.

