Introduction & Inspiration
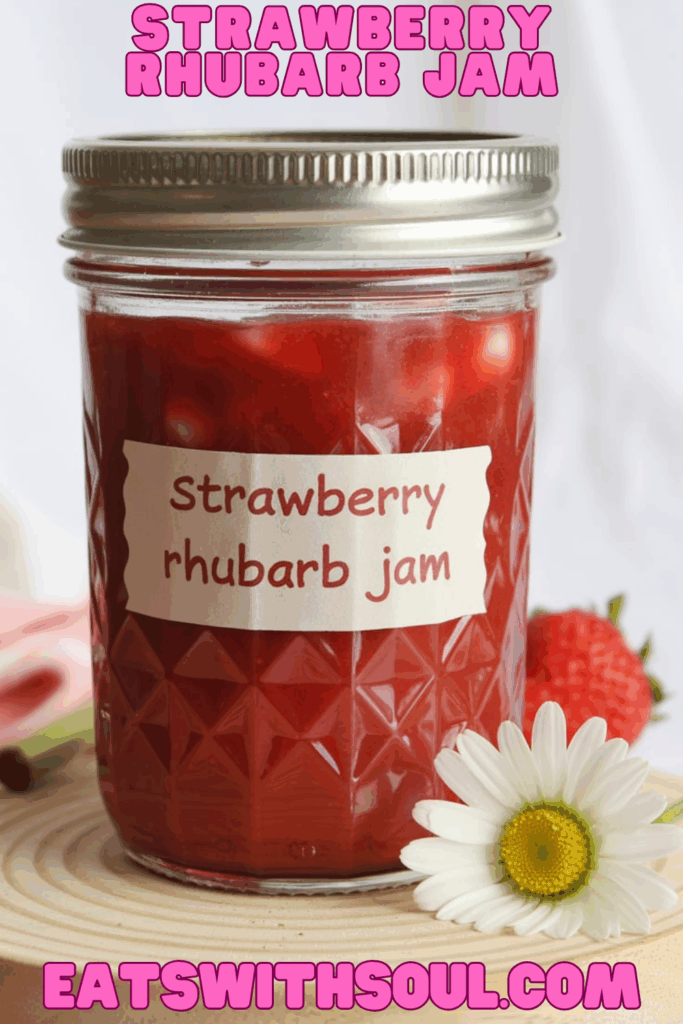
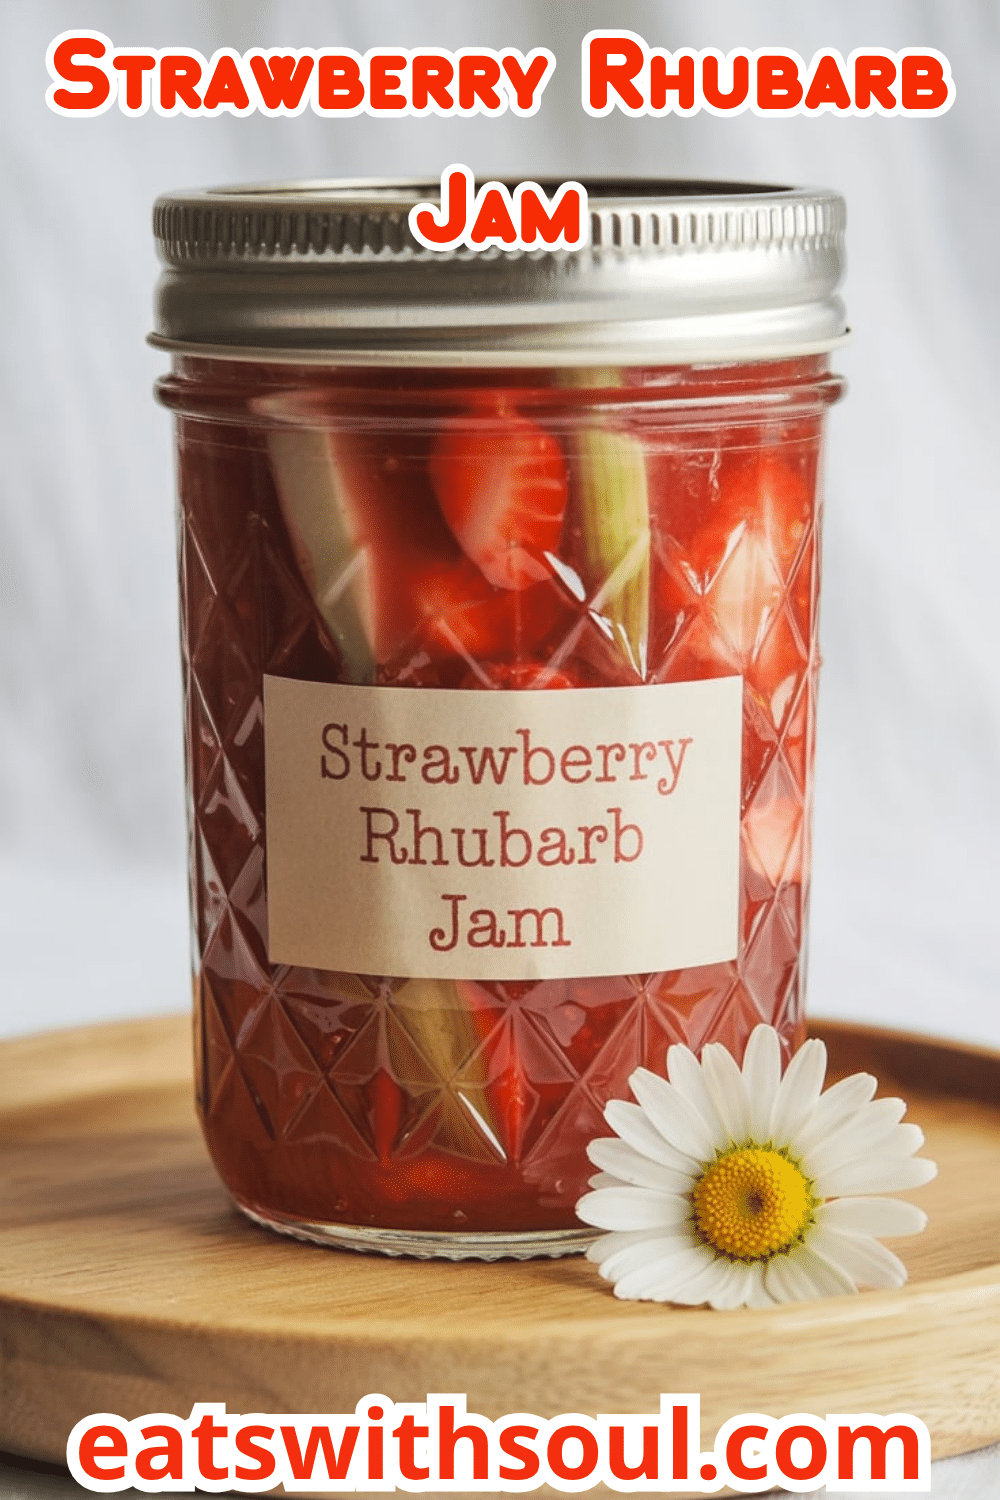
There is a special kind of magic in capturing the fleeting flavors of spring and early summer in a jar, and this Strawberry Rhubarb Jam is pure alchemy. Imagine a jewel-toned, perfectly set jam bursting with the sweet taste of ripe strawberries and the delightful tartness of fresh rhubarb, all harmonized with the warm, aromatic depth of a real vanilla bean. This recipe guides you through the traditional process, from macerating the fruit to achieving the perfect set and safely canning it for year-round enjoyment.
My inspiration for this recipe comes from a deep love for homemade preserves and the timeless, perfect marriage of strawberry and rhubarb. This isn’t just a quick jam; it’s a celebration of seasonal fruit, crafted with care. The overnight maceration coaxes out all the natural juices, and the slow cooking process creates a jam with incredible depth of flavor and a beautiful, luscious texture.
This jam is perfect for slathering on morning toast, spooning over scones, swirling into yogurt, or giving as a cherished homemade gift. It’s a taste of preserved sunshine in a jar! It is a perfect canning recipe.
Nostalgic Appeal / Comfort Factor
Homemade jam-making is a deeply nostalgic and comforting ritual for so many. It evokes warm, fragrant kitchens, the gentle bubbling of fruit and sugar on the stove, and the satisfying “pop” of a sealing jar that promises deliciousness for months to come. Strawberry rhubarb is one of the most classic and beloved flavor combinations, reminiscent of country fairs, grandmother’s pies, and the first tastes of the summer harvest.
This recipe, with its focus on traditional methods like macerating the fruit and water bath canning, taps directly into that comforting heritage. It’s a taste of simple, honest, homemade goodness that feels both rewarding to make and incredibly special to eat. The aroma alone is pure comfort.
Making this jam is a beautiful way to connect with time-honored food preservation traditions and to stock your pantry with something truly special. A perfect comfort food staple.
Homemade Focus
This recipe is a fantastic celebration of crafting a classic fruit preserve entirely from scratch, using fundamental techniques for superior flavor and shelf-stability. You’re starting with fresh rhubarb and strawberries, preparing them yourself, and then using the classic technique of maceration – allowing the fruit to sit overnight with sugar to draw out its natural juices and begin dissolving the sugar, which contributes to a better final texture.
The homemade focus shines in the careful cooking process to achieve the perfect “set” without commercial pectin, relying on the fruit’s natural properties, sugar, and proper cooking. You’ll learn to test for doneness using classic methods. Finally, the process of water bath canning the jam yourself ensures it is preserved safely to be enjoyed for up to a year.
It’s about taking fresh, seasonal fruit and transforming it through time-honored homemade techniques into a delicious, beautiful, and shelf-stable preserve. The homemade taste is incredible.
Flavor Goal
The primary flavor goal is a perfectly balanced jam where the vibrant tartness of the rhubarb is beautifully complemented by the jammy sweetness of the strawberries. The overall flavor should be sweet but not cloying, allowing the distinct fruit flavors to shine.
The addition of a real vanilla bean pod should impart a warm, floral, and aromatic depth that elevates the jam beyond a simple fruit preserve. The bottled lemon juice provides a necessary, consistent acidity for safe preservation and brightens the flavors, while the pinch of salt enhances the sweetness. The final texture should be thick, luscious, and spreadable, with soft, recognizable pieces of fruit throughout.
The overall experience should be a taste of pure, concentrated strawberry-rhubarb goodness with a gourmet vanilla finish – the best homemade jam you’ve ever had. A perfect balance between flavour and texture.
Ingredient Insights
- Rhubarb & Strawberries: The classic sweet-tart duo. Use fresh, firm rhubarb stalks (trimmed and chopped) and ripe but not overripe strawberries for the best flavor and texture. Overripe strawberries can make the jam too soft.
- Granulated Sugar: Acts as a sweetener, a preservative, and is essential for helping the jam to gel and set properly.
- Bottled Lemon Juice: This is a crucial ingredient for canning safety. Bottled lemon juice has a consistent, verified acidity level (typically 5%), which is necessary to ensure the jam’s pH is low enough to prevent the growth of harmful bacteria. The acidity of fresh lemons can vary, so bottled is required for safe preservation.
- Fine Salt: A small amount enhances the fruit flavors and balances the overall sweetness.
- Vanilla Bean Pod: Provides a rich, complex vanilla flavor and beautiful tiny black specks throughout the jam. To use, split the pod lengthwise with a paring knife and scrape out the tiny seeds from both halves. Vanilla extract can be substituted, but a real bean pod provides superior flavor.
Canning-Specific Insights:
- Water Bath Canning Pot & Rack: The large pot with a rack is necessary to fully submerge jars in boiling water for safe processing.
- Half Pint Jars, Lids, and Bands: Use new, unused flat lids for a reliable seal every time. Jars and bands can be reused.
- Jar Lifter: Essential for safely moving hot jars into and out of the boiling water.
Essential Equipment
- Large Glass Bowl: For macerating the fruit and sugar.
- Large, Heavy-Bottomed Pot or Dutch Oven (5.5 quart suggested): Essential for cooking the jam. A wide surface area helps with evaporation, and a heavy bottom prevents scorching.
- Water Bath Canner with Rack: For processing the jars.
- Canning Jars, Lids, and Bands (Half-Pint size suggested):
- Jar Lifter, Canning Funnel, Bubble Popper/Chopstick: Essential canning tools.
- Knife & Cutting Board: For chopping fruit.
- Measuring Cups & Spoons:
- Spoon or Spatula: For stirring jam.
- Ladle: For transferring hot jam to jars.
- Small Plate (kept in the freezer): For testing the jam’s set.
- Clean Kitchen Towels:
Ingredients
(Based on 1x column)
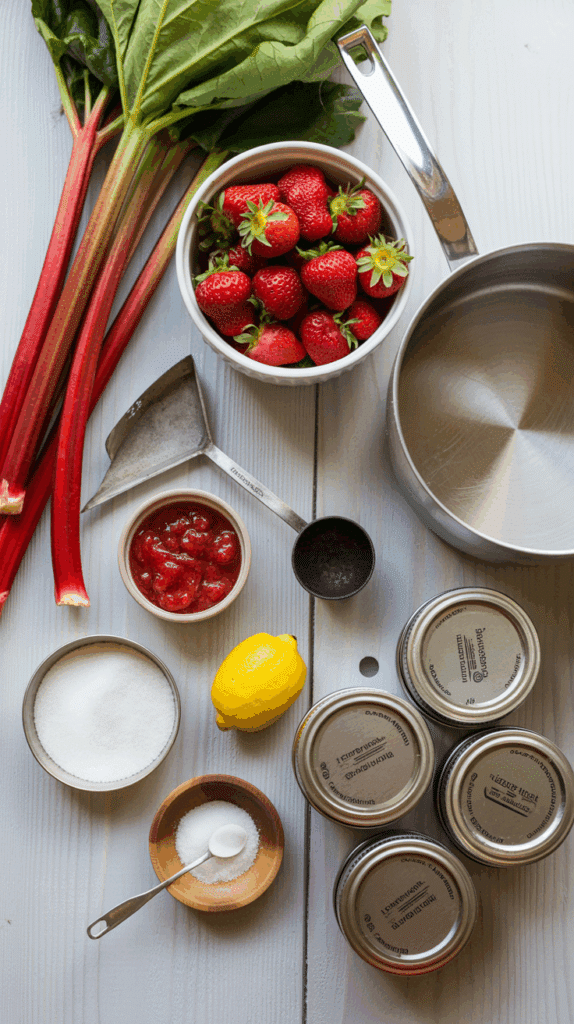
- ▢ 2 pounds fresh rhubarb, trimmed and cut into ½-inch pieces
- ▢ 1 pound fresh strawberries, stems removed and cut into ¼-inch pieces
- ▢ 2 ½ cups granulated sugar
- ▢ 3 tablespoons bottled lemon juice
- ▢ ¼ teaspoon fine salt
- ▢ 1 vanilla bean pod
Equipment for Canning:
- Water Bath Canner with rack
- Half-pint jars with new lids and bands
- Jar lifter, canning funnel

Step-by-Step Instructions
1. Macerate the Fruit (Overnight):
- In a large glass bowl, combine the chopped rhubarb, chopped strawberries, and granulated sugar.
- Stir thoroughly until the fruit is completely coated in sugar.
- Cover the bowl tightly with plastic wrap and place it in the refrigerator for at least 12 hours, or up to 24 hours. This process, called maceration, will cause the fruit to release its natural juices and dissolve the sugar, creating a rich syrup.
2. Prepare for Canning:
- When you’re ready to make the jam, prepare your canning setup. Place a small plate in the freezer – this will be used later to test the jam’s set.
- Wash your jars, lids, and bands in hot, soapy water. Rinse well.
- Place the jars on the rack inside your water bath canner. Fill the canner with water until the jars are covered. Bring the water to a simmer (not a full boil yet) to keep the jars hot. Place the lids in a small saucepan with water and keep them warm over low heat (do not boil lids).
- Prepare your vanilla bean: Split the pod lengthwise with the tip of a paring knife. Use the back of the knife to scrape out the tiny black seeds from both halves.
3. Cook the Jam:
- Remove the macerated fruit mixture from the refrigerator. Transfer it to a large, wide, heavy-bottomed pot or Dutch oven.
- Add the scraped vanilla bean seeds, the bottled lemon juice, and the fine salt to the pot. You can also toss the scraped vanilla pod into the pot for extra flavor infusion during cooking (remember to remove it later!).
- Place the pot over medium-high heat and bring the mixture to a full, rolling boil, stirring occasionally.
- Once boiling, the mixture will begin to foam. Continue to cook, stirring every few minutes to prevent sticking and scorching. Watch the heat and adjust as needed to maintain a strong but controlled simmer/boil. The jam will cook down and thicken as liquid evaporates. This will take around 20-30 minutes.
4. Test for Set (The Cold Plate Test):
- Around the 22-25 minute mark, as the jam visibly thickens and the bubbles become larger and slower, begin testing for its setting point. The recipe notes the jam will “sheet” off a spoon rather than drip in individual droplets when it’s getting close.
- The Cold Plate Test: Remove the small plate from the freezer. Turn off the heat under the jam pot. Spoon a small amount of the hot jam onto the cold plate. Place the plate back in the freezer for 1-2 minutes.
- Remove the plate and push the edge of the jam puddle with your finger. If the surface wrinkles and the jam doesn’t immediately flood back into the open space, it has reached its setting point. If it’s still very runny, return the pot to a boil and cook for another 2-3 minutes, then test again.
5. Fill and Seal Jars:
- Once the jam has reached its setting point, remove and discard the vanilla bean pod if you added it.
- Working one jar at a time, carefully remove a hot jar from your water bath canner, pouring the water back into the canner. Place the hot, empty jar on a kitchen towel next to your jam pot.
- Using a ladle and a canning funnel, carefully fill the hot jar with the hot jam, leaving ¼ inch of headspace (the space between the top of the jam and the rim of the jar).
- Wipe the rim of the jar clean with a damp paper towel to ensure a good seal. Center a warm, new lid on the jar. Screw on the band until it is “fingertip tight” – snug, but not overly tight.
- Using a jar lifter, carefully place the filled jar back onto the rack in the water bath canner. Repeat this process with the remaining jars.
6. Process in Water Bath:
- Ensure all jars are covered by at least 1-2 inches of water in the canner. Add more hot water if needed.
- Place the lid on the canner and bring the water to a full, rolling boil.
- Once the water is at a rolling boil, start your timer. Process the jars for 10 minutes.
- After 10 minutes, turn off the heat, remove the canner lid, and let the jars stand in the hot water for another 5 minutes. This helps prevent thermal shock.
7. Cool and Store:
- Using a jar lifter, carefully remove the jars from the canner and place them upright on a kitchen towel on the counter, leaving space between them.
- Let the jars cool completely, undisturbed, for 12-24 hours. You may hear satisfying “ping” sounds as the lids seal.
- After 24 hours, check the seals by pressing on the center of each lid. If it doesn’t move or “ping” back, the jar is sealed. (Any unsealed jars should be refrigerated and used first).
- Remove the bands, wipe the jars clean, label them with the contents and date, and store your homemade Strawberry Rhubarb Jam in a cool, dark place for up to 1 year.

Troubleshooting
- Jam Didn’t Set (Too Runny): The most common issue! Caused by undercooking, not reaching the gelling point (212-220°F depending on altitude), or using overripe, low-pectin fruit. The cold plate test is your best guide. If runny after processing, you can enjoy it as a sauce, or re-cook it.
- Jam Too Thick or Rubbery: Overcooked. Watch carefully and start testing for set early rather than late.
- Fruit Floated to Top of Jar: This can happen if the fruit wasn’t cooked down enough before jarring, or if jam was poured too hot without letting it sit briefly. It’s an aesthetic issue, not a safety one.
- Canning Jars Didn’t Seal: Rim of the jar might have been dirty (with jam drips), lid was old or faulty, headspace was incorrect, or band was too tight/too loose. Always use new lids and follow procedures carefully. Refrigerate any unsealed jars.
- Excessive Foaming During Cooking: This is normal as fruit releases air and impurities. You can skim the foam off with a spoon if desired for a clearer jam, though it’s not necessary.
Tips and Variations
- Bottled Lemon Juice is a Must for Canning: As stated, its consistent acidity is crucial for safe preservation.
- Don’t Rush the Maceration: The overnight soak helps create a better texture and flavor, and helps prevent scorching as it creates a lot of initial liquid.
- Don’t Overfill Your Pot: The jam will bubble up significantly. Use a large, wide pot and fill it no more than halfway.
- Frozen Fruit: If fresh isn’t in season, you can use frozen rhubarb and strawberries. Thaw them completely, and proceed with the maceration step as directed. They may release more liquid and require a slightly longer cooking time.
- Add Spices: Add a pinch of ground cardamom or fresh grated ginger along with the vanilla for a different warm spice note.
- Vanilla: If you don’t have a vanilla bean pod, you can stir in 1-2 teaspoons of high-quality pure vanilla extract or vanilla bean paste after you remove the jam from the heat, just before jarring.
Serving and Pairing Suggestions
- Classic Toast or Scones: The perfect accompaniment to a warm slice of toast, a biscuit, or a freshly baked scone with butter or clotted cream.
- Yogurt or Oatmeal Parfait: Swirl into plain Greek yogurt or top your morning oatmeal.
- Ice Cream Topping: Wonderful spooned warm over vanilla bean ice cream.
- Filling for Thumbprint Cookies: Use as a filling for classic shortbread thumbprint cookies.
- Glaze for Meats: Can be used as a glaze for roasted pork or chicken.
- On a Cheeseboard: Serve alongside creamy cheeses like Brie or goat cheese.
Nutritional Information
(Note: Estimated, per tablespoon. This is a sweet preserve.)
- Calories: ~40-50 per tablespoon
- Fat: 0g
- Saturated Fat: 0g
- Cholesterol: 0mg
- Sodium: 10-15mg
- Total Carbohydrates: 10-12g
- Dietary Fiber: <1g
- Sugars: 10-12g (Primarily from added sugar and fruit)
- Protein: <1g
Classic Homemade Strawberry Rhubarb Jam (Perfect for Canning!)
Preserve the taste of the season with this Classic Homemade Strawberry Rhubarb Jam! An easy, detailed recipe perfect for water bath canning, creating a delicious sweet-tart jam with a hint of vanilla.
Ingredients
(Based on 1x column)
- ▢ 2 pounds fresh rhubarb, trimmed and cut into ½-inch pieces
- ▢ 1 pound fresh strawberries, stems removed and cut into ¼-inch pieces
- ▢ 2 ½ cups granulated sugar
- ▢ 3 tablespoons bottled lemon juice
- ▢ ¼ teaspoon fine salt
- ▢ 1 vanilla bean pod
Equipment for Canning:
- Water Bath Canner with rack
- Half-pint jars with new lids and bands
- Jar lifter, canning funnel
Instructions
1. Macerate the Fruit (Overnight):
- In a large glass bowl, combine the chopped rhubarb, chopped strawberries, and granulated sugar.
- Stir thoroughly until the fruit is completely coated in sugar.
- Cover the bowl tightly with plastic wrap and place it in the refrigerator for at least 12 hours, or up to 24 hours. This process, called maceration, will cause the fruit to release its natural juices and dissolve the sugar, creating a rich syrup.
2. Prepare for Canning:
- When you’re ready to make the jam, prepare your canning setup. Place a small plate in the freezer – this will be used later to test the jam’s set.
- Wash your jars, lids, and bands in hot, soapy water. Rinse well.
- Place the jars on the rack inside your water bath canner. Fill the canner with water until the jars are covered. Bring the water to a simmer (not a full boil yet) to keep the jars hot. Place the lids in a small saucepan with water and keep them warm over low heat (do not boil lids).
- Prepare your vanilla bean: Split the pod lengthwise with the tip of a paring knife. Use the back of the knife to scrape out the tiny black seeds from both halves.
3. Cook the Jam:
- Remove the macerated fruit mixture from the refrigerator. Transfer it to a large, wide, heavy-bottomed pot or Dutch oven.
- Add the scraped vanilla bean seeds, the bottled lemon juice, and the fine salt to the pot. You can also toss the scraped vanilla pod into the pot for extra flavor infusion during cooking (remember to remove it later!).
- Place the pot over medium-high heat and bring the mixture to a full, rolling boil, stirring occasionally.
- Once boiling, the mixture will begin to foam. Continue to cook, stirring every few minutes to prevent sticking and scorching. Watch the heat and adjust as needed to maintain a strong but controlled simmer/boil. The jam will cook down and thicken as liquid evaporates. This will take around 20-30 minutes.
4. Test for Set (The Cold Plate Test):
- Around the 22-25 minute mark, as the jam visibly thickens and the bubbles become larger and slower, begin testing for its setting point. The recipe notes the jam will “sheet” off a spoon rather than drip in individual droplets when it’s getting close.
- The Cold Plate Test: Remove the small plate from the freezer. Turn off the heat under the jam pot. Spoon a small amount of the hot jam onto the cold plate. Place the plate back in the freezer for 1-2 minutes.
- Remove the plate and push the edge of the jam puddle with your finger. If the surface wrinkles and the jam doesn’t immediately flood back into the open space, it has reached its setting point. If it’s still very runny, return the pot to a boil and cook for another 2-3 minutes, then test again.
5. Fill and Seal Jars:
- Once the jam has reached its setting point, remove and discard the vanilla bean pod if you added it.
- Working one jar at a time, carefully remove a hot jar from your water bath canner, pouring the water back into the canner. Place the hot, empty jar on a kitchen towel next to your jam pot.
- Using a ladle and a canning funnel, carefully fill the hot jar with the hot jam, leaving ¼ inch of headspace (the space between the top of the jam and the rim of the jar).
- Wipe the rim of the jar clean with a damp paper towel to ensure a good seal. Center a warm, new lid on the jar. Screw on the band until it is “fingertip tight” – snug, but not overly tight.
- Using a jar lifter, carefully place the filled jar back onto the rack in the water bath canner. Repeat this process with the remaining jars.
6. Process in Water Bath:
- Ensure all jars are covered by at least 1-2 inches of water in the canner. Add more hot water if needed.
- Place the lid on the canner and bring the water to a full, rolling boil.
- Once the water is at a rolling boil, start your timer. Process the jars for 10 minutes.
- After 10 minutes, turn off the heat, remove the canner lid, and let the jars stand in the hot water for another 5 minutes. This helps prevent thermal shock.
7. Cool and Store:
- Using a jar lifter, carefully remove the jars from the canner and place them upright on a kitchen towel on the counter, leaving space between them.
- Let the jars cool completely, undisturbed, for 12-24 hours. You may hear satisfying “ping” sounds as the lids seal.
- After 24 hours, check the seals by pressing on the center of each lid. If it doesn’t move or “ping” back, the jar is sealed. (Any unsealed jars should be refrigerated and used first).
- Remove the bands, wipe the jars clean, label them with the contents and date, and store your homemade Strawberry Rhubarb Jam in a cool, dark place for up to 1 year.
Recipe Summary and Q&A
Summary: This recipe for “Best Strawberry Rhubarb Jam” involves first macerating chopped fresh strawberries, rhubarb, and granulated sugar in a covered bowl in the refrigerator overnight. The next day, this fruit mixture is combined with the seeds from a vanilla bean pod, bottled lemon juice, and salt in a large, heavy-bottomed pot. The mixture is brought to a boil and cooked, stirring frequently, until it thickens and reaches its setting point (tested using a cold plate). The hot jam is then ladled into hot, prepared canning jars, leaving ¼-inch headspace. The jars are sealed and processed in a water bath canner for 10 minutes to ensure they are shelf-stable.
Q&A:
- Q: Why do I have to use bottled lemon juice for canning?
- A: Food safety for canning high-acid foods like jam relies on maintaining a certain pH level (acidity) to prevent the growth of harmful bacteria like the one that causes botulism. Bottled lemon juice is commercially standardized to a consistent acidity level (usually 5%), whereas the acidity of fresh lemons can vary widely from fruit to fruit. Using bottled juice ensures your jam is safely acidic for preservation.
- Q: I don’t have a candy thermometer. How do I really know when the jam is set?
- A: The “wrinkle test” on a cold plate is the most reliable non-thermometer method. Before you start cooking, place a few small plates in your freezer. When you think the jam is ready, spoon a tiny bit onto a very cold plate, let it sit for 30 seconds to a minute, then push it with your finger. If the surface wrinkles and holds its shape, it’s ready. If it’s still runny and floods back immediately, it needs more cooking time.
- Q: Can I use less sugar?
- A: Sugar is a crucial ingredient in traditional jam making, acting not only as a sweetener but also as a preservative and a key component in helping the jam gel and set properly. Significantly reducing the sugar in a no-pectin-added recipe like this will likely result in a much softer, runnier set (more like a sauce) and will reduce its shelf life.
- Q: My rhubarb is very stringy. Should I peel it?
- A: Generally, you do not need to peel rhubarb, especially younger, thinner stalks. The skin softens during cooking and adds beautiful color. If you have very old, thick, or particularly tough and stringy stalks, you can quickly pull off the thickest strings with a paring knife, but it’s usually unnecessary.

