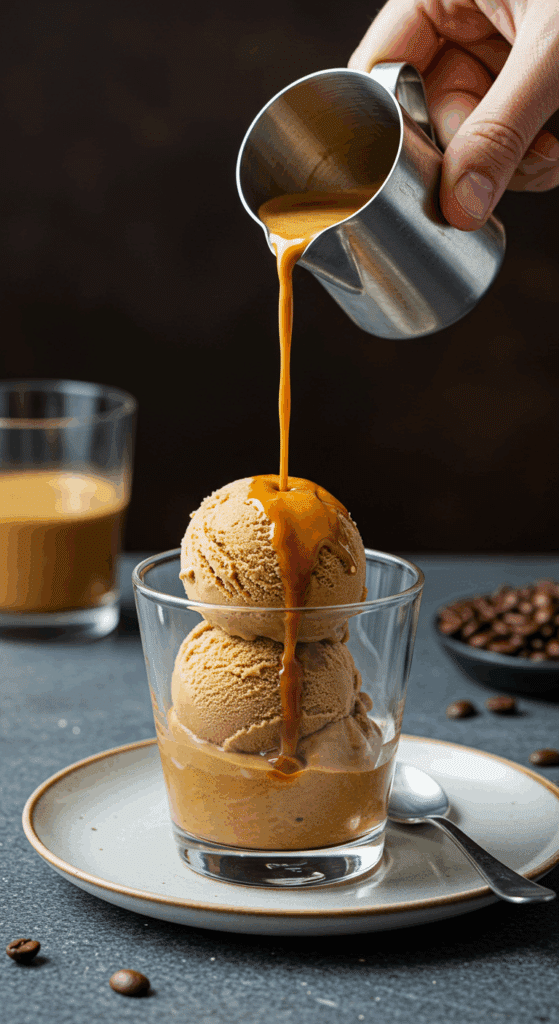
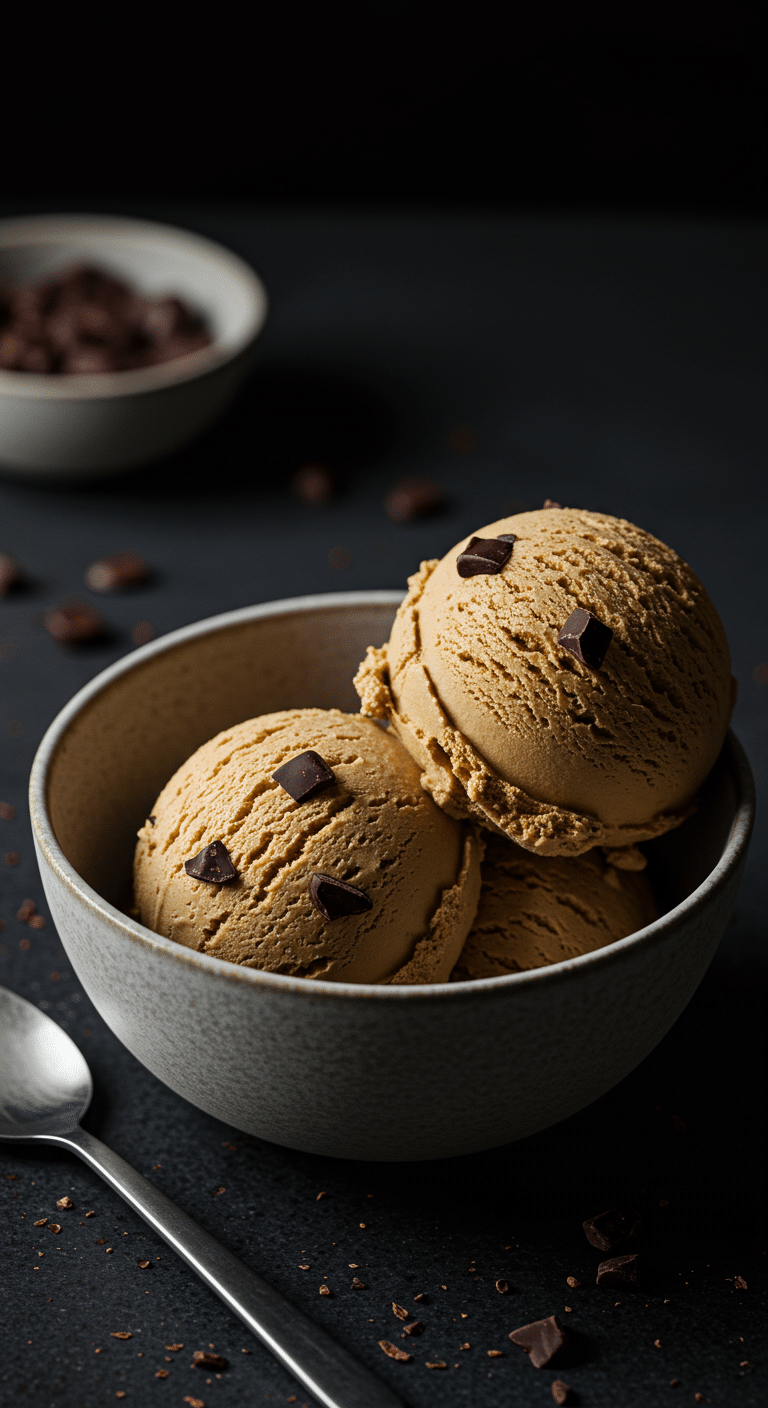
Calling all coffee lovers! Are you ready to create the richest, creamiest, and most intensely coffee-flavored ice cream you’ve ever had, right in your own kitchen, with absolutely no ice cream maker required? This incredible, 4-ingredient No-Churn Coffee Ice Cream with Chocolate Chunks is the ultimate homemade treat that will satisfy all your deepest coffee and dessert cravings.
This isn’t just a recipe; it’s a revelation. We’ll show you how a few simple ingredients and a brilliantly easy technique can create a gourmet-quality frozen dessert that is miles ahead of anything you can buy in a tub. The result is an impossibly smooth and creamy coffee ice cream, studded with satisfying chunks of real dark chocolate. It’s the perfect, sophisticated dessert that is secretly simple to make.
Table of Contents
Table of Contents
Recipe Overview: Your Favorite Coffee Shop in a Scoop
What makes this No-Churn Coffee Ice Cream so fantastic is its incredibly simple method and its deep, authentic coffee flavor. This is a true “mix-and-freeze” recipe that takes just minutes of active prep time. The magic lies in the no-churn base, a perfect combination of sweetened condensed milk and fresh whipped cream that guarantees a smooth, creamy, and scoopable texture without any special equipment. It’s a must-make for any coffee aficionado.
| Metric | Time / Level |
| Total Time | 4 hours 15 minutes (includes freezing) |
| Active Prep Time | 15 minutes |
| Difficulty Level | Easy |
| Servings | 8-10 |
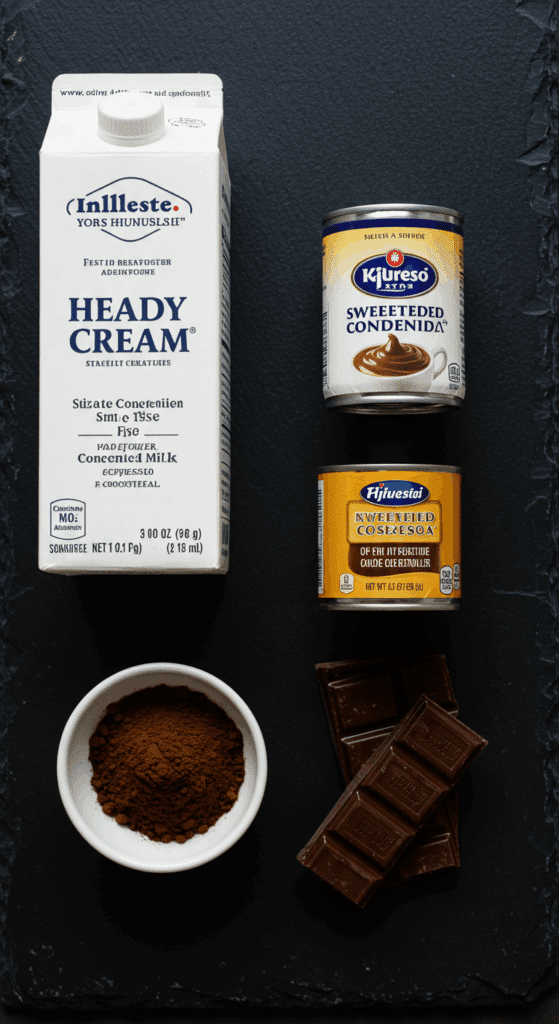
The 4 Essential Ingredients for the Best Coffee Ice Cream
This recipe uses just four simple, powerhouse ingredients to create its magical flavor and texture.
- Heavy Whipping Cream: The key to our ice cream’s light and creamy texture. It is absolutely crucial to use cold, full-fat heavy whipping cream. When we whip it to soft or firm peaks, we are incorporating air into the base, which creates the light, scoopable texture of real ice cream and prevents it from becoming a dense, icy block.
- Instant Coffee or Espresso Powder: This is where all that rich, robust flavor comes from. For the deepest, richest, and most authentic coffee flavor, using a high-quality instant espresso powder is highly recommended. It has a finer grind and a less acidic flavor than many regular instant coffees, and it dissolves beautifully into the cream.
- Sweetened Condensed Milk: The magic ingredient for all no-churn ice creams. This thick, sweet, canned milk provides the perfect amount of sweetness, but more importantly, its high sugar content is the secret that prevents the mixture from freezing into a solid block of ice, ensuring your finished ice cream is incredibly smooth and creamy.
- Good Quality Dark Chocolate: The perfect textural and flavor contrast to the smooth coffee cream. Pro Tip: For the best result, use a high-quality dark chocolate bar (60-72% cacao) that you roughly chop yourself. Unlike chocolate chips, which contain stabilizers to hold their shape, real chopped chocolate will melt beautifully in your mouth and create a wonderful mix of fine chocolate shards and satisfying, chunky bits throughout the ice cream.

Step-by-Step to the Creamiest Coffee Ice Cream
This recipe is wonderfully simple. The most important tips are to use cold ingredients and to be gentle when folding the mixtures together to keep the ice cream light and airy.
Step 1: Whip the Coffee-Infused Cream
First, it’s a great idea to chill your large mixing bowl and the whisk attachments from your electric mixer in the freezer for about 10-15 minutes. This simple step will help your cream whip up faster and with more volume.
In your chilled bowl, add the cold heavy whipping cream and the 3 tablespoons of instant coffee or espresso powder.
Using a whisk or an electric beater, begin to whip the mixture on medium-high speed. Continue to whip until the coffee powder has completely dissolved and the cream has thickened and holds soft peaks. The recipe calls for soft peaks to make folding easier, but you can whip to firm peaks for an even fluffier texture.
Step 2: Fold in the Condensed Milk
Now, slowly drizzle the can of sweetened condensed milk into the bowl with the coffee-flavored whipped cream.
Using a large rubber spatula, gently fold the condensed milk into the whipped cream at the same time. Continue to fold until the mixture is just combined and no streaks of condensed milk remain. Be careful not to stir or beat the mixture, as you don’t want to deflate all the beautiful air you just whipped into the cream.
Step 3: Add the Chocolate Chunks
Add the 100g of roughly chopped dark chocolate to the bowl.
Fold the chocolate chunks in with just a couple of gentle turns of your spatula to evenly distribute them throughout the ice cream base.
Step 4: Freeze to Creamy Perfection
Pour the finished ice cream mixture into a 9×5 inch loaf pan or another freezer-safe container. Smooth the top with your spatula.
Cover the container tightly. For the creamiest result, press a piece of plastic wrap or parchment paper directly onto the surface of the ice cream mixture before putting the lid on. This helps to prevent ice crystals from forming on the top.
Place the container in the freezer and freeze for at least 4 hours, or preferably overnight, until the ice cream is completely firm.
When you are ready to serve, run your ice cream scooper under hot water and wipe it dry before scooping for perfect, beautiful scoops every time.

The Best Easy 4-Ingredient No-Churn Coffee Ice Cream
An extremely simple, 4-ingredient recipe for a rich and creamy no-churn coffee ice cream with chocolate chunks. The method involves whipping cold heavy cream with instant coffee or espresso powder until soft peaks form. Sweetened condensed milk is then gently folded into the coffee-infused cream, followed by roughly chopped dark chocolate. The mixture is then frozen in a loaf pan until firm and scoopable.
- Prep Time: 15 minutes
- Cook Time: 0 minutes
- Total Time: 4 hours 15 minutes (includes freezing time)
- Yield: 8-10 servings
- Category: Dessert
- Method: No-Churn, Freezing
- Cuisine: American
- Diet: Gluten Free
Ingredients
- 600 mL (about 2 ½ cups) whipping cream, cold
- 3 tablespoons instant coffee or espresso powder
- 300 mL (one 14oz can) sweetened condensed milk
- 100 g (about 3.5 oz) dark chocolate, roughly chopped
Instructions
- In a large mixing bowl, combine the cold whipping cream and the instant coffee powder.
- Using a whisk or an electric beater, whip the mixture until it reaches soft peaks and the coffee has dissolved.
- Slowly drizzle the condensed milk into the whipped cream while gently folding it in with a rubber spatula at the same time. Fold only until just combined, ensuring the mixture still holds soft peaks.
- Add the chopped dark chocolate and fold just a couple of times to distribute it.
- Pour the ice cream mixture into a loaf pan or other freezer-safe container.
- Cover with plastic wrap, pressing it gently against the surface, and freeze for at least 4 hours, or preferably overnight.
- When ready to serve, run an ice cream scoop under hot water before scooping for easier serving.
Notes
- This is a no-churn recipe, so no ice cream maker is needed.
- Using cold whipping cream and a chilled bowl will help the cream whip up faster.
- Be careful not to overmix when folding in the condensed milk, as this can cause the whipped cream to lose its light and airy texture.
- Running the scoop under hot water makes it much easier to get clean scoops of the hard-frozen ice cream.
Storage and Make-Ahead Tips
This No-Churn Coffee Ice Cream is the perfect make-ahead dessert.
- Storage: Store the ice cream in a freezer-safe, airtight container in the coldest part of your freezer (usually the back).
- Preventing Freezer Burn: To keep your ice cream at its best, always press a piece of plastic wrap or parchment paper directly onto the surface of the ice cream before securing the lid.
- Longevity: Your homemade ice cream will have the best, creamiest texture within the first 1-2 weeks. It will still be delicious for up to a month, but may start to develop some small ice crystals over time.
For more recipe follow my Pinterest account
Creative Recipe Variations
This delicious coffee ice cream is a fantastic base for all sorts of creative and flavorful additions.
- Caramel Macchiato or Mocha Swirl: For a beautiful and delicious swirl, gently spoon 1/4 cup of thick caramel sauce or hot fudge sauce over the top of the ice cream after you’ve poured it into the loaf pan. Use a knife to gently swirl it into the base just a couple of times before freezing.
- Add a Nutty Crunch: For a delicious textural contrast, fold in 1/2 cup of toasted, chopped almonds, pecans, or walnuts along with the dark chocolate chunks.
- Make it a Boozy Treat (For Adults Only!): For a delicious, grown-up version, you can add 1 to 2 tablespoons of your favorite coffee liqueur (like Kahlúa or Tia Maria) or a dark rum to the sweetened condensed milk before you fold it into the whipped cream.
Enjoy Your Ultimate Coffee Lover’s Treat!
You’ve just created a truly special, gourmet-quality ice cream that is sure to thrill any coffee lover. This Homemade No-Churn Coffee Ice Cream is rich, sophisticated, and packed with authentic flavor, yet it’s one of the simplest desserts you can make. It’s the perfect treat to have stashed in your freezer for a special occasion, an afternoon pick-me-up, or a decadent after-dinner dessert.
We hope you love every last, rich and creamy spoonful!
If you enjoyed making this recipe, please leave a comment below or share it with a friend who is a true coffee aficionado!
Frequently Asked Questions (FAQs)
Q1: What is the best kind of coffee to use for ice cream?
For the best, most intense, and smoothest flavor, a high-quality instant espresso powder is the number one choice. It has a very fine texture that dissolves beautifully and a deep, rich flavor that is less acidic than many regular instant coffees. However, any dark roast instant coffee that you enjoy drinking will also work well.
2: Why is my no-churn ice cream icy instead of creamy?
An icy texture in no-churn ice cream is usually caused by one of two things. First, the whipped cream may have been under-whipped or was deflated by over-mixing. You need the air from the whipped cream to keep the texture light. Second, not covering the surface of the ice cream with plastic wrap can allow ice crystals to form on top. The high sugar and fat content in this recipe are specifically designed to keep it creamy, so be sure to use full-fat heavy cream and regular sweetened condensed milk.
Q3: Can I make this with decaf coffee?
Yes, absolutely! You can easily make a decaffeinated version of this ice cream by simply substituting the regular instant coffee or espresso powder with your favorite decaf instant coffee or espresso powder. The flavor will be just as rich and delicious.
Q4: What is the difference between using chopped chocolate and chocolate chips in ice cream?
The difference is all about the melt! Most commercial chocolate chips contain stabilizers (like soy lecithin) that are designed to help them hold their shape during baking. This means they can have a slightly waxy texture and don’t melt as readily in your mouth. Real, chopped chocolate from a bar has a higher cocoa butter content and no stabilizers, so it melts beautifully and creates a wonderful texture with both tiny shards and satisfying chunks of chocolate.
Q5: Can I make this recipe dairy-free or vegan?
Yes! You can make a fantastic vegan version of this coffee ice cream. Simply substitute the heavy whipping cream with two cans of chilled, full-fat coconut cream (use only the thick, solid cream from the top of the can). Then, substitute the regular sweetened condensed milk with a can of sweetened condensed coconut milk or sweetened condensed oat milk. Use your favorite dairy-free dark chocolate.

