Introduction & Inspiration
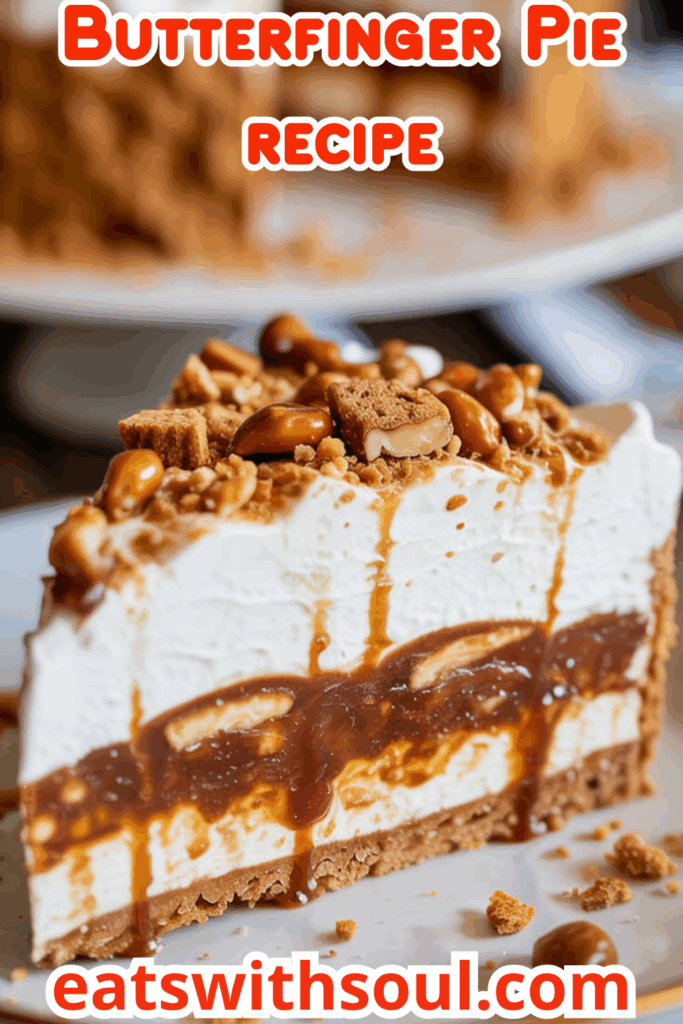
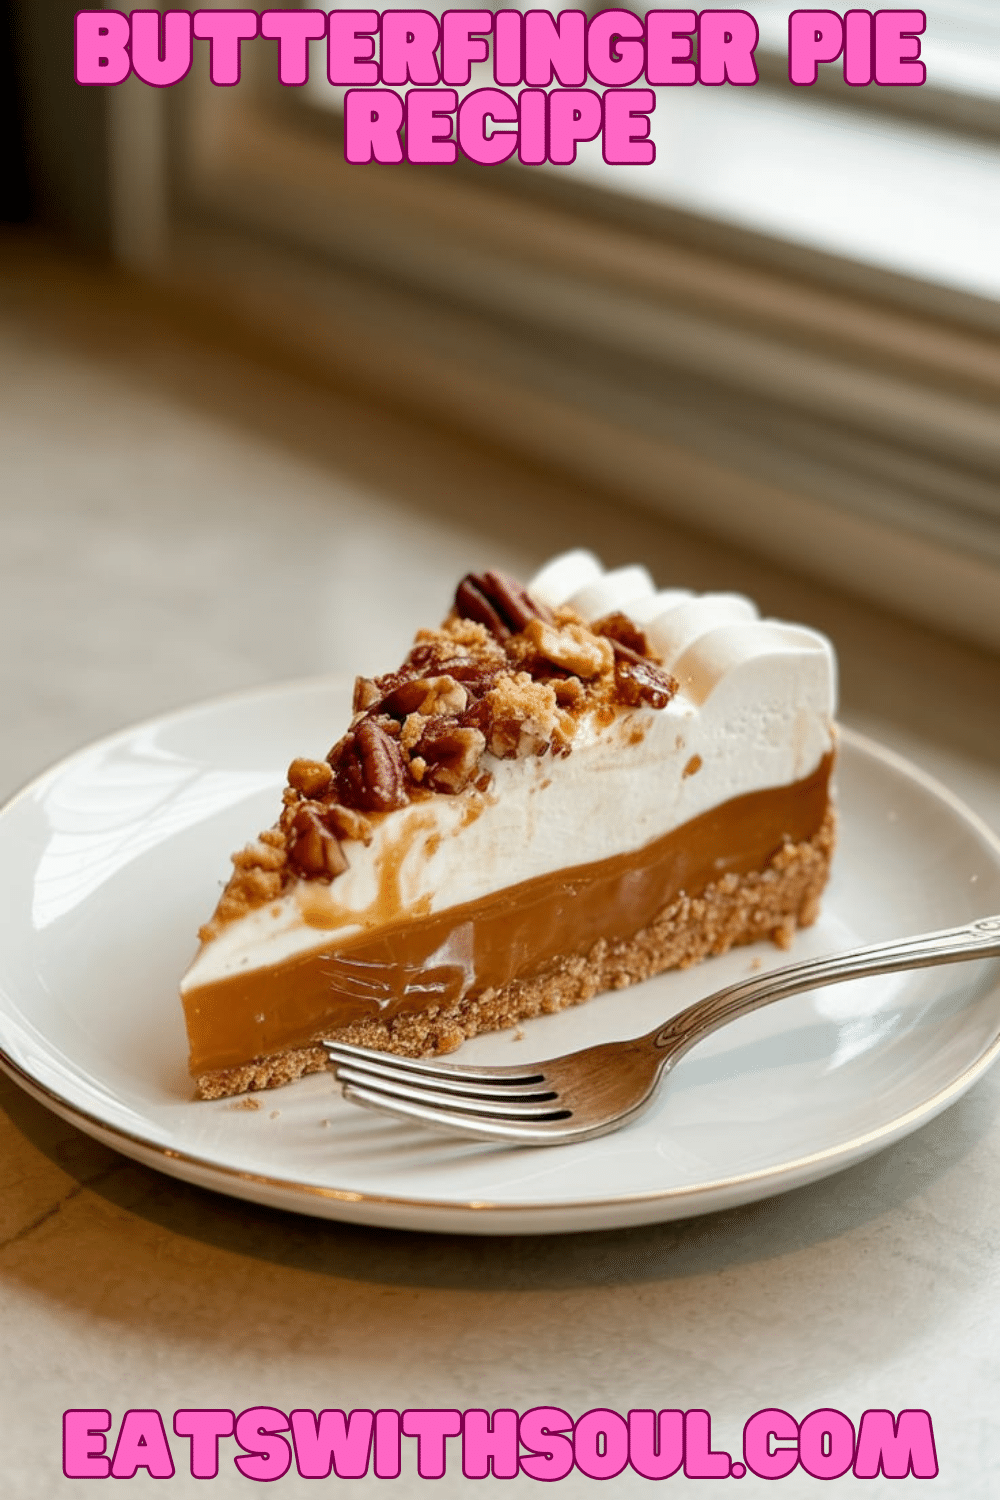
If you’re a fan of that uniquely crispety, crunchety, peanut-buttery Butterfinger candy bar, then hold onto your hats, because this No-Bake Butterfinger Pie is about to become your new favorite dessert! It’s unbelievably easy to make, requires absolutely no baking, and delivers maximum candy bar flavor. Imagine a smooth, creamy filling blending peanut butter, cream cheese, and whipped topping, studded with chunks of crushed Butterfingers, all nestled in a simple graham cracker crust.
My inspiration for this recipe comes from the pure joy of candy bars and the brilliance of easy, no-bake pies. I wanted to capture the essence of a Butterfinger – that irresistible combination of flaky peanut butter candy and chocolatey coating – in a cool, creamy pie format that anyone can whip up in minutes.
This pie is perfect for potlucks, parties, summer gatherings, or anytime you need a quick, decadent, and crowd-pleasing dessert with minimal effort. It’s pure, sweet, crunchy, creamy indulgence! It is a perfect no-bake dessert.
Nostalgic Appeal / Comfort Factor
Butterfinger bars hold a special place in the candy aisle and in many people’s nostalgic memories, loved for their unique flaky texture and peanut butter taste. No-bake pies, particularly creamy ones like peanut butter pie or simple cheesecake styles served in a graham cracker crust, are classic American comfort food desserts, often associated with family gatherings and easy entertaining.
This recipe combines the nostalgic delight of the Butterfinger candy bar with the comforting ease and creamy texture of a no-bake pie. It’s a fun, playful dessert that feels both familiar (peanut butter, cream cheese) and excitingly different thanks to the crunchy candy pieces.
It’s guaranteed to satisfy your sweet tooth and bring back happy candy bar memories! A perfect dessert for Butterfinger lovers.
Homemade Focus (Easy No-Bake Assembly)
Let’s celebrate the ultimate in easy dessert creation! This recipe relies heavily on convenient, ready-to-use ingredients like a pre-made graham cracker crust, frozen whipped topping, and, of course, Butterfinger candy bars. The “homemade” aspect lies entirely in the simple, no-cook assembly process.
You’re making the creamy peanut butter filling from scratch by blending softened cream cheese, peanut butter, powdered sugar, and vanilla, then folding in the whipped topping and crushed candy. While the components are largely store-bought, the act of combining them into this specific delicious pie is your homemade touch!
This recipe is perfect for proving that you don’t need complicated steps or baking skills to create a truly delicious and impressive-looking dessert at home. The perfect balance between easy and delicious.
Flavor Goal
The primary flavor goal is to deliver the unmistakable taste and texture experience of a Butterfinger bar in a cool, creamy pie format. The filling should be rich with peanut butter flavor, balanced by the tang of cream cheese and the sweetness of powdered sugar, lightened by the whipped topping.
Crucially, the filling should be loaded with crushed Butterfinger pieces, providing those signature flaky, crunchy, peanut-buttery bursts throughout the creamy base. The graham cracker crust offers a simple, slightly sweet, and complementary textural base. The reserved crushed Butterfinger topping adds extra crunch and visual appeal.
The overall experience should be a creamy, sweet, peanut-buttery pie packed with the unique crunchy texture and flavor of Butterfinger candy bars. A perfect combination of flavour and texture.
Ingredient Insights
- Cream Cheese (Softened): Provides the tangy, creamy cheesecake-like base for the filling. Use full-fat, brick-style cream cheese, properly softened to room temperature for a smooth, lump-free result.
- Whipped Topping (Thawed): (Like Cool Whip) Adds lightness, sweetness, and stability to the no-bake filling. Ensure it’s fully thawed in the refrigerator before using.
- Powdered Sugar: Sweetens the filling and helps create a smooth texture. Sifting is recommended if prone to lumps.
- Creamy Peanut Butter: Adds dominant peanut butter flavor and richness. Standard commercial creamy peanut butter works best for smooth texture.
- Butterfinger Candy Bars: The star ingredient! Crushed for incorporating into the filling and sprinkling on top. Crush them into small, irregular pieces, not dust. About 3 standard-size bars are typically needed.
- Pre-made Graham Cracker Crust: The ultimate convenience! Provides a ready-to-use base. You can also use a pre-made chocolate cookie crust.
- Vanilla Extract: Enhances the peanut butter and sweet flavors in the filling.
Essential Equipment
- Large Mixing Bowl: For making the peanut butter filling.
- Electric Mixer (Handheld or Stand Mixer): Highly recommended for beating the cream cheese smooth and incorporating the powdered sugar easily.
- Rubber Spatula: For folding in the whipped topping and crushed candy, and for spreading the filling.
- Measuring Cups & Spoons:
- Method for Crushing Butterfingers: Ziploc bag and rolling pin/mallet, or careful pulsing in a food processor.
- Pre-made Graham Cracker Crust: Comes in its own disposable pie tin.
Ingredients
(Based on 1x column)
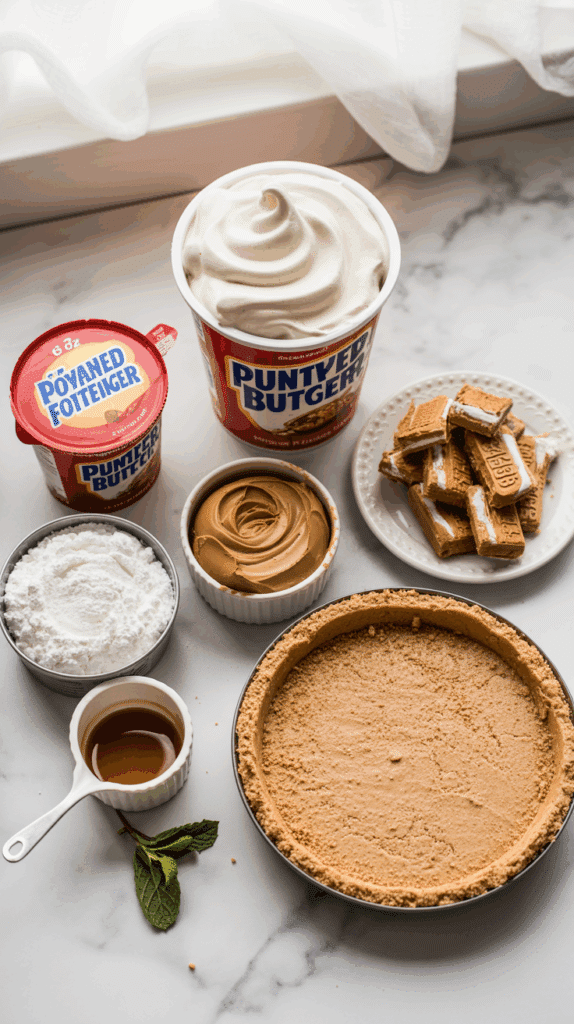
- ▢ 1 package (8 oz) cream cheese, softened
- ▢ 1 container (8 oz) frozen whipped topping (like Cool Whip), thawed
- ▢ 1 cup powdered sugar, sifted recommended
- ▢ 1/2 cup creamy peanut butter (standard commercial type)
- ▢ 3 Butterfinger candy bars (standard size), crushed, divided
- ▢ 1 (9-inch) pre-made graham cracker crust
- ▢ 1/2 tsp vanilla extract

Step-by-Step Instructions
1. Prepare Candy:
- Unwrap the 3 Butterfinger candy bars. Place them in a sturdy Ziploc bag, seal it, and gently crush the bars using a rolling pin or mallet until they are broken into small, irregular pieces. Alternatively, pulse briefly in a food processor (don’t turn it into powder).
- Set aside about 1/4 to 1/3 of the crushed candy for topping later.
2. Make the Peanut Butter Filling Base:
- Ensure the cream cheese is fully softened to room temperature.
- In a large bowl, using an electric mixer (handheld or stand mixer with paddle attachment), beat the softened cream cheese and the sifted powdered sugar together on medium speed until completely smooth and well combined. Scrape down the sides of the bowl.
- Add the creamy peanut butter and the vanilla extract to the bowl. Continue mixing on medium speed until everything is well combined and smooth.
3. Fold in Whipped Topping and Candy:
- Ensure the whipped topping is fully thawed but still cool. Add the thawed whipped topping to the peanut butter/cream cheese mixture.
- Using a rubber spatula, gently fold the whipped topping into the mixture until it is evenly incorporated and the filling is light and fluffy. Try not to deflate the whipped topping too much.
- Gently fold in the larger portion (about 2/3rds) of the crushed Butterfinger candy bars.
4. Fill the Crust:
- Spoon the prepared Butterfinger peanut butter filling into the pre-made graham cracker crust.
- Spread the filling evenly, smoothing the top with the rubber spatula or the back of a spoon.
5. Garnish:
- Sprinkle the reserved crushed Butterfinger candy evenly over the top surface of the pie.
6. Chill Thoroughly:
- Cover the pie loosely with plastic wrap or the lid that came with the crust.
- Refrigerate the pie for at least 4 hours, or preferably overnight. This chilling time is essential for the filling to fully set and firm up, and for the flavors to meld.
7. Serve:
- Once thoroughly chilled and firm, slice the No-Bake Butterfinger Pie into wedges using a sharp knife.
- Serve chilled and enjoy this sweet, creamy, and crunchy dessert!

Troubleshooting
- Filling Lumpy: Cream cheese wasn’t fully softened before beating, or powdered sugar wasn’t sifted. Beat cream cheese until perfectly smooth first. Sift sugar!
- Filling Too Soft/Not Setting: Needs more chilling time! Minimum 4 hours, overnight is best. Ensure whipped topping was properly thawed but still cold. Using full-fat cream cheese helps firmness.
- Crust Soggy: This is less common with pre-made crusts, but could happen if filling was very warm or sat unchilled for too long. Ensure filling components aren’t warm. Chill promptly.
- Candy Pieces Too Large/Small: Adjust crushing method to get desired size – small, irregular pieces are usually best, not powder or huge chunks.
Tips and Variations
- Soften Cream Cheese: Crucial for a smooth filling. Let it sit out for 1-2 hours.
- Thawed Cool Whip: Ensure it’s fully thawed in the fridge, not watery or partially frozen.
- Chilling is Key: Don’t rush the chilling; it’s necessary for the no-bake pie to set properly. Overnight yields the best texture.
- Homemade Crust: Use a homemade graham cracker or Oreo crust if preferred. Pre-bake it briefly and cool completely before filling for a crisper base.
- Different Candy Bars: Try substituting crushed Heath bars, Snickers, Reese’s Cups, or other favorite candy bars for the Butterfingers (flavor profile will change!).
- Chocolate Drizzle: Melt some chocolate chips and drizzle over the top along with the crushed Butterfinger garnish.
- Homemade Whipped Cream: Substitute about 1.5 – 2 cups of stabilized homemade whipped cream (sweetened) for the 8 oz tub of Cool Whip for a fresher taste (stabilizing with gelatin or pudding powder recommended for set).
Serving and Pairing Suggestions
- Serve Chilled: Essential for this no-bake pie to hold its shape.
- Dessert: Perfect easy dessert for parties, potlucks, or a sweet treat after dinner.
- Cut into Wedges: Slice like a traditional pie.
- With Milk or Coffee: Classic pairings for rich, sweet desserts.
Nutritional Information
(Note: Estimated, per slice, assuming 8 slices. Very indulgent dessert, variable based on brands.)
- Calories: 450-600+
- Fat: 25-40g+
- Saturated Fat: 12-20g+
- Cholesterol: 30-50mg+
- Sodium: 250-400mg+
- Total Carbohydrates: 50-70g+
- Dietary Fiber: 1-2g+
- Sugars: 40-55g+ (Very sweet)
- Protein: 5-8g+
Easy No-Bake Butterfinger Pie
Make this incredibly easy No-Bake Butterfinger Pie! Features a creamy peanut butter cheesecake-like filling loaded with crushed Butterfinger candy in a graham cracker crust
Ingredients
(Based on 1x column)
- ▢ 1 package (8 oz) cream cheese, softened
- ▢ 1 container (8 oz) frozen whipped topping (like Cool Whip), thawed
- ▢ 1 cup powdered sugar, sifted recommended
- ▢ 1/2 cup creamy peanut butter (standard commercial type)
- ▢ 3 Butterfinger candy bars (standard size), crushed, divided
- ▢ 1 (9-inch) pre-made graham cracker crust
- ▢ 1/2 tsp vanilla extract
Instructions
1. Prepare Candy:
- Unwrap the 3 Butterfinger candy bars. Place them in a sturdy Ziploc bag, seal it, and gently crush the bars using a rolling pin or mallet until they are broken into small, irregular pieces. Alternatively, pulse briefly in a food processor (don’t turn it into powder).
- Set aside about 1/4 to 1/3 of the crushed candy for topping later.
2. Make the Peanut Butter Filling Base:
- Ensure the cream cheese is fully softened to room temperature.
- In a large bowl, using an electric mixer (handheld or stand mixer with paddle attachment), beat the softened cream cheese and the sifted powdered sugar together on medium speed until completely smooth and well combined. Scrape down the sides of the bowl.
- Add the creamy peanut butter and the vanilla extract to the bowl. Continue mixing on medium speed until everything is well combined and smooth.
3. Fold in Whipped Topping and Candy:
- Ensure the whipped topping is fully thawed but still cool. Add the thawed whipped topping to the peanut butter/cream cheese mixture.
- Using a rubber spatula, gently fold the whipped topping into the mixture until it is evenly incorporated and the filling is light and fluffy. Try not to deflate the whipped topping too much.
- Gently fold in the larger portion (about 2/3rds) of the crushed Butterfinger candy bars.
4. Fill the Crust:
- Spoon the prepared Butterfinger peanut butter filling into the pre-made graham cracker crust.
- Spread the filling evenly, smoothing the top with the rubber spatula or the back of a spoon.
5. Garnish:
- Sprinkle the reserved crushed Butterfinger candy evenly over the top surface of the pie.
6. Chill Thoroughly:
- Cover the pie loosely with plastic wrap or the lid that came with the crust.
- Refrigerate the pie for at least 4 hours, or preferably overnight. This chilling time is essential for the filling to fully set and firm up, and for the flavors to meld.
7. Serve:
- Once thoroughly chilled and firm, slice the No-Bake Butterfinger Pie into wedges using a sharp knife.
- Serve chilled and enjoy this sweet, creamy, and crunchy dessert!
Recipe Summary and Q&A
Summary: This Easy No-Bake Butterfinger Pie features a pre-made graham cracker crust filled with a creamy mixture of softened cream cheese, powdered sugar, creamy peanut butter, vanilla extract, thawed frozen whipped topping, and crushed Butterfinger candy bars. The pie is topped with more crushed Butterfingers and chilled thoroughly (at least 4 hours) until firm before slicing and serving.
Q&A:
- Q: Can I use natural peanut butter?
- A: Standard commercial creamy peanut butter (like Jif or Skippy) is generally recommended for the smoothest and most stable no-bake filling. Natural peanut butter can sometimes be oily or grainy and might affect the final texture.
- Q: Do I need an electric mixer?
- A: While you can potentially mix this by hand if the cream cheese is very well softened, an electric mixer (handheld or stand) is highly recommended to get the cream cheese perfectly smooth and to properly incorporate the powdered sugar without lumps, resulting in the best filling texture.
- Q: Can I freeze this pie?
- A: Yes, this type of no-bake pie usually freezes well. Wrap it tightly after it’s fully set. Thaw in the refrigerator for several hours before serving. The texture might be slightly firmer/icier than when just refrigerated.
- Q: How many Butterfinger bars do I need?
- A: The recipe calls for 3 standard-size Butterfinger bars. You’ll crush about 2 for the filling and reserve 1 for the topping.

