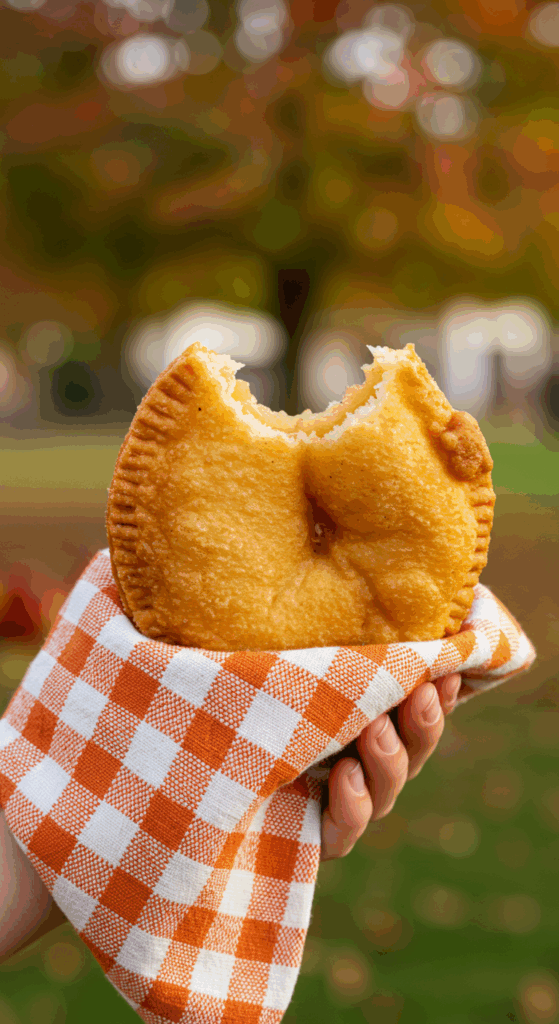
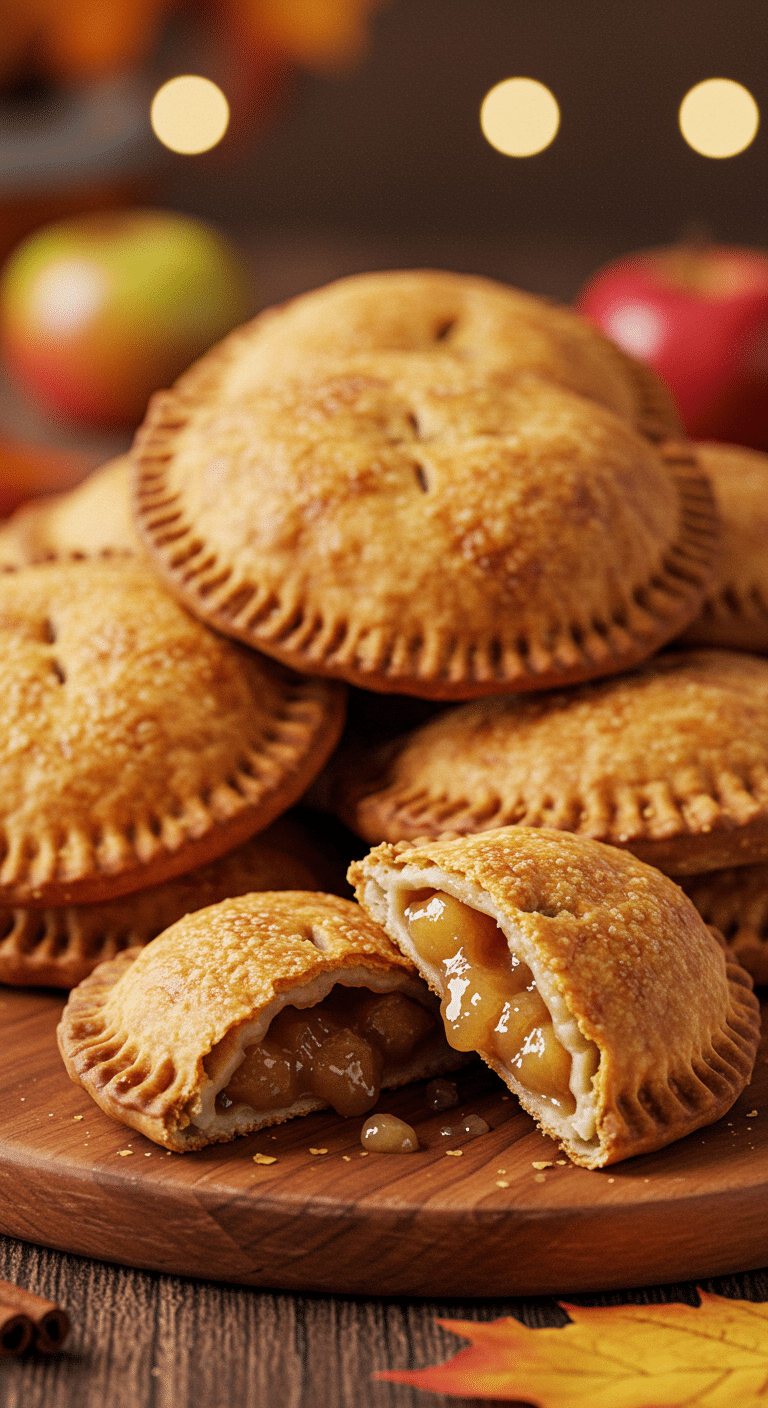
Is there any treat more comforting, more nostalgic, or more utterly delicious than a warm, crispy, Old-Fashioned Fried Apple Pie, fresh from the fryer? That incredible, shatteringly crisp, and bubbly crust giving way to a hot, gooey, and perfectly spiced apple filling is a true taste of classic, Southern-style comfort. This is your ultimate guide to recreating that perfect, handheld experience at home, and it’s so much better than any version you’ll get from a drive-thru.
This isn’t just a recipe; it’s a guide to mastering a beloved American classic. We’ll show you the simple secrets to an incredibly flaky, from-scratch pie crust that is perfect for frying, and how to create a thick, jammy apple filling that is bursting with flavor. Best of all, we’ll show you how to make and freeze these hand pies in advance, so you can have a hot, crispy, homemade treat ready to fry in minutes.
Table of Contents
Table of Contents
Recipe Overview: The Ultimate Nostalgic Treat
What makes these Fried Apple Hand Pies so spectacular is the incredible texture and flavor that can only be achieved through deep-frying. The hot oil instantly puffs and crisps the pastry, creating a wonderfully bubbly, flaky, and golden-brown crust that is completely different from a baked pie. The recipe uses a classic, from-scratch, butter-and-shortening pie crust for the ultimate flaky result, and a simple, cooked apple filling that is perfectly tender and spiced. It’s a fun, rewarding, and completely irresistible baking and frying project.
| Metric | Time / Level |
| Total Time | 2 hours 30 minutes (includes chilling) |
| Active Prep Time | 45 minutes |
| Difficulty Level | Intermediate |
| Servings | 18 hand pies |
The Essential Ingredients for the Best Fried Pies
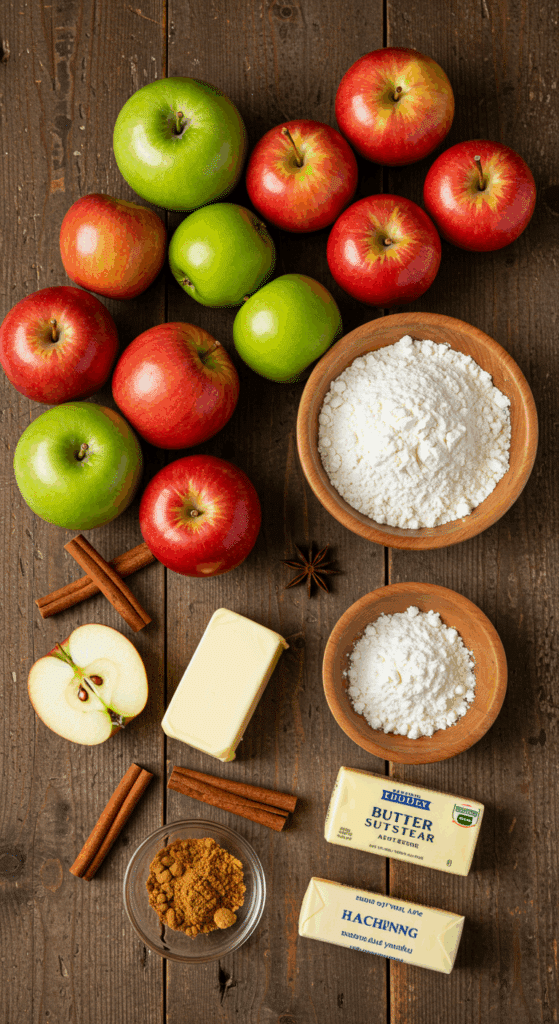
This recipe is made from two simple, from-scratch components.
- The Perfect, Flaky Pie Dough: This is the sturdy, yet tender foundation of our hand pies.
- The Fats (Butter & Shortening): This recipe uses a classic, foolproof blend for the best of both worlds. Cold unsalted butter provides a rich, delicious, savory flavor, while chilled vegetable shortening has a higher melting point, which creates an incredibly tender and extra-flaky texture that is very easy to work with and stands up beautifully to frying.
- Ice Water & Apple Cider Vinegar: It is absolutely essential that the water you use is ice-cold. The vinegar is a classic trick that helps to tenderize the gluten, making the crust even more flaky.
- The Warm & Spiced Apple Pie Filling:
- The Apples: For the best pie filling with a complex flavor and a texture that is tender but not mushy, it’s essential to use a mix of different firm baking apples. This recipe’s combination of a firm-sweet apple like Braeburn and a firm-tart apple like Granny Smith is a perfect choice.
- Warm Spices: A classic, cozy, and aromatic blend of ground cinnamon, ground ginger, and freshly grated nutmeg provides the perfect warm spice notes to complement the sweet apples.
- The Thickener: By pre-cooking the filling on the stovetop, the apples release their natural juices, which then thicken beautifully with a little bit of flour, creating a thick, jammy filling that won’t leak out during frying.

Step-by-Step to Perfect Fried Apple Pies
This recipe is a rewarding baking project. Follow these detailed steps for a perfect, show-stopping result.
Part 1: The Flaky, All-Purpose Pie Dough
Step 1: In the bowl of a food processor, combine the 2 1/2 cups of all-purpose flour, the 2 teaspoons of sugar, and the 1/2 teaspoon of kosher salt and pulse to combine.
Step 2: Add the 1/4 cup of chilled shortening and the 1 1/2 sticks of cold, diced butter. Pulse until the mixture resembles coarse breadcrumbs with some pea-sized pieces of butter still visible.
Step 3: While pulsing, add the 4 to 8 tablespoons of ice water and the 2 teaspoons of apple cider vinegar, one tablespoon at a time, until the mixture just comes together into a dough.
Step 4: Turn the dough out onto a large piece of plastic wrap, press it into a large disc, wrap it tightly, and refrigerate for at least 1 hour.
Part 2: The Warm & Spiced Apple Pie Filling
Step 1: In a large sauté pan over medium-high heat, melt the 2 tablespoons of unsalted butter. Add the chopped apples and sauté, stirring, for 3 to 5 minutes, until they are just starting to soften.
Step 2: Sprinkle the 1/4 cup of sugar over the apples and stir. Add the 1/2 teaspoon of ground cinnamon, the 1/2 teaspoon of kosher salt, the pinch of ground ginger, and the pinch of ground nutmeg.
Step 3: Continue to cook, stirring, for about 4 minutes, until some of the apples start to break apart, but most are still holding their shape, and the juices have thickened.
Step 4: Stir in the 2 teaspoons of lemon juice and remove the pan from the heat. Set the filling aside to cool completely, which will take about 30 minutes.
Part 3: Assembling Your Hand Pies
Step 1: On a lightly floured surface, roll your chilled dough out to a 1/8-inch thickness. Use a 4 1/2-inch round cookie cutter to cut out 18 circles of dough. You may need to gather and re-roll the scraps.
Step 2: In a small bowl, beat the 1 large egg with 1 tablespoon of water to create an egg wash.
Step 3: Place about 1 heaping tablespoon of the cooled apple filling into the center of each dough round. Be careful not to overfill the pies.
Step 4: Brush the edge of the dough with some of the egg wash. Fold the dough over the filling to create a half-moon shape. Press out any air and use the tines of a fork to firmly press and seal the edges together.
Part 4: Frying to Crispy, Golden Perfection
Step 1: Fill a deep, heavy pot (like a Dutch oven) about halfway with a neutral, high-heat frying oil. Heat the oil to 365°F (185°C).
Step 2: Working in batches of 4 to 6 pies at a time, carefully place the hand pies into the hot oil. Cook for about 5 minutes, flipping them as needed, until the crust is a deep golden brown, bubbly, and beautifully crisp on all sides.
Step 3: Use a spider strainer or a slotted spoon to transfer the hot, fried pies to a paper towel-lined plate or a wire rack to drain.
Serve the pies warm or at room temperature.

The Best Crispy & Easy Old-Fashioned Fried Apple Pies
A from-scratch recipe for classic fried apple hand pies. The dessert features a homemade, flaky pie dough made with a combination of butter and shortening. The filling is made by cooking down chunks of Braeburn and Granny Smith apples with sugar and warm spices until tender. Circles of the chilled dough are filled with the cooled apple mixture, sealed into half-moon shapes, and then deep-fried until golden brown and crisp. They can be served warm or at room temperature.
- Prep Time: 50 minutes
- Cook Time: 30 minutes
- Total Time: 2 hours 50 minutes (includes chilling and cooling)
- Yield: 18 hand pies
- Category: Dessert
- Method: Deep-Frying
- Cuisine: American
- Diet: Vegetarian
Ingredients
- For the Pie Dough:
- 2 1/2 cups all-purpose flour, plus more for dusting
- 2 teaspoons sugar
- 1/2 teaspoon kosher salt
- 1/4 cup shortening, chilled and cut into pieces
- 1 1/2 sticks (12 tablespoons) cold butter, diced
- 4 to 8 tablespoons ice water
- 2 teaspoons apple cider vinegar
- For the Filling:
- 2 tablespoons unsalted butter
- 2 Braeburn apples (about 1 pound)
- 2 Granny Smith apples (about 1 pound)
- 1/4 cup sugar
- 1/2 teaspoon ground cinnamon
- 1/2 teaspoon kosher salt
- Pinch of ground ginger
- Pinch of ground nutmeg
- 2 teaspoons lemon juice
- Oil, for frying
- 1 large egg, beaten with 1 tablespoon water
Instructions
- Make the Pie Dough: In a food processor, combine the flour, sugar, and salt. Add the shortening and butter and pulse until the mixture resembles coarse breadcrumbs. Add the ice water and vinegar, pulsing until the mixture just comes together.
- Press the dough into a large disc, wrap in plastic, and refrigerate for at least 1 hour.
- Make the Filling: While the dough chills, melt the butter in a large saute pan over medium-high heat. Add the peeled, cored, and chunked apples and sauté for 3 to 5 minutes, until just starting to soften.
- Sprinkle with the sugar, cinnamon, salt, ginger, and nutmeg. Cook, stirring, for about 4 more minutes until some apples start to break down. Stir in the lemon juice and remove from the heat. Let the filling cool completely for about 30 minutes.
- Assemble and Fry the Pies: Heat about 2 inches of oil in a deep pot to 365°F.
- Roll the chilled dough out to 1/8-inch thickness on a floured surface. Cut out eighteen 4 1/2-inch circles.
- Place about 1 heaping tablespoon of the cooled apple filling onto the center of each dough round.
- Brush the edge of the dough with the egg wash, fold it over to make a half-moon shape, and press the edges with a fork to seal.
- Working in batches of 4 to 6, carefully place the hand pies into the hot oil. Fry for about 5 minutes, flipping as needed, until golden brown.
- Transfer the fried pies to a paper towel-lined plate to drain. Serve warm or at room temperature.
Notes
- Cook’s Note: The uncooked, assembled pies can be frozen for up to 6 months before frying (they will take about 8 minutes to fry from frozen). They can also be refrigerated for up to 2 hours before frying.
- Using a combination of butter and shortening in the crust creates a dough that is both flavorful and very flaky.
- It is important to let the apple filling cool completely before assembling the pies to prevent the dough from becoming soggy.
- Frying in batches is crucial to maintain the oil temperature for a crispy, non-greasy result.
The Ultimate Make-Ahead & Freezing Guide
These Fried Apple Pies are a fantastic make-ahead treat, perfect for stocking your freezer.
- Make-Ahead: The best way to prep these ahead is to freeze them before frying. Follow all the assembly steps, and then place the raw, assembled hand pies in a single layer on a parchment-lined baking sheet. Freeze them until they are solid.
- Freezing: Once the pies are frozen solid, you can transfer them to a freezer-safe, resealable bag. They will keep in the freezer for up to 6 months.
- Frying from Frozen: When you are ready for a treat, you can fry the pies directly from frozen! Simply follow the frying instructions as directed, adding about 3 to 4 extra minutes to the total frying time to ensure the filling is hot and the crust is cooked through.
For more recipe follow my Pinterest account
Creative Recipe Variations
- Add a Simple Glaze: For a classic, sweet finish, you can dip the warm, freshly fried pies into a simple glaze. Simply whisk together 1 cup of powdered sugar with 2 to 3 tablespoons of milk or apple cider and a splash of vanilla extract.
- Make it a “Caramel Apple” Pie: For a delicious, gooey caramel apple version, you can add 1/4 cup of your favorite thick caramel sauce to the apple filling after it has cooled.
- Use a Different Fall Fruit: This fantastic hand pie method is also absolutely delicious with other fruit fillings. Try it with a cooked peach filling, a cherry pie filling, or even a sweet potato or pumpkin pie filling.
Enjoy The Ultimate Nostalgic Treat!
You’ve just created a truly special, from-scratch dessert that is the very definition of comfort food. This classic, Old-Fashioned Fried Apple Pie recipe is a perfect harmony of a crispy, flaky crust and a warm, gooey, spiced apple filling. It’s a rewarding and deeply satisfying project that is sure to become a new family favorite.
We hope you enjoy every last, warm, and delicious bite!
If you enjoyed making this recipe, please leave a comment below or share it with a friend who loves a good, old-fashioned dessert!
Frequently Asked Questions (FAQs)
Q1: What are the best apples to use for fried apple pies?
For a pie filling, especially one that is cooked first, you want to use a mix of apples for the best flavor and texture. This recipe’s combination of a firm-sweet apple like Braeburn and a firm-tart apple like Granny Smith is a perfect choice that will give you a filling that is both sweet and tangy, and tender but not mushy.
Q2: How do I keep my hand pies from leaking or exploding when I fry them?
There are three main secrets to a perfectly sealed hand pie. First, be very careful not to overfill them with the apple filling. Second, use the egg wash as a “glue” around the edges before you fold them over. And third, use the tines of a fork to firmly crimp and seal the edges together all the way around.
Q3: Can I bake these hand pies instead of frying them?
Yes, for a lighter, less indulgent version, you can bake these hand pies. Simply arrange the assembled, raw pies on a parchment-lined baking sheet. Brush the tops with the egg wash and sprinkle with some coarse sugar. Bake in a preheated 400°F oven for about 20-25 minutes, until the crust is a deep golden brown. The final crust will be more like a traditional pie crust and less bubbly and crispy than the fried version.
Q4: Can I make these hand pies ahead of time?
Yes! As the Cook’s Note in the recipe mentions, these are a fantastic freezer-friendly treat. The absolute best make-ahead method is to assemble them completely and then freeze them before frying. This allows you to have a delicious, hot, and fresh-from-the-fryer treat ready in just a few minutes.
Q5: What is the best way to reheat the fried pies?
The best way to reheat already-fried pies and bring back some of their original crispiness is in an air fryer or a hot 375°F oven. Place them in a single layer and heat for just 3-5 minutes, until they are hot and have crisped up again.

