Are you ready to learn the simple, scientific secrets to a flawlessly juicy, perfectly seasoned, and beautifully golden-brown Thanksgiving turkey? If you’re haunted by memories of dry, bland holiday birds, this foolproof recipe is your ultimate guide. This isn’t about luck; it’s a step-by-step masterclass in the two most important techniques for turkey perfection: a flavorful wet brine and a smart, two-stage roasting method.
This is your new, non-negotiable method for roasting a turkey. We’ll show you how to create an incredible, flavor-packed brine with brown sugar, allspice, and candied ginger that guarantees a succulent and seasoned bird. Then, we’ll walk you through a simple roasting process that starts hot to crisp the skin and finishes low to cook the meat gently and evenly. Get ready to roast the best, most impressive turkey of your life with absolute confidence.
Table of Contents
Table of Contents
Recipe Overview: The Ultimate Guide to a Perfect Turkey
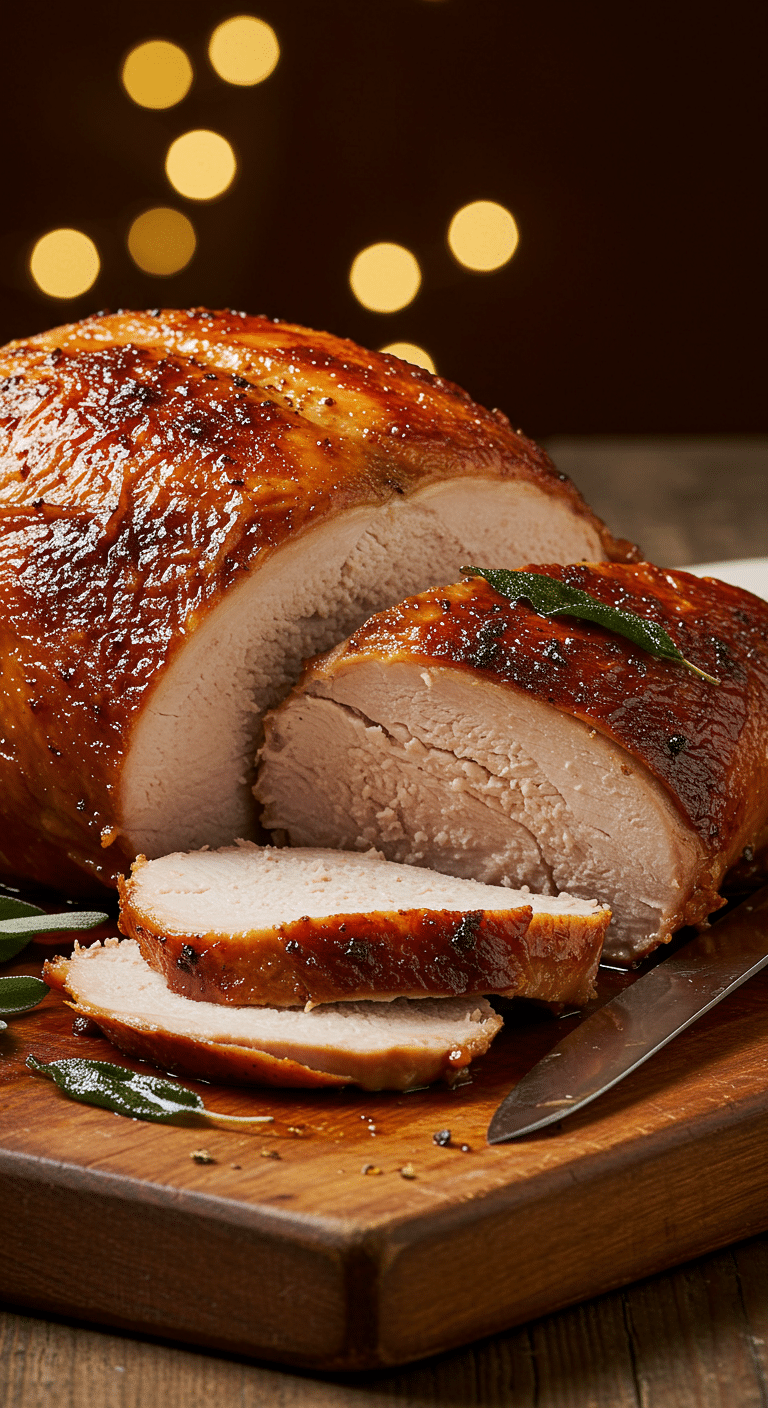
What makes this Traditional Roast Turkey recipe so spectacular is its reliance on proven techniques that eliminate guesswork and guarantee a delicious result. The foundation is a flavorful wet brine, a simple saltwater solution that, through the magic of science, seasons the turkey all the way to the bone while helping it retain an incredible amount of moisture during cooking. This is followed by a smart, two-stage roasting method that creates both perfectly cooked, juicy meat and that coveted, deep golden-brown, crispy skin.
| Metric | Time / Level |
| Total Time | 16 hours (includes overnight brining) |
| Active Prep Time | 30 minutes |
| Difficulty Level | Intermediate |
| Servings | 12-16 |
The Essential Ingredients for a Flavorful Turkey
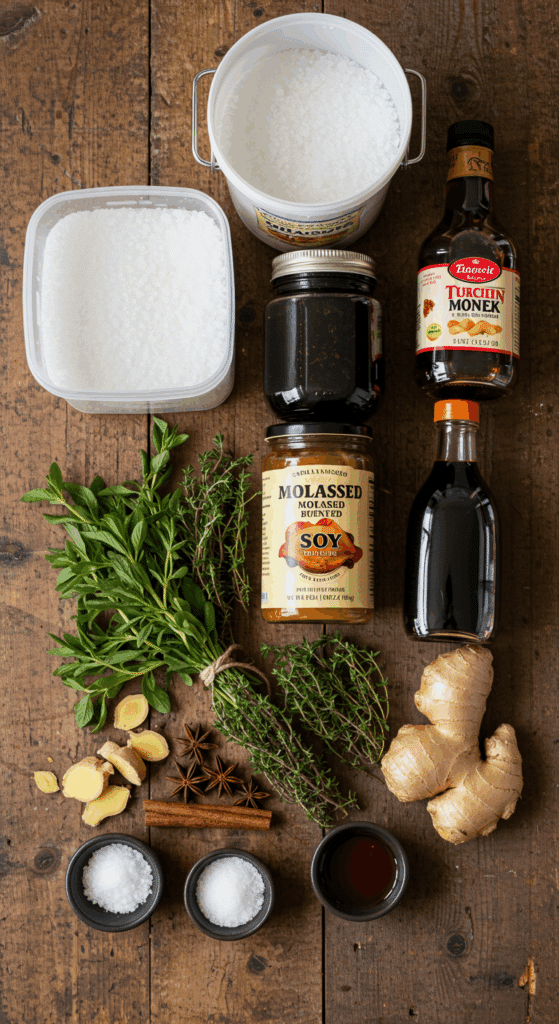
This recipe uses a unique and powerful blend of ingredients in its brine to create a truly memorable flavor.
- The Turkey: The star of the show. This recipe is designed for one 14- to 16-pound whole turkey. The most important first step for any holiday turkey is ensuring it is completely thawed before you begin the brining process.
- The Flavorful Wet Brine: This is the secret to a juicy, seasoned bird.
- Kosher Salt & Brown Sugar: This is the sweet and savory foundation. It is crucial to use kosher salt, not table salt, for the best, cleanest flavor. The brown sugar balances the salt and helps the skin to achieve a beautiful, deep mahogany color.
- The Unique Aromatics: This brine gets a unique, warm, and festive flavor from whole black peppercorns, fragrant allspice berries, and a surprising, delicious kick from chopped candied ginger.
- Fresh Thyme: A large bunch of fresh thyme adds a classic, savory, and herbaceous note to the brine.
- Canola Oil: A simple coating of a neutral oil like canola helps the turkey skin to brown beautifully and become wonderfully crisp in the hot oven.
The Most Important Prep: How to Safely Thaw a Turkey
If you have a frozen turkey, you must thaw it completely and safely before you begin.
- Refrigerator Thawing (Safest Method): This is the best and safest way. Place your wrapped, frozen turkey in a pan on the bottom shelf of your refrigerator. As a general rule, you should allow at least 24 hours of thawing time for every 4 to 5 pounds of turkey.
- 16-pound turkey = at least 4 full days in the refrigerator.
- Cold Water Thawing (Faster Method): If you are short on time, you can thaw the turkey in cold water. Submerge the wrapped turkey in a clean sink or a large cooler filled with cold tap water. You must change the water every 30 minutes to ensure it stays cold and safe. This method takes about 30 minutes per pound, so a 16-pound turkey will take about 8 hours.

Step-by-Step to the Most Perfect Turkey
Brining is a simple process that is all about planning ahead. Follow these detailed steps for a perfect result.
Part 1: Create and Cool the Flavorful Brine
Step 1: In a large stockpot, bring 3 quarts of the tap water to a boil over medium-high heat. In a very large, clean, 5-gallon bucket or a cooler, place the 1 pound of kosher salt.
Step 2: Once the water is boiling, slowly and carefully pour it over the salt. Stir with a long-handled spoon or whisk until the salt and sugar have completely dissolved.
Step 3: Add the brown sugar, the whole black peppercorns, the allspice berries, and the chopped candied ginger to the hot water mixture. Stir until the sugar has dissolved. Add the large bunch of fresh thyme and the two heads of unpeeled, broken-apart garlic cloves.
Step 4: Now, add the remaining 3 quarts of cool water and the 5 pounds of ice. Stir the brine until the ice has melted and the brine is completely and totally ice-cold.
Crucial Safety Tip: It is absolutely essential that your brine is completely cold (below 40°F) before you add the raw turkey.
Part 2: The Overnight Brine
Step 1: Remove the giblets and neck from your thawed turkey.
Step 2: Carefully submerge the turkey, breast-side down, into the ice-cold brine. Make sure that the cavity of the bird fills completely with the liquid. The turkey should be fully covered by the brine. If necessary, you can place a heavy plate on top of the bird to keep it fully submerged.
Step 3: Cover the cooler or bucket and allow the bird to sit in the brine in a cool, safe place (like a garage, a cool basement, or the refrigerator if you have space) overnight, or for about 12 hours. It’s a good idea to turn the bird once halfway through the brining process.
Part 3: Rinse, Dry, and Prep for Roasting
The next day, remove the bird from the brine. Discard the brine completely.
Now for the second most important step: rinse the turkey thoroughly, inside and out, with cold running water. This removes the excess salt from the surface of the skin.
After rinsing, pat the turkey completely and thoroughly dry with paper towels. A very dry surface is the non-negotiable secret to a crispy, golden-brown skin. Take your time and make sure to dry the outside and the inside of the cavity very well.
If you like, you can truss the legs of the turkey with kitchen twine at this point.
Part 4: The Two-Stage Roast to Perfection
Step 1 (The High-Heat Blast): Preheat your oven to a blazing hot 500°F (260°C). Place the dried turkey on a roasting rack set inside a half sheet pan. Rub the entire bird with canola oil.
Roast the bird on the lowest rack of the oven for 30 minutes. This initial blast of high heat will kick-start the browning process and help to render the fat in the skin.
Step 2 (The Low and Slow Finish): After 30 minutes, decrease the oven temperature to 350°F (175°C).
Insert a probe thermometer into the thickest part of the breast. To protect the breast meat from overcooking, you can create a simple foil “breastplate” by folding a double thickness of aluminum foil and shaping it to fit closely over the breast.
Continue to cook until the thermometer in the breast reaches 155°F (68°C). The temperature in the thickest part of the thigh should be at least 165°F.
Step 5: The Crucial Rest
Carefully transfer the roasted turkey from the pan to a large cutting board. Tent it loosely with foil and let it rest for at least 15 to 30 minutes before carving.
This essential step allows the juices to redistribute throughout the meat, guaranteeing a moist and succulent result.

The Perfect Juicy & Foolproof Roast Turkey Recipe
A comprehensive recipe for a traditional roast turkey, starting with a flavorful wet brine to ensure a juicy and well-seasoned bird. The brine is made with vegetable broth, salt, brown sugar, and aromatics like peppercorns, allspice, and candied ginger. After brining overnight, the turkey is roasted using a two-temperature method—starting high to brown the skin and then lowering the heat to cook it through gently. The recipe includes a helpful tip for creating a foil ‘breastplate’ to prevent the breast meat from overcooking.
- Prep Time: 30 minutes
- Cook Time: 3 hours
- Total Time: 16 hours (includes 12-hour brining time)
- Yield: 12-16 servings
- Category: Main Course
- Method: Brining, Roasting
- Cuisine: American
- Diet: Gluten Free
Ingredients
- For the Brine:
- 1 gallon vegetable broth
- 1 cup kosher salt
- 1/2 cup packed brown sugar, light or dark
- 1 tablespoon whole black peppercorns
- 1 1/2 teaspoons allspice berries
- 1 1/2 tablespoons candied ginger, chopped
- 1 gallon iced water
- 5 pounds ice cubes
- For the Turkey:
- 1 (14 to 16-pound) turkey, cleaned, innards removed
- Canola oil, for roasting
Instructions
- 2 to 3 days before roasting: Thaw the turkey in the refrigerator.
- The day before roasting – Make the Brine: In a large stockpot, bring the vegetable broth, salt, brown sugar, peppercorns, allspice, and candied ginger to a boil, stirring until the salt and sugar dissolve. Remove from heat and cool completely, then refrigerate.
- Brine the Turkey: In a 5-gallon bucket or large cooler, combine the chilled brine mixture, the iced water, and the ice cubes.
- Place the thawed turkey, breast-side down, in the brine, ensuring it is fully submerged. Cover and refrigerate or keep in the cooler for about 12 hours, turning the bird once halfway through.
- Day of Roasting: Preheat the oven to 500°F with a rack on the lowest position.
- Remove the turkey from the brine, rinse it inside and out with cold water, and discard the brine.
- Place the turkey on a roasting rack inside a half sheet pan and pat it completely dry with paper towels. Rub the entire bird with canola oil.
- Roast the turkey on the lowest oven rack for 30 minutes.
- After 30 minutes, decrease the oven temperature to 350°F. Insert a probe thermometer into the thickest part of the breast. If the breast skin is browning too quickly, cover it with a custom-fit piece of aluminum foil (a ‘breastplate’).
- Continue to roast until the thermometer reaches 155°F.
- Remove the turkey from the oven, cover it lightly with aluminum foil, and let it rest for 15 to 30 minutes before carving. The temperature will continue to rise to a safe 165°F during this rest.
Notes
- This is a multi-day process that requires planning for thawing and overnight brining.
- Brining the turkey is a key step that adds moisture and flavor deep into the meat.
- The two-temperature roasting method helps to achieve a crispy skin while keeping the meat juicy.
- Resting the turkey after roasting is essential for the juices to redistribute, ensuring a moist result.
Storage and Make-Ahead Tips
A large roasted turkey is perfect for delicious leftovers.
- Make-Ahead: The entire brining process is a fantastic make-ahead step that you do the day before.
- Storage: Store any leftover carved turkey meat in an airtight container in the refrigerator for up to 4 days. The leftover carcass and bones are a treasure—use them to make a rich and delicious turkey stock for soup.
For more recipe follow my Pinterest account
Creative Recipe Variations
This deeply flavorful brine and roasting method is a wonderful base for your own festive twists.
- Classic Herb & Butter Finish: If you love a classic, buttery finish, you can make a simple compound butter. After you have dried the brined turkey, mix 1 stick of softened butter with the zest of a lemon and some chopped fresh sage and thyme. Carefully loosen the skin of the turkey from the meat and rub this butter mixture under the skin before you roast it.
- Add a Citrus Twist to the Brine: For a bright, citrusy note that is wonderful with the ginger and allspice, you can add one or two sliced oranges to the brine along with the other aromatics.
- Smoky Paprika Version: For a smokier flavor and an even deeper, redder color on the skin, you can add 1 to 2 tablespoons of smoked paprika to the brine mixture.
Enjoy Your Holiday Masterpiece!
You’ve just created a stunning, impressive, and perfectly cooked turkey that is guaranteed to be the star of your holiday table. This foolproof brining and roasting method is a testament to the power of a few simple, scientific techniques to produce a truly spectacular result. It’s a rewarding recipe that will give you the confidence to roast a perfect bird every single time.
We hope you and your loved ones enjoy every last, juicy, and delicious bite!
If you enjoyed making this recipe, please leave a comment below or share it with a friend who is looking for a no-fail turkey recipe!
Frequently Asked Questions (FAQs)
Q1: Why do I absolutely have to brine my turkey? What does it do?
Brining is a game-changer for lean poultry like turkey. The process does two main things. First, through osmosis, the saltwater solution seasons the meat all the way through to the bone, not just on the surface. Second, the salt helps the muscle fibers to retain more moisture, which acts as an insurance policy against the turkey drying out during the long roasting time. The result is a much juicier and more flavorful bird.
Q2: Do I have to rinse the turkey after I brine it?
Yes, this is a very important step. After the turkey has brined, the surface of the skin will be very salty. Rinsing it thoroughly under cold water removes this excess surface salt. If you skip this step, your final pan drippings will be incredibly salty, and the skin may not crisp up as nicely.
Q3: My turkey drippings are very salty. How can I make gravy with them?
This is a common result of a brined turkey. The best way to make gravy from the drippings of a brined bird is to use a low-sodium or, even better, an unsalted chicken or turkey broth as your base. When you make your gravy, be sure to taste it before you add any extra salt. You will likely find that the salty drippings provide all the seasoning you need.
Q4: How do I make the foil “breastplate” and why is it important?
The lean, white breast meat of a turkey cooks much faster than the dark thigh meat. A foil breastplate is a simple shield that protects the breast from the direct heat of the oven, slowing down its cooking so that the thighs have enough time to come up to a safe temperature without the breast becoming overcooked and dry. To make one, simply fold a large piece of aluminum foil into a double-layered triangle or shield shape that you can lay directly on top of the turkey breast.
Q5: What is the most important tool I need for this recipe?
The single most important tool for roasting a perfect turkey is a reliable instant-read or probe thermometer. It is the only way to know for sure when your turkey is perfectly and safely cooked. Roasting a turkey without one is like flying a plane without any instruments—it’s pure guesswork!

