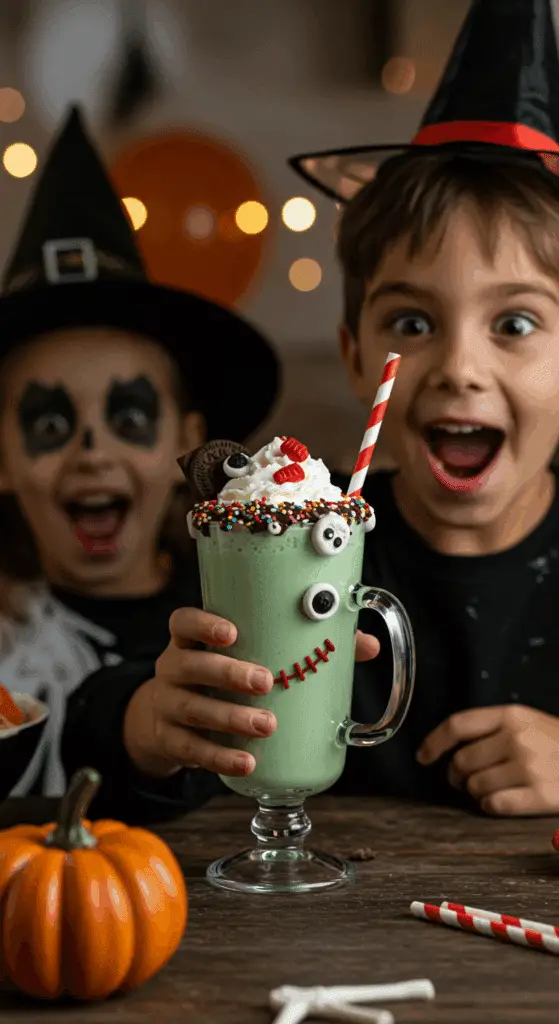
It’s alive! Get ready to bring some monstrously delicious fun to your kitchen laboratory with the ultimate Halloween treat. This incredible, from-scratch-tasting recipe guide will show you how to create not one, but two spooktacularly delicious milkshakes: the mighty “Frankenshake” and his beautiful “Bride of Frankenshake”! We’re talking a creamy, dreamy, mint-chocolate Frankenstein and a classic, elegant vanilla Bride, both served in glasses that you’ll decorate to bring these iconic monsters to life.
This isn’t just a recipe; it’s a guide to your new show-stopping, festive tradition. We’ll show you the simple but crucial secrets to decorating the glasses for a stunning, professional look that is surprisingly easy to achieve. This is the kind of fun, satisfying, and deeply delicious dessert that will make your Halloween celebration unforgettable.
Table of Contents
Table of Contents
Recipe Overview: The Ultimate Spooky & Sweet Halloween Drink
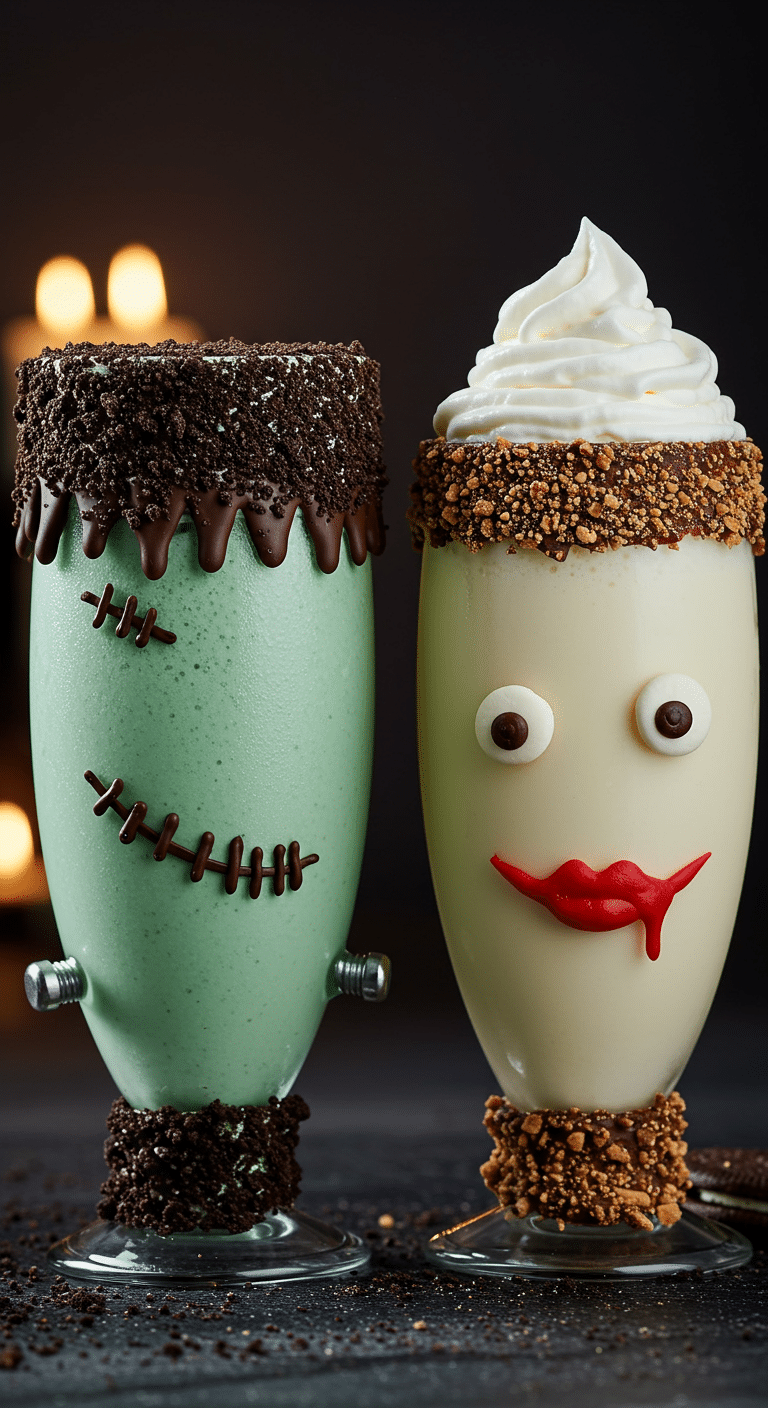
What makes these Halloween Milkshakes so spectacularly fun is their brilliant, theatrical presentation and their classic, crowd-pleasing flavors. This recipe is a masterpiece of festive creativity, guiding you through two unique and adorable designs. The real magic happens before you even make the milkshakes, by transforming simple pint glasses into the heads of Frankenstein and his Bride. Melted chocolate and crushed chocolate cookies are used to create their iconic hair, and chocolate-covered caramels make the perfect “neck bolts.” The Frankenshake is a vibrant, ghoulish green, mint-flavored milkshake, while the Bride is a classic, creamy vanilla milkshake, crowned with a beautiful swirl of whipped cream.
| Metric | Time / Level |
| Total Time | 45 minutes (includes chilling) |
| Active Prep Time | 30 minutes |
| Difficulty Level | Easy |
| Servings | 2 milkshakes |
The Mad Scientist’s Laboratory: Essential Ingredients & Tools
This iconic party treat uses a handful of simple ingredients and smart shortcuts.
- The Milkshake Base:
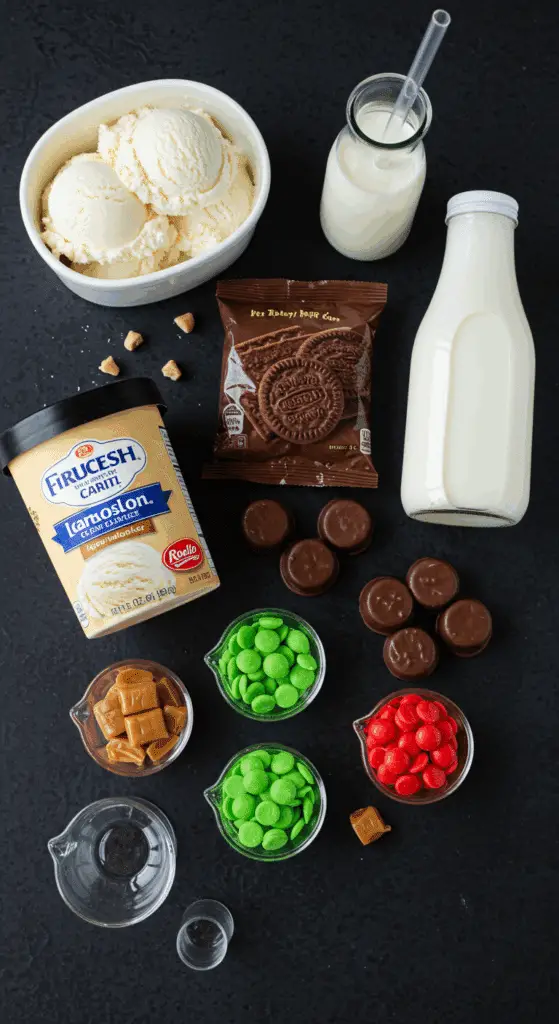
- Vanilla Ice Cream: The secret to a truly thick, rich, and creamy milkshake is to start with a high-quality, full-fat vanilla ice cream.
- The “Franken” Flavor & Color: A splash of classic peppermint extract and a few drops of green food coloring are all you need to bring your Frankenshake to life!
- The Edible Decorations:
- The “Hair”: A handful of classic, dark chocolate wafer cookies (like the wafers from an Oreo®, with the creme removed) are crushed into fine crumbs to create the perfect, dark, and textured hair.
- The “Bolts”: The brilliant and simple secret to the iconic neck bolts is a classic, round, chocolate-covered caramel candy, like a Rolo®.
- The Faces: A little bit of melted semisweet chocolate chips and some vibrant red candy melts are the perfect, edible “paint” for creating the faces.

Step-by-Step to the Best Halloween Milkshakes
This fun and festive project is a joy to prepare.
Part 1: The Monster-Making Masterclass (Decorating the Glasses)
For the Frankenshake Glass: Step 1: In a small microwave-safe bowl, melt your 3 ounces of semisweet chocolate chips in the microwave in 30-second increments, stirring in between, until the chocolate is fully melted and smooth. Step 2: Tip a pint glass or a beer stein on its side. Using a toothpick or a clean, small paintbrush, draw a spooky mouth and two eyes on the inside of the glass with the melted chocolate. You can add a few classic “stitches” to resemble a Frankenstein face. Step 3: Stand the glass upright. Brush the melted chocolate on the rim of the glass and about a quarter of the way down the outside of the glass in a zig-zag pattern to create the “hairline.” Step 4: Immediately press your crushed chocolate wafer cookies onto the wet chocolate on the outside of the glass to coat the “hair.” Step 5: Put two small dollops of the melted chocolate on the sides of the glass, where the neck bolts will be. Stick two of your chocolate-covered caramels on top and press them gently to adhere. Step 6: Place the finished glass in the freezer until the chocolate has completely hardened, which will take about 10 minutes.
For the Bride-of-Frankenshake Glass: Step 1: In a small microwave-safe bowl, melt your 2 ounces of red candy melts. Step 2: Tip a second pint glass on its side. Using a toothpick, draw two spooky, red lips on the inside of the glass. Use your melted chocolate to draw on two eyes. Step 3: Repeat the same process as the Frankenshake to create the chocolate and crushed cookie “hairline” and the chocolate-covered caramel “neck bolts.” Step 4: Place the finished glass in the freezer until the chocolate has completely hardened.
Part 2: Make the Milkshakes and Assemble
Step 1: In a blender, combine your 2 pints of vanilla ice cream and the 1/2 cup of milk. Blend until the mixture is smooth and creamy.
Step 2: Pour half of this classic, white vanilla milkshake into your prepared and chilled Bride-of-Frankenshake glass. Place this glass back in the freezer to stay cold while you make the Frankenshake.
Step 3: Add the 1/4 teaspoon of peppermint extract and the 3 to 4 drops of green food coloring to the remaining vanilla milkshake in the blender. Blend until it is just combined and a beautiful, ghoulish green color.
Step 4: Pour the green milkshake into your prepared and chilled Frankenshake glass.
Step 5: Cover the top of each of the milkshakes with a final sprinkle of the remaining crushed wafer cookies.
Step 6: Create a beautiful, tall swirl of the canned whipped cream on top of the Bride’s glass to mimic her iconic, beehive hairstyle.
Serve your monstrous creations immediately!

Frankenshake & Bride of Frankenshake (Fun Halloween Milkshakes!)
A fun and creative Halloween recipe for two themed milkshakes: a ‘Frankenshake’ and a ‘Bride of Frankenshake.’ The recipe involves decorating the inside and outside of two pint glasses with melted chocolate, candy melts, and crushed chocolate wafer cookies to create the characters’ iconic faces and hair, complete with chocolate-caramel ‘bolts.’ A simple vanilla milkshake is then made, with half of it colored green and flavored with peppermint for the Frankenshake, and the other half remaining plain for the Bride’s shake.
Ingredients
- 3 ounces semisweet chocolate chips
- 20 chocolate wafer cookies, finely crushed
- 4 chocolate-covered caramels (e.g., Rolos)
- 2 ounces red candy melts
- 2 pints vanilla ice cream
- 1/2 cup milk
- 1/4 teaspoon peppermint extract
- 3 to 4 drops green food coloring
- Canned whipped cream, for serving
Instructions
- Decorate the Glasses: Melt the chocolate chips in the microwave. Using a toothpick or small brush, draw a mouth and eyes on the inside of one pint glass for the ‘Frankenshake.’ Brush chocolate in a zig-zag pattern around the outside rim for hair, then press crushed chocolate wafer cookies onto it. Use dollops of chocolate to ‘glue’ two chocolate-caramels to the sides for bolts.
- Melt the red candy melts. On a second pint glass, use the red melts to draw lips on the inside. Use the melted chocolate to draw eyes. Decorate the rim with chocolate ‘hair’ and cookie crumbs, and add two caramel ‘bolts’ as with the first glass.
- Place both decorated glasses in the freezer for at least 10 minutes to set the chocolate.
- Make the Milkshakes: In a blender, combine the vanilla ice cream and milk and blend until smooth.
- Pour half of the vanilla milkshake into the ‘Bride of Frankenshake’ glass. Place it in the freezer to stay chilled.
- Add the peppermint extract and green food coloring to the remaining milkshake in the blender and blend until just combined.
- Pour the green milkshake into the ‘Frankenshake’ glass.
- Top both shakes with the remaining crushed wafer cookies. Swirl whipped cream on top of the ‘Bride’s’ glass.
- Serve immediately.
Notes
- This is a fun, creative dessert that is perfect for a Halloween party.
- Decorating the faces on the *inside* of the glass is a key technique that allows the features to be seen clearly through the milkshake.
- Chilling the decorated glasses in the freezer is crucial to ensure the chocolate hardens completely before you add the cold milkshake.
- The base milkshake is made once and then divided, making it easy to create the two different flavors.
Storage and Make-Ahead Tips
- Make-Ahead: The absolute best part about this recipe is that you can decorate your glasses completely up to a week in advance! Simply keep the finished, empty glasses in the freezer until your party starts. This makes the final, 5-minute assembly a breeze.
- Storage: These milkshakes are at their absolute best when they are served immediately after they have been blended.
For more recipe follow my pinterest account
Creative Recipe Variations (“Make it Your Own Monster!”)
- Use a Different Spooky Flavor: If you’re not a fan of mint, you can create a delicious “Zombie” shake by blending in about 1/2 cup of a raspberry or a strawberry puree with a little bit of green food coloring for a spooky, brainy look.
- Make it an Adult “Boo-zy” Shake: For a delicious, grown-up version, you can add about 1 to 1 1/2 ounces of your favorite spirit to each of the shakes. A classic crème de menthe or a chocolate liqueur is fantastic in the Frankenshake, and a vanilla vodka or a creamy Bailey’s Irish Cream is delicious in the Bride’s shake.
- Make it a Shortcut Decoration: If you’re very short on time, you can skip the detailed glass decorations and simply use a black edible marker to draw the faces on the outside of your glasses.
Enjoy Your Ultimate Spooky & Sweet Halloween Drink!
You’ve just created a truly special treat that is a perfect harmony of fun, classic ingredients and delicious, satisfying flavors. This classic “Frankenshake” duo is a testament to the power of a simple, creative idea to become an instant party favorite and a treasured holiday tradition. It’s a rewarding and deeply satisfying recipe that is sure to make your Halloween party a memorable one.
We hope you enjoy every last, perfect, and delicious sip!
If you enjoyed making this recipe, please leave a comment below or share it with a friend who loves an easy and impressive meal!
Frequently Asked Questions (FAQs)
Q1: What is the absolute, number one secret to a thick and creamy, not thin and watery, milkshake?
The secret is to use high-quality, full-fat ice cream and to use as little milk as possible. Start with just a small splash of milk to get the blender going, and only add more if the shake is too thick to blend. Using a powerful blender will also help you to achieve a smooth, thick consistency with less liquid.
Q2: Can I decorate the glasses ahead of time for a party?
Yes, absolutely! This is the perfect make-ahead party prep. You can fully decorate the glasses with the chocolate and the crushed cookies and store the empty glasses in the freezer for up to a week. When your guests are ready for their treat, you can simply blend the milkshakes and pour them into the pre-decorated, chilled glasses.
Q3: What is the best and easiest way to draw on the inside of a glass with chocolate?
The secret is to use a toothpick or a very small, clean paintbrush. This will give you the best control to draw on the fine details, like the eyes and the mouth. Another great trick is to let your melted chocolate cool down and thicken slightly before you begin, which will make it less runny and easier to control.
Q4: Can I make this recipe dairy-free or vegan?
Yes! To make this recipe vegan, simply substitute the vanilla ice cream with your favorite brand of a dairy-free, vanilla-flavored frozen dessert (made from oat milk, almond milk, or coconut milk). You will also need to use a plant-based milk, and be sure that your chocolate, your candy, and your wafer cookies are all certified vegan.
Q5: What are some other fun and spooky Halloween drink ideas?
A “Poison Apple” Punch with a dry ice fog effect is a fantastic and spooky choice for a crowd. For another individual treat, you can create a “Witches’ Brew” by mixing some lemon-lime soda with a little bit of green Hawaiian Punch® and a scoop of a lime sherbet, and garnish it with a few gummy worms.

