Are you searching for the ultimate, show-stopping centerpiece for your holiday table? A magnificent, jaw-dropping roast turkey so impossibly juicy, so packed with savory flavor, and so stunningly beautiful, it will be the talk of your entire holiday season? This incredible, from-scratch-tasting French Onion Turkey is that perfect recipe. We’re talking a whole roasted turkey, with a perfect, edge-to-edge juicy interior, all encased in a savory, dark, and crackly crust that tastes just like the top of a classic French Onion Soup.
This isn’t just another turkey recipe; it’s your definitive guide to a truly unforgettable holiday feast. We’ll show you the simple but brilliant professional secrets to a flawless, tender bird that is infused with the most incredible, rich, and savory caramelized onion flavor. This is a satisfying, soulful, and deeply impressive meal that is destined to become your new Thanksgiving tradition.
Table of Contents
Table of Contents
Recipe Overview: The Ultimate Foolproof & Juicy Holiday Turkey
What makes this French Onion Turkey so spectacularly delicious is its incredible depth of flavor and its brilliant, multi-layered “onion” technique. This recipe is a masterpiece of smart, festive cooking. The magic begins with a simple overnight dry brine, which is the key to a juicy, seasoned bird and super crispy skin. The real, show-stopping flavor comes from a from-scratch “French Onion” compound butter—a luscious blend of softened butter, onion soup mix, and finely crushed crispy fried onions. This paste is rubbed under the skin, creating a self-basting shield that guarantees an unbelievably moist and flavorful result. Finally, the turkey is roasted on a “living rack” of thick-cut onion rounds, which caramelize in the drippings and create the most incredible, savory base for your gravy.
| Metric | Time / Level |
| Total Time | 15 hours (includes 12-hour dry-brining) |
| Active Prep Time | 30 minutes |
| Difficulty Level | Easy |
| Servings | 10-14 |
The Thanksgiving Pantry: The Essential Ingredients
This iconic dish uses a handful of high-quality ingredients and smart shortcuts to create its signature festive flavor.
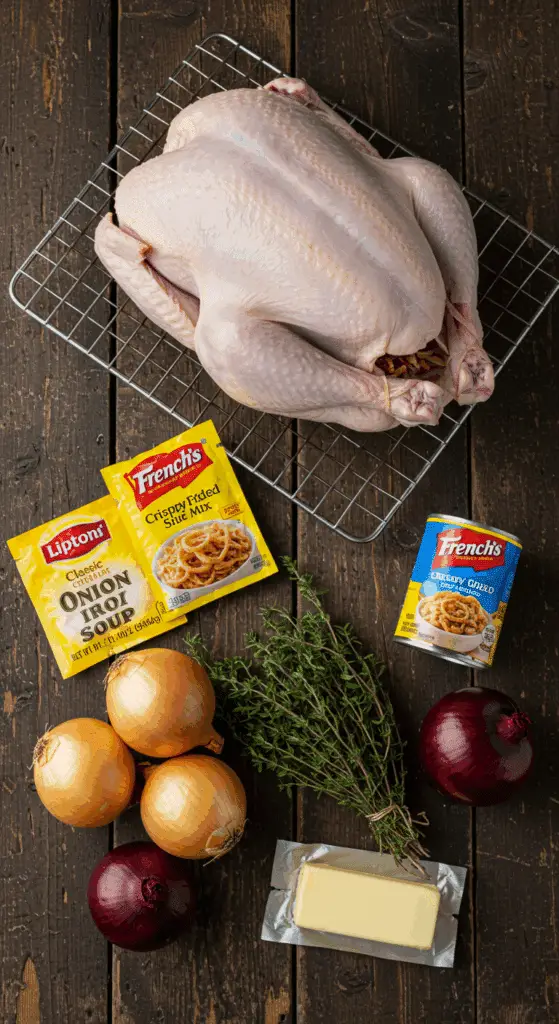
- The Turkey: For this recipe, a classic 12- to 14-pound turkey is the perfect size. It must be completely thawed before you begin.
- The “French Onion” Butter (The Star of the Show!):
- Onion Soup Mix: The brilliant shortcut to that deep, savory, “soupy” flavor! A single packet of a classic onion soup and dip mix provides a huge, savory umami punch.
- Crushed Crispy Fried Onions: This is the secret weapon! Finely crushing a handful of canned fried onions and adding them to the butter is the key that provides an incredible, deep, toasted onion flavor and a beautiful, dark, burnished crust.
- The Dry Brine: A simple but crucial blend of salt, pepper, onion powder, and a touch of sugar. This is the non-negotiable first step for a juicy, seasoned bird.
- The “Onion Rack”: A simple, brilliant trick! Using thick-cut yellow onion rounds as a “roasting rack” elevates the turkey for even cooking and infuses the pan drippings with a deep, sweet, caramelized onion flavor, creating the best gravy base you’ve ever had.
The Roasting Masterclass: The Secret to a Perfect, Juicy Turkey
This recipe uses a few simple but brilliant professional techniques that guarantee a flawless, impressive result.
- The Overnight “Dry Brine”: The first, and most important, secret to a perfect crust is to let your seasoned roast sit, uncovered, in the refrigerator overnight. This process not only seasons the meat deeply but also thoroughly dries out the skin, which is the non-negotiable key to a shatteringly crisp, non-rubbery result.
- The “Under the Skin” Butter: This is the number one, restaurant-quality secret to an incredibly moist and flavorful turkey. By gently loosening the skin and rubbing your “French Onion” butter directly onto the meat, you are creating a “self-basting” shield. The butter and its seasonings infuse the meat as it cooks, keeping it unbelievably juicy.
- The High-Heat Start: The initial, 30-minute blast of high heat ($425^{\circ}F$) is the key that kick-starts the browning process, helping to render the fat and create a beautiful, crispy skin.
- Trust Your Thermometer & Rest!: You must let your finished turkey rest for at least 30 minutes before you carve it. This crucial, patient step allows the hot, delicious juices to relax and redistribute throughout the entire roast.

Step-by-Step to the Best French Onion Turkey
This impressive culinary project is a joy to prepare.
Part 1: The Overnight Dry Brine (The Day Before!)
Step 1: Pat your completely thawed turkey dry with paper towels.
Step 2: In a small bowl, stir together your 3 tablespoons of kosher salt, 1 tablespoon of black pepper, 1 teaspoon of onion powder, and 1 teaspoon of the sugar.
Step 3 (The Most Important Step!): Sprinkle this salt rub all over the entire turkey, including inside the cavity. Place the turkey on a wire rack set inside a rimmed baking sheet and chill it, uncovered, for at least 12 hours or up to 36 hours.
Part 2: The Art of the French Onion Butter and Roasting
Step 1: One hour before cooking, remove your turkey from the refrigerator to let it stand at room temperature. Preheat your oven to 425°F (1$218^{\circ}C$) with a rack in the lower third position.2 Arrange your yellow onion rounds in the bottom of a large roasting pan.
Step 2: In a medium bowl, stir together your 1 cup of softened butter, the onion soup mix, the crushed crispy fried onions, the 1 teaspoon of balsamic vinegar, the 1/2 teaspoon of garlic powder, the 1/4 teaspoon of dry mustard, and the remaining 1/2 teaspoon of sugar until it is smooth and creamy.
Step 3: Gently loosen the skin from the turkey breast and thighs. Spread about half of your butter mixture directly on the meat, under the skin. Spread the remaining butter mixture all over the outside of the turkey skin.
Step 4: Stuff the 1 quartered yellow onion and your 4 fresh thyme sprigs into the turkey cavity. Tie the legs together with kitchen twine. Place the turkey, breast-side up, on top of your “onion rack” in the roasting pan. Pour 1 cup of water into the bottom of the pan.
Part 3: The Two-Stage Roast and Final Rest
Step 1: Roast the turkey in your preheated oven for 30 minutes.
Step 2: Loosely cover the turkey with aluminum foil and reduce the oven heat to 350°F ($175^{\circ}C$). Roast for 1 hour.
Step 3: Remove the turkey from the oven and nestle your red and sweet onion wedges around the turkey in the pan. Loosely cover it with foil again and bake for another 1 to 1 1/2 hours.
Step 4 (The Final Check!): You will know the turkey is perfectly done when the onions are tender and an instant-read thermometer inserted into the thickest part of the thigh (avoiding the bone) registers $160^{\circ}F$.
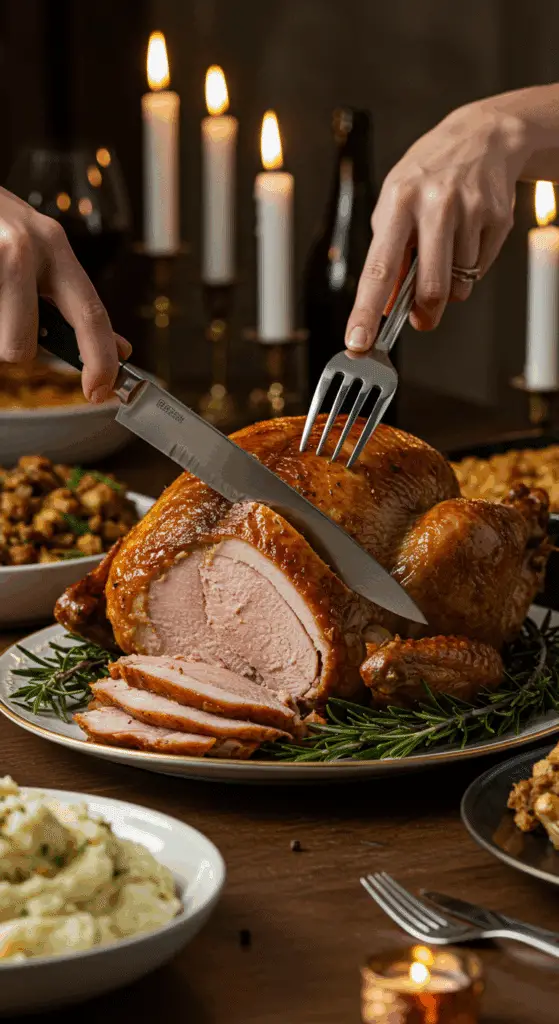
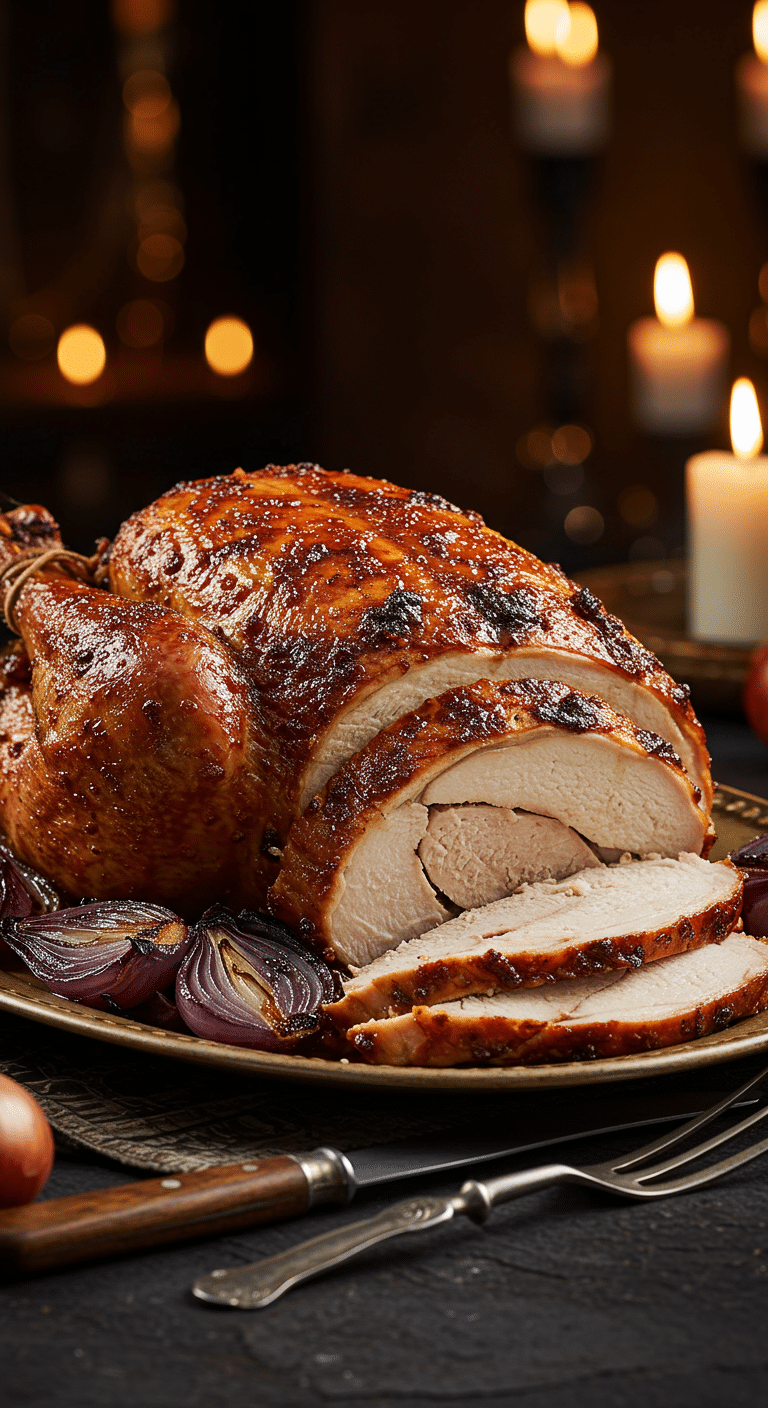
Step 5: Transfer the turkey to a cutting board and let it rest for 30 minutes before you carve it. Transfer the roasted onion wedges to a serving platter and reserve all those delicious pan drippings for your gravy.

French Onion Turkey (A Holiday Showstopper!)
A classic, comforting recipe for a traditional Italian-American lasagna. This dish features a rich and savory meat sauce made with a combination of lean ground beef and hot Italian sausage, simmered with tomatoes and herbs. The sauce is layered with a creamy filling of ricotta cheese, eggs, mozzarella, and Parmesan. Convenient no-boil lasagna noodles are used to simplify the process. The casserole is baked until hot and bubbly, with a final bake uncovered to create a perfectly golden-brown cheesy top.
Ingredients
- 1 pound lean ground beef
- 1/2 pound hot Italian sausage
- 1 small yellow onion, chopped
- 2 cloves garlic, minced
- 1 teaspoon dried oregano
- 2 tablespoons tomato paste
- One 26.42-ounce container strained tomatoes (e.g., Pomi)
- 2 large eggs
- 30 ounces part-skim ricotta cheese
- One 16-ounce bag shredded mozzarella (approx. 4 cups), divided
- 1/3 cup plus 1/4 cup grated Parmesan cheese, divided
- 1 tablespoon chopped fresh basil
- 1 tablespoon chopped fresh oregano
- 1/2 teaspoon kosher salt
- Freshly ground black pepper
- One 1-pound box no-boil lasagna noodles
Instructions
- Preheat the oven to 375°F.
- Make the Meat Sauce: In a large sauté pan over medium-high heat, cook the ground beef and sausage until they begin to brown. Add the onions, garlic, and dried oregano, and continue to cook for 3-4 minutes, until the onions have softened and the meat is cooked through.
- Stir in the tomato paste and cook for 30 seconds. Add the strained tomatoes and cook for about 5 minutes, until the sauce has thickened slightly. Remove from the heat.
- Make the Cheese Filling: In a large bowl, beat the eggs. Add the ricotta, 1 cup of the mozzarella, 1/3 cup of the Parmesan, the fresh basil and oregano, salt, and pepper. Stir to combine.
- Assemble the Lasagna: Spread a thin layer of the meat sauce on the bottom of a 9-by-13-inch baking dish.
- Arrange a layer of no-boil noodles over the sauce. Top with one-third of the ricotta filling, followed by a layer of the meat sauce.
- Repeat the layers (noodles, ricotta, sauce) two more times.
- End with a final top layer of noodles. Spoon a thin layer of the remaining sauce over the top noodles. Sprinkle with the remaining mozzarella and the remaining 1/4 cup of Parmesan.
- Bake: Cover the dish with aluminum foil and bake for 45 minutes.
- Uncover the lasagna and continue to bake for another 15 to 20 minutes, until the cheese is golden and the lasagna is bubbling.
- Let the lasagna stand for 10 to 15 minutes before slicing and serving.
Notes
- This is a classic ‘Sunday dinner’ style lasagna that is perfect for feeding a crowd.
- Using no-boil lasagna noodles is a key shortcut that saves the step of boiling the pasta sheets beforehand.
- Letting the finished lasagna rest for at least 10 minutes before cutting is a crucial step that allows the layers to set, resulting in much cleaner slices.
- The combination of ground beef and hot Italian sausage in the sauce provides a deep, complex, and slightly spicy flavor.
Storage and Leftover Ideas
- Storage: Store any leftover turkey, well-wrapped, in the refrigerator for up to 4 days.
- The Best Leftovers: Leftover turkey is a true holiday treasure! It makes the absolute best sandwiches (especially on a baguette with melted Gruyère cheese, just like the soup!), is fantastic in a turkey noodle soup, or can be used to make a creamy turkey pot pie.
For more recipe follow my pinterest account
Frequently Asked questions (FAQs)
Q1: Why do I have to dry brine the turkey uncovered?
This is the most important secret to crispy skin! The uncovered chill time in the refrigerator acts like a mini dry-ager, pulling all the moisture from the skin. Dry skin is the key that allows the fat to render properly and the skin to get shatteringly crisp, not soft or rubbery.
Q2: Will the onion soup mix and the dry brine make my turkey too salty?
No! This recipe is perfectly balanced. The salt in the dry brine works its way deep into the meat to season it and to trap moisture, and the onion soup mix in the butter provides a wonderful, savory, “broth-like” flavor.
Q3: Can I make this with a spatchcocked turkey?
Yes, absolutely! A spatchcocked turkey would be fantastic with this recipe. Simply rub the butter mixture all over and under the skin and roast it on top of your onion rack at a high, 425°F heat for about 80-90 minutes, until the thigh registers 160°F.
Q4: Do I really need a meat thermometer?
Yes, 100%. It is the single most important, non-negotiable tool for a perfect turkey. The only 100% foolproof way to guarantee that your turkey is perfectly cooked (and safe to eat!) is to check for the correct internal temperature.
Q5: What is the best way to get the butter under the skin without tearing it?
The secret is to be gentle and patient. Start at the neck end of the breast and gently work your fingers between the skin and the meat to create a large pocket. Once your hand is in, you can carefully push the butter mixture down and spread it out. A small, flexible rubber spatula can also help you push it into hard-to-reach places.

