Ready to create the most ghoulishly gorgeous, spectacularly spooky, and unbelievably delicious treat for your next Halloween party? A candy so creative and gory, it will have all your guests doing a double-take? This incredible, from-scratch-tasting Cake Eyeballs recipe is the ultimate festive creation! We’re talking a rich, moist red velvet cake pop, dipped in a sweet white chocolate shell, and decorated to look like a creepy, bloodshot eyeball.
This isn’t just another cake pop recipe; it’s a guide to your new favorite edible Halloween craft. We’ll show you how to use a few smart shortcuts to create a stunning, from-scratch-tasting treat that is a guaranteed show-stopper. This is a satisfying and deeply delicious dessert that is as fun to make as it is to eat!
Table of Contents
Table of Contents
Recipe Overview: The Ultimate Spooky & Gory Halloween Treat
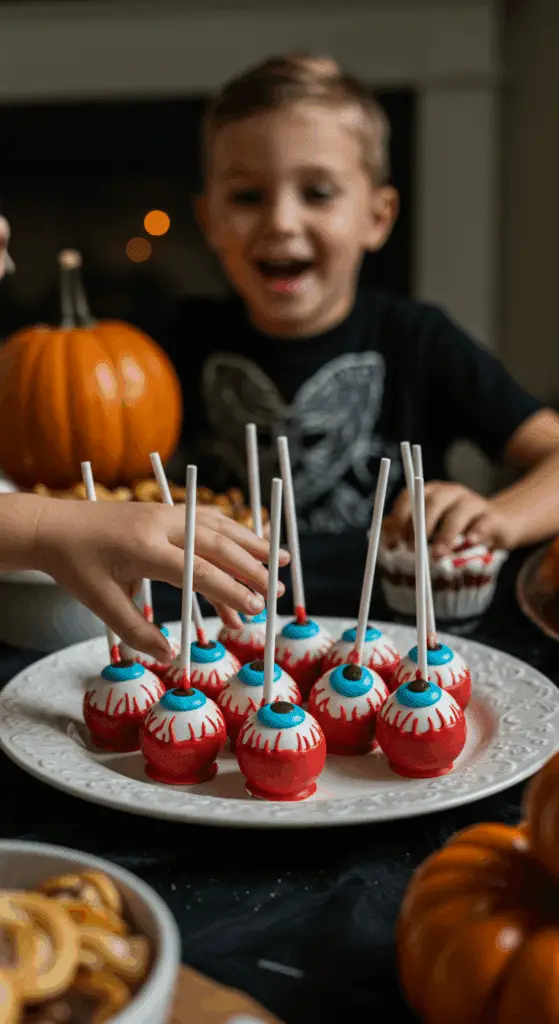
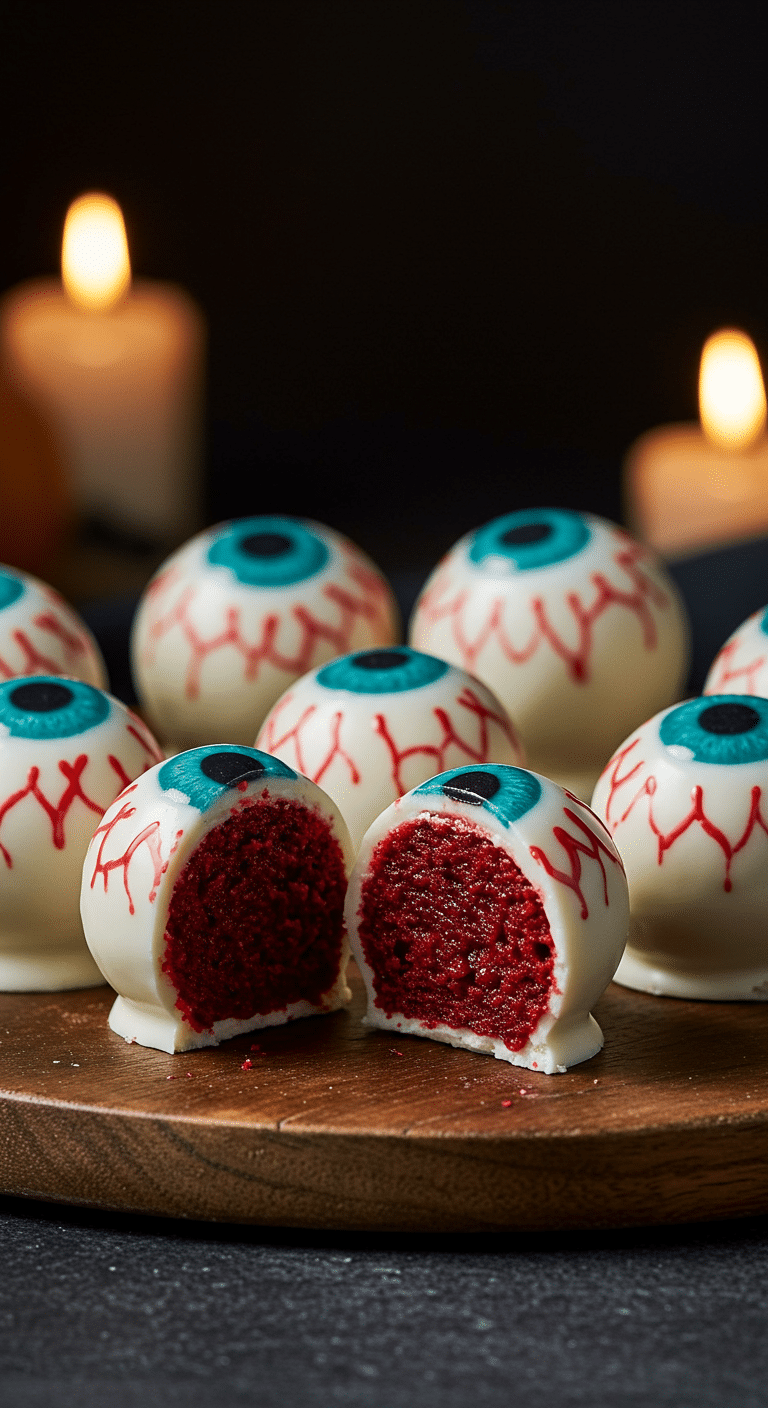
What makes these Cake Eyeballs so spectacularly fun is their incredible, detailed presentation and their delicious, decadent flavor. This recipe is a masterpiece of festive creativity, transforming a classic cake pop into a spooky work of art. The “eyeball” is a classic, moist and dense cake pop filling, made extra easy with a boxed red velvet cake mix and canned frosting. This is the secret to the gory, “bloody” surprise inside! The cake balls are then dipped in a smooth, white chocolate shell. The real magic, however, is in the decoration. A few simple tubes of gel icing are used to draw on a colorful iris and pupil, and creepy, “bloodshot” red veins.
| Metric | Time / Level |
| Total Time | 2 hours 30 minutes (includes chilling) |
| Active Prep Time | 45 minutes |
| Difficulty Level | Easy |
| Servings | 24-30 cake balls |
The Mad Scientist’s Laboratory: The Essential Ingredients
This iconic party treat uses a handful of smart shortcuts and simple ingredients to create its signature spooky look.
- The Cake Pop Filling:
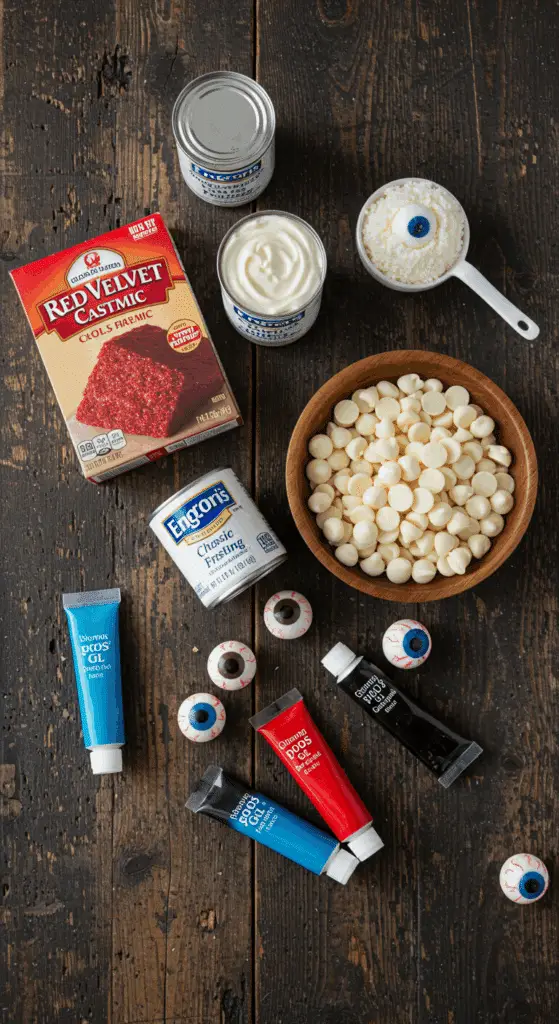
- Boxed Red Velvet Cake Mix: This is a brilliant and convenient shortcut! Using a boxed cake mix is a foolproof way to get a perfectly moist and flavorful cake to use as your base. The deep, red velvet color is the perfect, gory surprise for the inside of your “eyeballs”!
- Canned Frosting: A simple, store-bought vanilla or cream cheese frosting is the perfect, easy “glue” that binds your cake crumbs together into a moist, dense, and delicious, moldable cake pop filling.
- The Candy Shell & Decorations:
- White Chocolate Melting Disks: For the easiest, most foolproof result, it is highly recommended to use white candy melts (or candy wafers). They are a type of confectionary coating that is specifically designed to melt beautifully and to set up with a hard, shiny finish with no complicated “tempering” required.
- Gel Icing: A few, fine-tipped tubes of a classic, store-bought decorating gel icing in spooky colors like red, blue, green, and black are the key to the easy and detailed decoration.

The Cake Pop Masterclass: The Secret to a Perfect Dip
The number one, non-negotiable secret to successful cake pops that don’t fall apart is to freeze your cake balls.
- Roll and Chill: After you have mixed your cake crumbs and frosting, roll the mixture into tight, uniform balls.
- Freeze Until Solid: Place the rolled cake balls on a parchment-lined baking sheet and freeze them, uncovered, for at least an hour, or until they are completely solid and firm to the touch.
- The Perfect Dip: This crucial freezing step is the key that will prevent your delicate cake balls from crumbling or falling apart when you dip them into the warm, melted chocolate. A cold, firm cake ball will also help the chocolate shell to set up much faster. Do not skip this step!
Step-by-Step to the Best Halloween Eyeballs
This fun and festive project is a joy to prepare.
Part 1: Make the Cake Pop “Dough” and Freeze
Step 1: First, prepare and bake your 1 box of red velvet cake mix according to the package directions. Let the cake cool completely.
Step 2: Once the cake is cool, break it off into large sections and crumble it into a large bowl until you have a bowl of very fine cake crumbs.
Step 3: Using a rubber spatula, work your 1 can of frosting into the cake crumbs until it is no longer visible and the mixture holds together like a firm dough when you press it in your fingers.
Step 4: Roll the mixture into 1 1/2-inch balls and place them on a parchment-lined baking sheet.
Step 5 (The Most Important Step!): Place the baking sheet in the freezer and let the cake balls freeze, uncovered, for at least one hour, until they are very firm.
Part 2: Dip in White Chocolate and Decorate
Step 1: When your cake balls are firm, place your 12 ounces of white chocolate in a heatproof bowl set over a pan of simmering water. Stir occasionally until the chocolate is melted and smooth. Step 2: Add your frozen cake balls one at a time to the melted white chocolate and gently roll to coat. Use a fork to lift out the cake balls, and then gently tap the fork against the side of the bowl to remove any excess chocolate. Step 3: With a toothpick, gently push the coated ball off of the fork and back onto your parchment-lined baking sheet. Let the eyeballs set at room temperature for 10 to 15 minutes. Step 4 (The Fun Part!): Once the white chocolate shell has hardened, use your assorted gel icings to decorate them to look like spooky, bloodshot eyeballs! A simple dot of blue or green for the iris, a smaller dot of black for the pupil, and a few creepy, squiggly red lines for the veins are all you need.

Eyeball Cake Pops (A Fun Recipe!)
An easy and fun recipe for ‘Cake Eyeballs,’ a spooky, no-bake (mostly) treat perfect for Halloween. This recipe uses a baked box cake mix (red velvet or yellow) and canned frosting as a convenient shortcut. The cake is crumbled and mixed with the frosting to form a pliable dough, which is then rolled into balls and frozen until firm. The chilled cake balls are dipped in melted white chocolate and then decorated with gel icing to look like creepy, bloodshot eyeballs.
Ingredients
- One (18.25-ounce) box red velvet or yellow cake mix (plus required ingredients like oil and eggs)
- One (12-ounce) can frosting (any kind)
- 12 ounces white chocolate melting disks
- Assorted gel icing (e.g., red, green, blue), for decorating
Instructions
- Prepare and bake the cake mix in a 9-by-13-inch pan according to the package directions. Let the cake cool completely.
- Once cooled, break off sections of the cake and crumble it into very fine crumbs in a large bowl.
- Using a spatula, work the canned frosting into the cake crumbs until it is fully incorporated and the mixture holds together.
- Roll the mixture into 1 1/2-inch balls and set them on a parchment-lined baking sheet.
- Freeze the cake balls, uncovered, for at least one hour until they are very firm.
- When the cake balls are firm, melt the white chocolate in a heatproof bowl set over a pan of simmering water (a double boiler), stirring occasionally until smooth.
- Dip the cake balls one at a time into the melted white chocolate, using a fork to roll them and ensure they are fully coated.
- Lift out the coated cake ball with the fork, tap the fork against the side of the bowl to remove excess chocolate, then use a toothpick to gently push the ball back onto the parchment-lined baking sheet.
- Let the chocolate set at room temperature for 10 to 15 minutes.
- Use assorted colors of gel icing to draw pupils and bloodshot veins on the white chocolate coating to make them look like eyeballs.
Notes
- This recipe is a great way to make a creative Halloween treat using simple, store-bought ingredients.
- Freezing the cake balls for at least an hour is a crucial step that makes them firm enough to handle and dip in the warm chocolate without falling apart.
- A small ice cream scoop can be a helpful tool for making uniformly sized cake balls.
Storage and Make-Ahead Tips
These Cake Eyeballs are the ultimate make-ahead party treat!
- Make-Ahead: You can prepare and fully assemble and decorate your cake eyeballs up to 3 days in advance.
- Storage: Store the finished cake eyeballs in a single layer in an airtight container in the refrigerator for up to 1 week.
For more recipe follow my pinterest account
Frequently Asked Questions (FAQs)
Q1: What is the absolute, number one secret to cake pops that don’t fall apart when you dip them in the hot chocolate?
The secret is to freeze your cake balls solid before you dip them. A cold, firm cake ball will hold its shape perfectly and will not crumble or disintegrate in the warm, melted chocolate. This is the most crucial step for a successful cake pop.
Q2: Can I make these Halloween cake balls ahead of time for a party?
Yes, absolutely! This is a perfect make-ahead treat. You can prepare the entire recipe up to a week in advance and keep them stored in an airtight container in the refrigerator until your party. They make fantastic and easy party favors!
Q3: Can I make this recipe with a different kind of cake?
Of course! This fun decorating technique would also be fantastic with a classic dark chocolate cake (for a different surprise inside), a vanilla cake that has been colored green for a spooky “zombie eye,” or even a simple spice cake.
Q4: Can I put these on a stick to make them into “cake pops”?
Yes! To turn these into classic cake pops, you can simply dip the end of a lollipop stick into a little bit of your melted white chocolate and then insert it about halfway into your frozen cake ball. Let this “glue” set for a few minutes before you proceed with dipping the entire cake pop.
Q5: What is the best kind of chocolate to use for the outer shell?
For the easiest and most foolproof result, it is highly recommended to use white candy melts (or candy wafers). They are a type of confectionary coating that is specifically designed to melt beautifully and to set up with a hard, shiny finish with no complicated “tempering” required.

