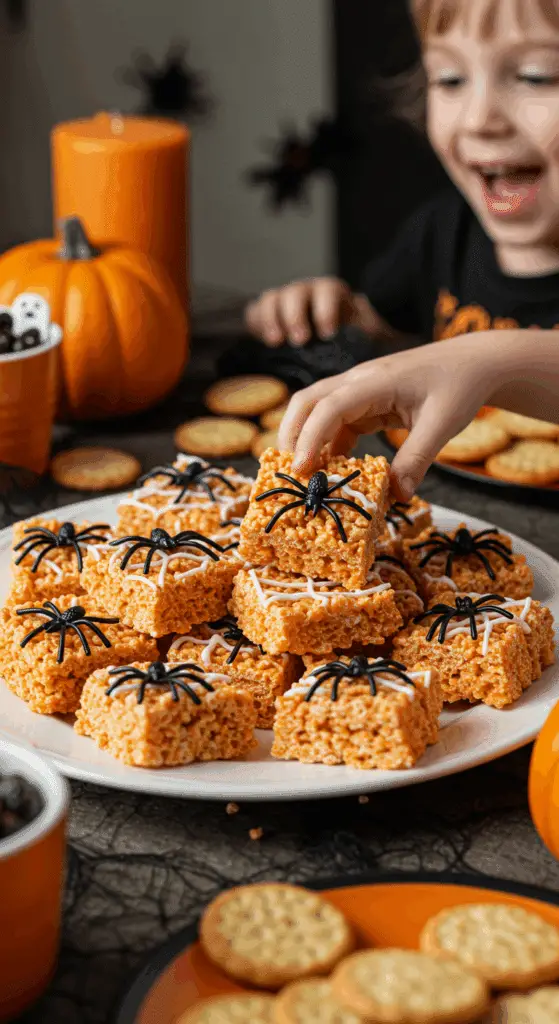
Ready to whip up the ultimate spooky, fun, and unbelievably easy treat for your next Halloween celebration? A dessert so creative and festive, it will have all your little goblins and ghouls screaming with delight? These incredible, from-scratch Halloween Crispy Rice Treats are that perfect recipe! We’re talking a soft, chewy, and buttery crispy treat, marbled with spooky purple and green, and decorated with a creepy, crawly marshmallow spiderweb and a cute little chocolate spider.
This isn’t just another crispy treat recipe; it’s a guide to your new favorite edible Halloween craft. We’ll show you the simple but brilliant secrets to a perfectly soft and chewy treat, and the magical techniques for creating the stunning marbled colors and spooky decorations. This is a no-bake masterpiece that’s as fun to make as it is to eat, and it will be the undisputed star of your haunted gathering.
Recipe Overview: The Ultimate Spooky & Fun Halloween Treat
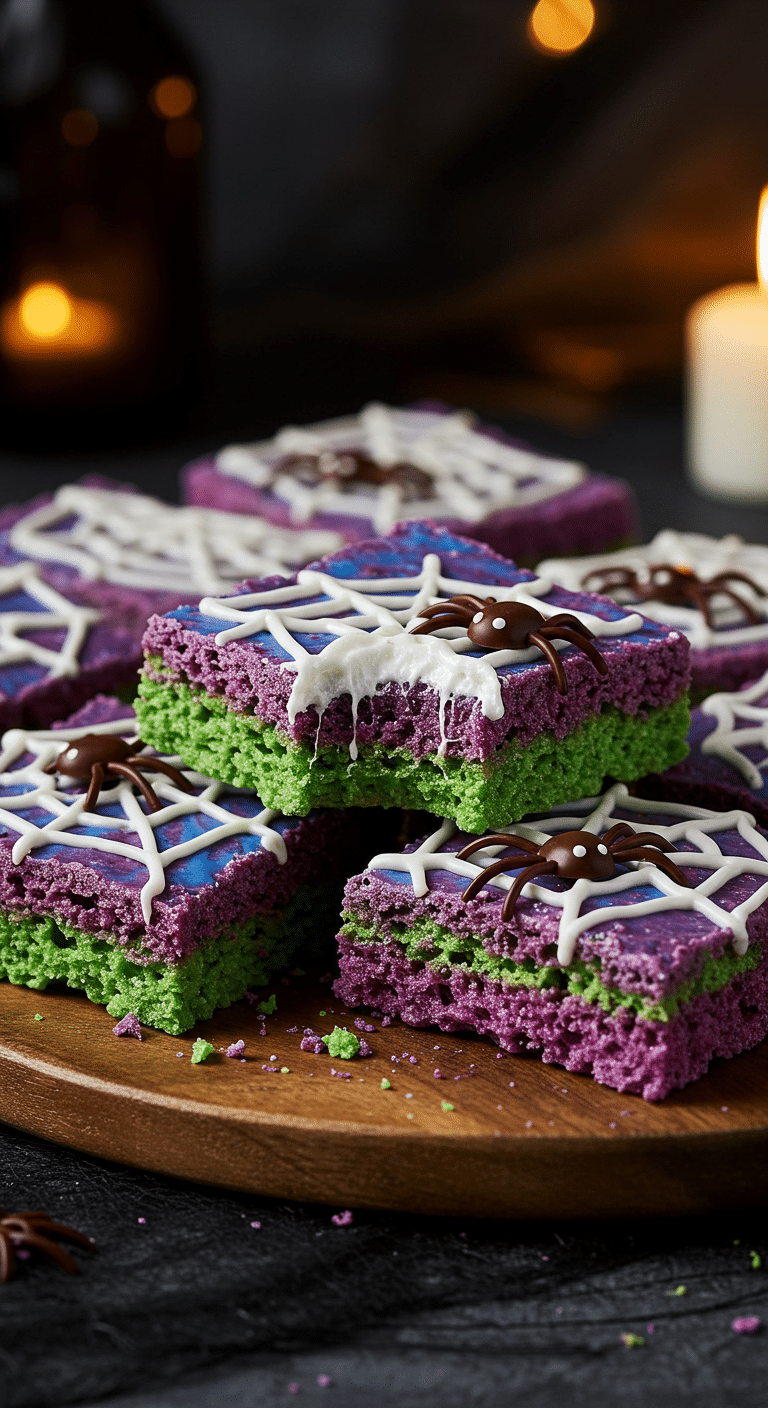
What makes these Halloween Crispy Rice Treats so spectacularly fun is their incredible, detailed presentation and their classic, crowd-pleasing flavor. This recipe is a masterpiece of festive creativity. The base is a classic, soft and chewy crispy rice treat, but with a spooky twist: two batches are made and colored a vibrant purple and green, and then marbled together in the pan. The real magic, however, is in the decoration. The finished treats are draped in a sticky, stretchy, and realistic-looking marshmallow “spiderweb.” The final, show-stopping touch is an adorable and creepy, three-dimensional chocolate spider, complete with eight spindly legs and a candy “body.”
| Metric | Time / Level |
| Total Time | 2 hours (includes cooling) |
| Active Prep Time | 45 minutes |
| Difficulty Level | Easy |
| Servings | 9 large bars |
The Mad Scientist’s Laboratory: The Essential Ingredients
This iconic party treat uses a handful of high-quality pantry staples and smart techniques to create its signature spooky look.
- The Perfect Crispy Rice Treat:
- Fresh Marshmallows: The number one, non-negotiable secret to a wonderfully soft and chewy, not hard and brittle, crispy treat is to use fresh marshmallows. Stale marshmallows can be dry and will not melt as smoothly or result in a tender texture.
- The Marbled Color: The ghoulishly gorgeous marbled effect is created with simple green and purple gel food coloring. Gel food coloring is fantastic because it is very concentrated, so you only need a few drops to get a vibrant color without adding extra liquid to your mixture.
- The Spooky Decorations:
- The Marshmallow Web: This is a brilliant and easy hack! A handful of classic, plain mini marshmallows, melted in the microwave, is the secret to the spooky, stretchy spiderweb decoration.
- The Chocolate Spider: A simple but adorable 3D spider is made with a little bit of melted semisweet chocolate for the legs, and a halved, chocolate-covered peanut or a black or orange jellybean for the body.
The Dark Arts of No-Bake Treats: The Secret to a Perfect Crispy Treat
This recipe uses a few simple but crucial techniques that guarantee a flawless, delicious result.
- Use Low Heat: The secret to a soft and chewy, not hard, crispy treat is to melt your marshmallows over a low and gentle heat. High heat is the number one culprit that will cause the sugars in the marshmallows to caramelize and become hard and brittle when they cool.
- Don’t Press Too Hard: When you are pressing your finished crispy treat mixture into the pan, be gentle! Use a greased spatula or a piece of greased parchment paper to lightly and evenly press it into the pan. If you compact the mixture too firmly, your finished treats will be dense and hard instead of light and chewy.

Step-by-Step to the Best Halloween Crispy Rice Treats
This fun and festive project is a joy to prepare.
Part 1: Make the Marbled Crispy Treat Base
Step 1: First, line a 9×13-inch baking dish with foil so that it overhangs on the sides by an inch or two. Spray the foil with cooking spray.
Step 2: Divide 1 1/2 bags of your mini marshmallows and the 6 tablespoons of butter evenly between two large, microwave-safe bowls.
Step 3: Working with one bowl at a time, microwave the marshmallows and butter until the marshmallows begin to melt, which will take about 45 seconds. Stir well and microwave again until they are completely melted, about 30 seconds more.
Step 4: Add your green gel food coloring to the first bowl and stir until the marshmallow mixture is an even, vibrant green. Add half of your rice cereal (4 1/2 cups) and stir well to coat.
Step 5: Repeat the melting and coloring process with the second bowl of marshmallows, this time tinting it with your purple gel food coloring and mixing in the remaining 4 1/2 cups of rice cereal.
Step 6 (The Fun Part!): Grease your hands with cooking spray. Working with one hand for each color, dollop blobs of the green and purple cereal mixtures into your prepared pan, randomly distributing them to create a mottled, marbled effect. Once you have used all of the cereal, gently press the mixture into the pan to even it out. Let this cool and set completely, for at least 1 hour.
Part 2: The Art of the Marshmallow Spiderweb and Chocolate Spiders
Step 1: Use the foil “handles” to lift your set treats from the pan. Cut the block into 9 even rectangles. Step 2: To make the web, place your remaining half bag of marshmallows in a large, microwave-safe bowl. Microwave until they are melted, about 1 minute total. Let the mixture cool slightly until it is just cool enough to touch. Step 3: Wearing disposable gloves that have been greased with cooking spray, pull out a handful of the marshmallows. Rub the mixture between your hands and then pull your hands apart to create long, thin, web-like strings. Drape these strings over your crispy treats, pulling from different directions to create a beautiful, web-like pattern. Step 4: To make the spiders, melt your 1/2 cup of semisweet chocolate chips. Transfer the melted chocolate to a piping bag with a small, round tip. Step 5: On each of your web-covered treats, pipe eight small “spider legs.” Immediately place one of your halved, chocolate-covered peanuts or a jellybean, cut-side down, on top of the legs to create the spider’s body.

Rice Krispie Treats (with Spiderwebs!)
A festive, no-bake recipe for Halloween-themed crispy rice treats with spooky decorations. The classic marshmallow and crispy rice cereal mixture is divided, colored with green and purple food coloring, and then pressed into a pan in a mottled pattern to create a spooky base. Once set, the treats are cut into rectangles and decorated with a ‘web’ made from stretched, melted white marshmallows. The final touch is a ‘spider’ on each treat, created with piped melted chocolate and a candy body.
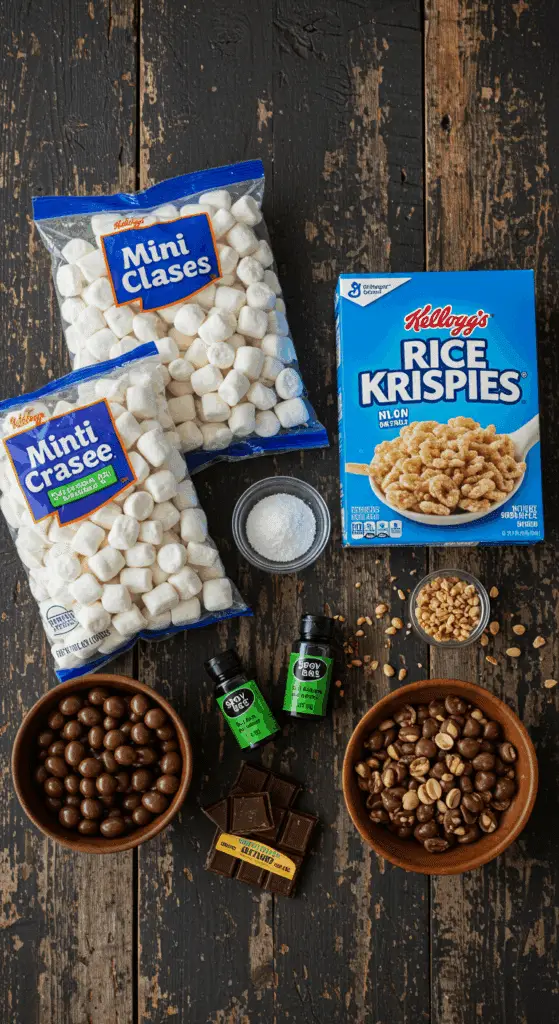
Ingredients
- Nonstick cooking spray
- Two 12-ounce bags marshmallows
- 6 tablespoons unsalted butter, cut into tablespoons
- Green gel food coloring
- Purple gel food coloring
- 9 cups crispy rice cereal
- 1/2 cup semisweet chocolate chips
- Halved chocolate-covered peanuts or black/orange jellybeans, for decorating
Instructions
- Line a 9-by-13-inch baking dish with foil, leaving an overhang on the sides. Spray with cooking spray.
- Make the Crispy Treats: Divide 1 1/2 bags of the marshmallows and all of the butter evenly between 2 large microwave-safe bowls.
- Working with one bowl at a time, microwave for about 1 minute and 15 seconds in total, stirring halfway through, until the marshmallows are completely melted.
- Stir green food coloring into one bowl of melted marshmallows and purple food coloring into the second bowl.
- Add 4 1/2 cups of rice cereal to the green mixture and the remaining 4 1/2 cups to the purple mixture. Stir each well to coat.
- Using greased hands or gloves, dollop alternating blobs of the green and purple cereal mixtures into the prepared pan. Press the mixture down to create an even, mottled layer. Let it cool and set completely for at least 1 hour.
- Decorate: Use the foil overhang to lift the treats from the pan. Cut into 9 rectangles.
- Place the remaining half bag of marshmallows in a large microwave-safe bowl. Microwave for about 1 minute 15 seconds, stirring halfway, until melted and smooth. Let cool slightly.
- Wearing disposable gloves, pull out a handful of the melted marshmallow and stretch it between your hands to create thin, web-like strings. Drape these strings over the treats to create a web pattern.
- Melt the chocolate chips in a double boiler or the microwave. Transfer to a piping bag. Pipe 8 spider legs onto each treat, then place a chocolate-covered peanut or a jellybean in the center to create a spider body.
Notes
- Special Equipment: The recipe recommends using disposable gloves for easier cleanup, especially when working with the sticky marshmallow web.
- This is a no-bake recipe that is perfect for making with kids for a fun Halloween activity.
- The mottled green and purple base, along with the marshmallow spiderweb, creates a perfectly spooky look.
- The article references a ‘Cook’s Note’ that is not provided in the text.
Storage and Make-Ahead Tips
These Halloween Crispy Rice Treats are the ultimate make-ahead party dessert!
- Make-Ahead: You can prepare and fully assemble and decorate the entire dessert up to 2 days in advance.
- Storage: Store the finished treats in a single layer in an airtight container at room temperature for up to 5 days.
For more recipe follow my pinterest account
Frequently Asked Questions (FAQs)
Q1: What is the absolute, number one secret to soft and chewy, not hard, crispy rice treats?
There are two main secrets! First, be sure to use fresh marshmallows, as stale marshmallows can be dry and will not melt as well. Second, and most importantly, be sure to melt your marshmallows over a low and gentle heat and to not press the mixture too firmly into the pan.
Q2: How do I keep the marshmallow web from being a completely unmanageable, sticky mess?
The non-negotiable secret is to generously coat your (gloved!) hands with cooking spray. This creates a non-stick barrier between your skin and the sticky marshmallow, which is the key that will allow you to easily pull and stretch the marshmallow into those beautiful, thin, web-like strands.
Q3: Can I make these ahead of time for a Halloween party?
Yes, absolutely! This is a perfect make-ahead treat. You can prepare the entire recipe up to 2 days in advance and keep them, well-covered, at room temperature. For the best, cleanest slices, it is a great idea to chill the entire block in the refrigerator for about 30 minutes before you cut it.
Q4: Can I make this recipe with a different color scheme?
Yes! This is a wonderfully versatile decorating idea. You can use orange and black for a classic Halloween look, red and white for a spooky, “bloody” theme, or even pink and red for a creepy-cute Valentine’s Day version.
Q5: What is the best way to cut crispy rice treats so I get beautiful, clean slices?
The secret is to use a large, sharp chef’s knife and to grease the blade of the knife with a little bit of cooking spray or butter before you make each cut. This will prevent the sticky marshmallow from clinging to the knife and will allow you to get a perfect, clean cut every single time.

