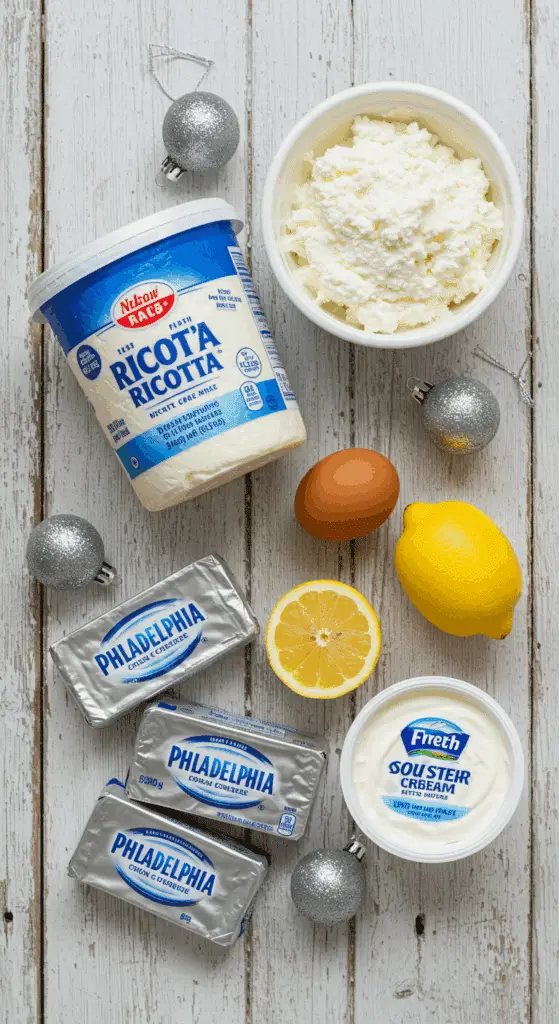
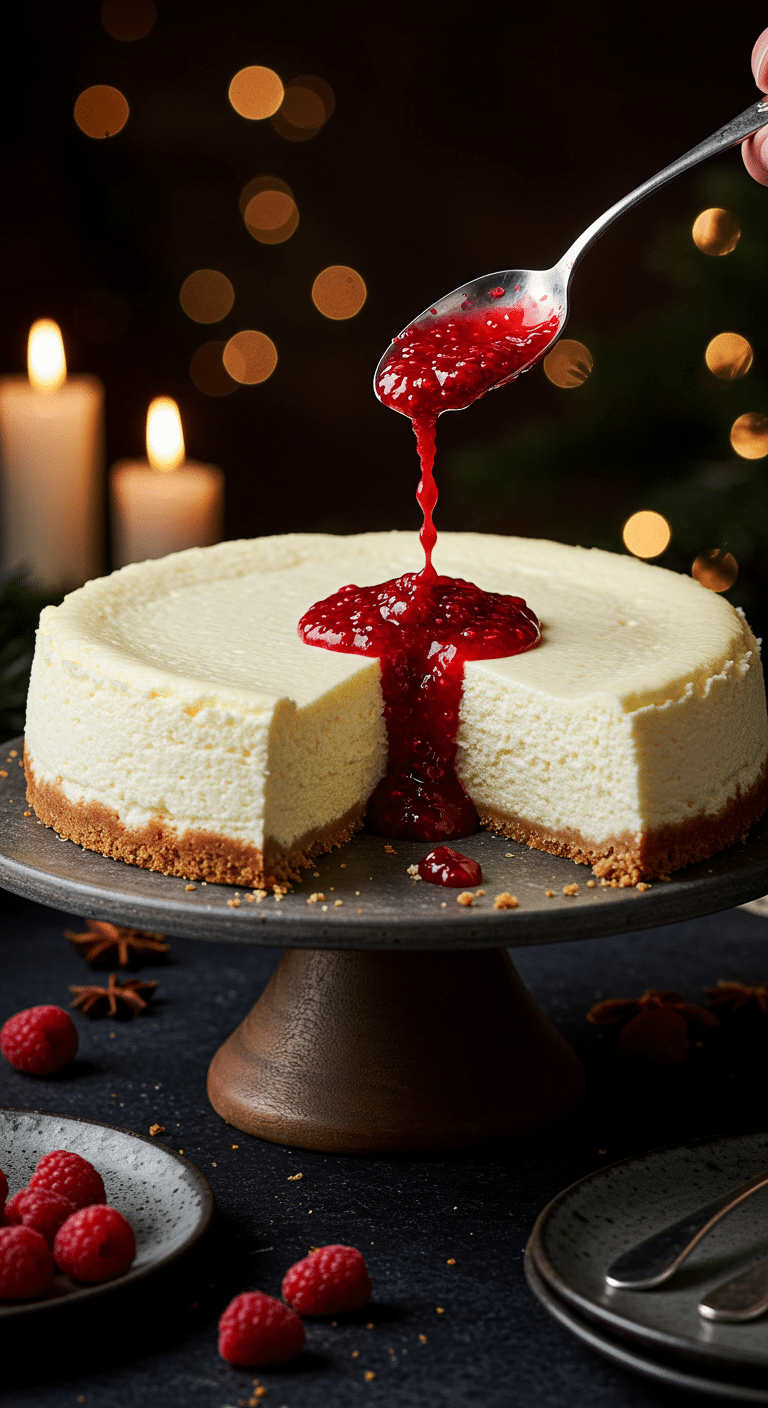
Are you dreaming of a truly special, elegant dessert for your holiday table? A magnificent, from-scratch cheesecake that is lighter than a dense New York-style, yet richer and creamier than a traditional-style ricotta pie? This incredible, from-scratch Classic Italian Ricotta Cheesecake is that perfect, show-stopping recipe. We’re talking an impossibly creamy, tangy, and silky-smooth custard, with the bright, fragrant flavors of lemon and vanilla, all baked to perfection with a beautiful, crack-free top.
This isn’t just another cheesecake recipe; it’s your definitive guide to a truly unforgettable holiday tradition. While a perfect, crack-free cheesecake may seem like the territory of a professional bakery, we’ll show you the simple but brilliant, foolproof secret to a flawless, impressive result every single time—no water bath required! This is a satisfying, soulful, and deeply impressive dessert that is perfect for making ahead.
Table of Contents
Table of Contents
Recipe Overview: The Ultimate “Hybrid” Holiday Cheesecake
What makes this Italian Cheesecake so spectacularly delicious is its incredible “best-of-both-worlds” texture and its wonderfully simple, one-bowl method. This recipe is a masterpiece of smart, efficient baking. The star of the show is the “hybrid” filling: it combines the tangy, dense luxury of American cream cheese with the light, moist, and slightly rustic texture of classic Italian ricotta cheese. The batter is enriched with sour cream for extra tang and moisture, and a hint of flour and cornstarch for a “no-fail” set. The real magic, however, is the brilliant, “no-stress” cooling method, which is the non-negotiable secret to a perfect, crack-free top, every time.
| Metric | Time / Level |
| Total Time | 9 hours (includes 1-hour cooling & 6-hour chilling) |
| Active Prep Time | 15 minutes |
| Difficulty Level | Easy |
| Servings | 12-16 slices |
The Baker’s Pantry: The Essential Ingredients
This iconic party cake uses a handful of high-quality ingredients and key techniques to create its signature festive look and delicious flavor.
- The Cheeses (The Heart of the Cake!):
- The “Hybrid” Duo: The secret to the magic is the partnership! Cream cheese provides that classic, tangy, and dense “cheesecake” flavor, while ricotta cheese makes the final texture lighter, moister, and fluffier than a NewYork-style cake.
- Room Temperature is KEY!: This is the single most important, non-negotiable secret to a perfectly smooth, creamy, and completely lump-free cheesecake batter. It is absolutely essential that your cream cheese and sour cream are at a true, softened room temperature before you begin.
- The Binders & Structure:
- Flour & Cornstarch: This is your “no-fail” insurance policy! A few tablespoons of flour and cornstarch are the secret to a cheesecake that sets up beautifully and is much less likely to crack.
- The Flavor & Tang:
- Sour Cream & Lemon Juice: A generous amount of sour cream and a splash of fresh lemon juice are the keys that provide a bright, zesty tang, which beautifully cuts through the richness of the cheeses.
The Cheesecake Masterclass: The Secrets to a Perfect, Crack-Free Cheesecake
This recipe uses a few simple but brilliant professional techniques that guarantee a flawless, impressive result.
- Don’t Overmix the Batter!: The number one enemy of a perfect cheesecake is air. When you are mixing your ingredients (especially after you add the eggs!), be sure to mix on a low speed and only until the ingredients are just combined. Overmixing whips too much air into the batter, which is the key that causes the cheesecake to puff up dramatically in the oven like a soufflé and then sink and crack as it cools.
- The Slow Oven Cool-Down (THE #1 TRICK!): This is the single most important, foolproof secret in this entire recipe. A cheesecake is a delicate custard, and the most common reason it cracks is “temperature shock.” This recipe’s brilliant method of simply turning off the oven and letting the cheesecake cool down inside with the door closed for 1 hour is the non-negotiable key that prevents this shock and guarantees a beautiful, perfectly flat, and crack-free top.
- The Final CHILL is CRUCIAL!: A cheesecake is not just “cooled”—it sets. After the oven-cooling, it must chill in the refrigerator for at least 6 hours, or preferably overnight. This crucial, patient step is the key that allows the custard to fully set, develop its signature dense and creamy texture, and for its flavors to meld. Do not skip this step!

Step-by-Step to the Best Italian Ricotta Cheesecake
This elegant, festive dessert is a joy to prepare.
Part 1: The Art of the “One-Bowl” Batter
Step 1: First, preheat your oven to 350°F ($175^{\circ}C$). Lightly grease a 9-inch springform pan.
Step 2: In a large mixing bowl or the bowl of a stand mixer, mix your 2 packages of softened cream cheese and your 1 container of ricotta cheese together until they are well combined and completely smooth.
Step 3: Add your 4 large eggs, 1 1/2 cups of sugar, 1/2 cup of cooled melted butter, the 3 tablespoons each of flour and cornstarch, the 1 tablespoon of lemon juice, and the 1 teaspoon of vanilla extract. Mix on a low speed until everything is just combined.
Step 4: Stir in your 1 pint of sour cream, making sure not to overmix.
Part 2: The Bake and the “Magic” Slow Cool
Step 1: Pour your finished batter into your prepared springform pan.Step 2: Bake in your preheated oven for 1 hour. You will know the cheesecake is done when the edges are set, but the center still has a slight, Jell-O-like jiggle.Step 3 (The Most Important Step!): Turn the oven off. Do not open the door. Allow the cheesecake to cool in the turned-off oven with the door closed for 1 hour more.Step 4 (The Final, Crucial Step!): Remove the cheesecake from the oven and let it cool completely to room temperature. Then, cover it and let it cool completely in the refrigerator for at least 6 hours, or preferably overnight, before you slice and serve it.

Italian Ricotta Cheesecake (An Easy, Foolproof Recipe!)
A rich, dense, and creamy Italian-style cheesecake. This from-scratch recipe uses a blend of both cream cheese and ricotta cheese for a unique, slightly lighter texture than a traditional New York cheesecake. The filling is a simple, one-bowl mixture flavored with lemon and vanilla, and is naturally crustless. A key technique involves cooling the cheesecake in the turned-off oven to prevent cracking.
Ingredients
- 2 (8 ounce) packages cream cheese, softened
- 1 (16 ounce) container ricotta cheese
- 4 large eggs
- 1 ½ cups white sugar
- ½ cup butter, melted and cooled
- 3 tablespoons all-purpose flour
- 3 tablespoons cornstarch
- 1 tablespoon lemon juice
- 1 teaspoon vanilla extract
- 1 pint (2 cups) sour cream
Instructions
- Gather all ingredients. Preheat the oven to 350°F (175°C). Lightly grease a 9-inch springform pan.
- In a large mixing bowl, mix the softened cream cheese and ricotta cheese together until well combined and smooth.
- Add the eggs, sugar, melted butter, flour, cornstarch, lemon juice, and vanilla extract. Mix until just combined. Do not overbeat.
- Gently stir in the sour cream.
- Pour the batter into the prepared springform pan.
- Bake in the preheated oven for 1 hour.
- Turn the oven off. Allow the cheesecake to cool in the oven with the door closed for 1 hour. This step is crucial to prevent the top from cracking.
- Remove the cheesecake from the oven and let it cool completely at room temperature.
- Chill the cheesecake completely in the refrigerator (at least 4 hours or overnight) before removing from the pan and serving.
Notes
- This is a classic Italian-style cheesecake, which is often denser than a New York-style cheesecake, thanks to the addition of ricotta.
- A key technique in this recipe is to cool the cheesecake in the turned-off oven with the door closed. This slow cooling process is the secret to preventing the top from cracking.
- Ensure all dairy ingredients (cream cheese, ricotta, eggs, sour cream) are at room temperature before mixing to ensure the smoothest, lump-free batter.
- This recipe is for a crustless cheesecake.
What to Serve With Your Cheesecake
This beautiful and elegant cake is a fantastic and incredibly versatile dessert.
- The Classic Pairings: It is absolutely perfect served as is, or with a simple dusting of powdered sugar.
- Fruit & Sauces: For a stunning, festive presentation, it is fantastic served with a simple, fresh berry sauce (like a raspberry coulis), some fresh berries, or a dollop of a bright lemon curd.
For more recipe follow my pinterest account
Storage and Make-Ahead Tips
This is the ultimate make-ahead holiday dessert!
- Make-Ahead: This dessert must be made ahead, as it requires a long chilling time. You can prepare and bake the entire cheesecake up to 3 days in advance and store it, well-covered, in the refrigerator.
- Storage: Store the finished cheesecake in the refrigerator for up to 5 days.
Frequently Asked questions (FAQs)
Q1: Why did my cheesecake crack?
The two most common culprits are overmixing the eggs (which incorporates too much air) and cooling the cheesecake too quickly. Be sure to mix your eggs in on a low speed, and to follow the recipe’s instructions for letting the cheesecake cool down slowly in the turned-off oven.
Q2: What is the difference between this and a New York-style cheesecake?
A classic New York cheesecake is made with all cream cheese, which gives it a very dense, heavy, and tangy texture. This Italian-style cheesecake uses a blend of cream cheese and ricotta, which makes the final texture much lighter, moister, and fluffier.
Q3: Can I make this with a crust?
Yes, absolutely! This beautiful, creamy filling would be fantastic with a classic, graham cracker or a gingersnap crust. Simply press your favorite crust mixture into the bottom of the springform pan before you add the filling.
Q4: My ricotta cheese seems very watery. What should I do?
If you find your brand of ricotta is very watery, a great professional trick is to let it drain in a fine-mesh sieve lined with a cheesecloth for about an hour before you make your filling. This will prevent your final cheesecake from being too wet.
Q5: Do I really need to use a springform pan?
Yes. A springform pan, with its removable sides, is the only way you will be able to successfully unmold and serve this beautiful, tall, and delicate cheesecake.

