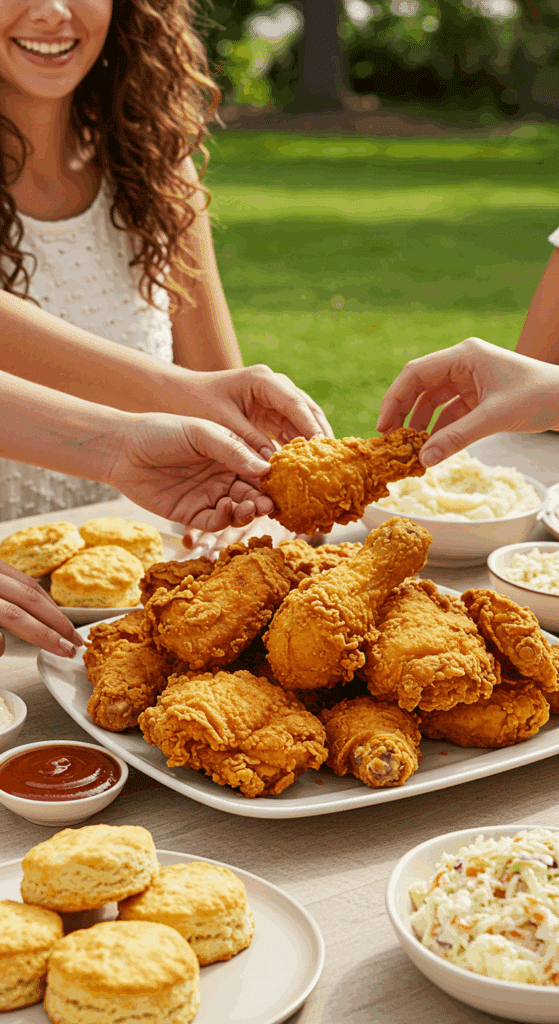
What is the real secret to a truly perfect, restaurant-worthy plate of fried chicken? The kind with a shatteringly crispy, crunchy, and perfectly seasoned crust that gives way to the most unbelievably juicy, tender, and flavorful meat inside? The secret, my friends, is a long, luxurious soak in a seasoned buttermilk brine. This classic recipe for Chef John’s Buttermilk Fried Chicken is your ultimate guide to mastering this iconic comfort food.
This isn’t just a recipe; it’s a rite of passage for any home cook who loves classic American food. We’ll show you why a buttermilk brine is a complete game-changer for flavor and tenderness. We’ll also walk you through the simple, foolproof steps of deep-frying to achieve that coveted golden-brown, crispy-but-not-greasy result every single time. Get ready to make the best fried chicken of your life.
Table of Contents
Table of Contents
Recipe Overview: The King of Comfort Food
What makes this Buttermilk Fried Chicken recipe the gold standard is its dedication to developing deep, complex flavor at every single stage. The long soak in a heavily seasoned buttermilk brine is the most crucial step, ensuring every bite of the chicken is succulent and tangy. This is followed by a dredge in a second, equally flavorful seasoned flour, guaranteeing a crust that is just as delicious as the meat. It’s a rewarding project that results in a truly spectacular, soul-satisfying meal.
| Metric | Time / Level |
| Total Time | 7 hours (includes brining time) |
| Active Prep Time | 30 minutes |
| Difficulty Level | Intermediate |
| Servings | 4 |
The Essential Ingredients for Perfect Fried Chicken
This recipe uses a handful of classic, high-impact ingredients to create its signature flavor.
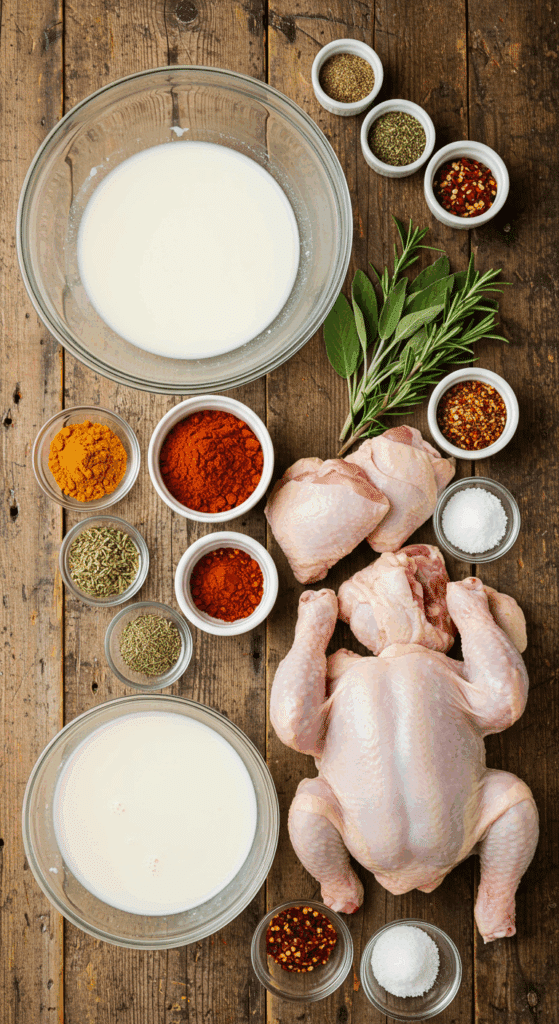
- A Whole, Bone-In, Skin-On Chicken: For the absolute best, most flavorful, and juiciest fried chicken, you must use bone-in, skin-on pieces. The bone helps to keep the meat moist, and the skin is what transforms into that incredibly crispy, delicious crust. Buying a whole chicken and cutting it into 8 pieces is the most traditional and economical way to go.
- Buttermilk: This is the magic ingredient. The gentle acidity in buttermilk works as a fantastic brine, breaking down the tough proteins in the chicken to make it incredibly tender and juicy. It also adds a classic, subtle tangy flavor that is the hallmark of authentic Southern-style fried chicken.
- The Spice Blends: A double dose of seasoning is key to flavorful fried chicken. We use a complex, herbaceous blend of paprika, white pepper, black pepper, rosemary, thyme, oregano, sage, and cayenne in the buttermilk brine, and a second, simpler blend in the flour dredge. This ensures both the meat and the crust are perfectly seasoned.
- Peanut Oil for Frying: Peanut oil is the traditional and superior choice for frying chicken. It has a high smoke point, which means it can get very hot without burning, and it has a clean, neutral flavor that allows the taste of the seasoned chicken to shine through.
A Quick Guide to Deep Frying Safely
Deep frying at home is easy and safe if you follow a few simple rules.
- Use the Right Pot: A large, heavy-bottomed pot like a Dutch oven or a deep, cast-iron skillet is ideal because it holds heat evenly.
- Don’t Overfill: Never fill your pot more than halfway with oil. This prevents dangerous boil-overs.
- Use a Thermometer: The absolute secret to crispy, non-greasy fried chicken is maintaining the correct oil temperature. A clip-on candy/fry thermometer is your most important tool.
- Be Prepared: Never leave hot oil unattended, and never add water to hot oil. Have the lid for your pot nearby in the unlikely event of a grease fire.

Step-by-Step to the Best Buttermilk Fried Chicken
This recipe is a classic three-part process: brining, dredging, and frying.
Part 1: The Flavor-Boosting Buttermilk Brine
Step 1: In a large bowl, toss your 8 pieces of chicken with the entire list of brine seasonings: black pepper, salt, paprika, white pepper, rosemary, thyme, oregano, sage, and cayenne pepper. Use your hands to make sure each piece of chicken is evenly coated in the spice blend.
Step 2: Pour the 2 cups of buttermilk over the seasoned chicken. Stir everything together until the chicken is evenly coated and fully submerged in the buttermilk.
Step 3: Cover the bowl tightly with plastic wrap and place it in the refrigerator to brine for at least 6 hours, or preferably overnight. This long soak is where the magic happens!
Part 2: The Crispy Seasoned Flour Dredge
Step 1: In a large, shallow dish (a pie plate or a casserole dish works well), combine the 2 cups of flour with all of the dredge seasonings: salt, paprika, cayenne, garlic powder, white pepper, and onion powder. Whisk everything together until it is well combined.
Step 2: Remove the brined chicken pieces from the buttermilk, one at a time, letting any excess buttermilk drip off.
Step 3: Place each piece of chicken in the seasoned flour and dredge it, turning it over several times and using your hands to press the flour onto the chicken to ensure it is thoroughly and evenly coated. Shake off any excess flour and transfer the coated chicken to a plate or a wire rack.
Pro Tip: For an extra-craggy, super-crispy crust, you can let the dredged chicken sit at room temperature for 15-20 minutes before frying. This allows the flour coating to hydrate and form a paste, which will create a crunchier crust.
Part 3: How to Fry the Chicken to Golden Perfection
Step 1: Heat the 2 1/2 quarts of peanut oil in a large Dutch oven or other deep, heavy pot over medium-high heat until a deep-fry thermometer registers 350°F (175°C).
Step 2: Carefully add a few pieces of the chicken to the hot oil, being sure not to overcrowd the pot. The dark meat pieces (thighs and drumsticks) will take longer to cook, so it’s a good idea to fry them together in one batch.
Step 3: Fry the chicken for about 10 minutes, then use tongs to carefully turn the pieces over. Continue to fry for another 10 to 15 minutes.
Pro Tip: Adjust your burner heat as needed to maintain a steady oil temperature between 325°F and 350°F. If the oil gets too hot, the crust will burn before the inside is cooked. If it’s too cool, the chicken will be greasy.
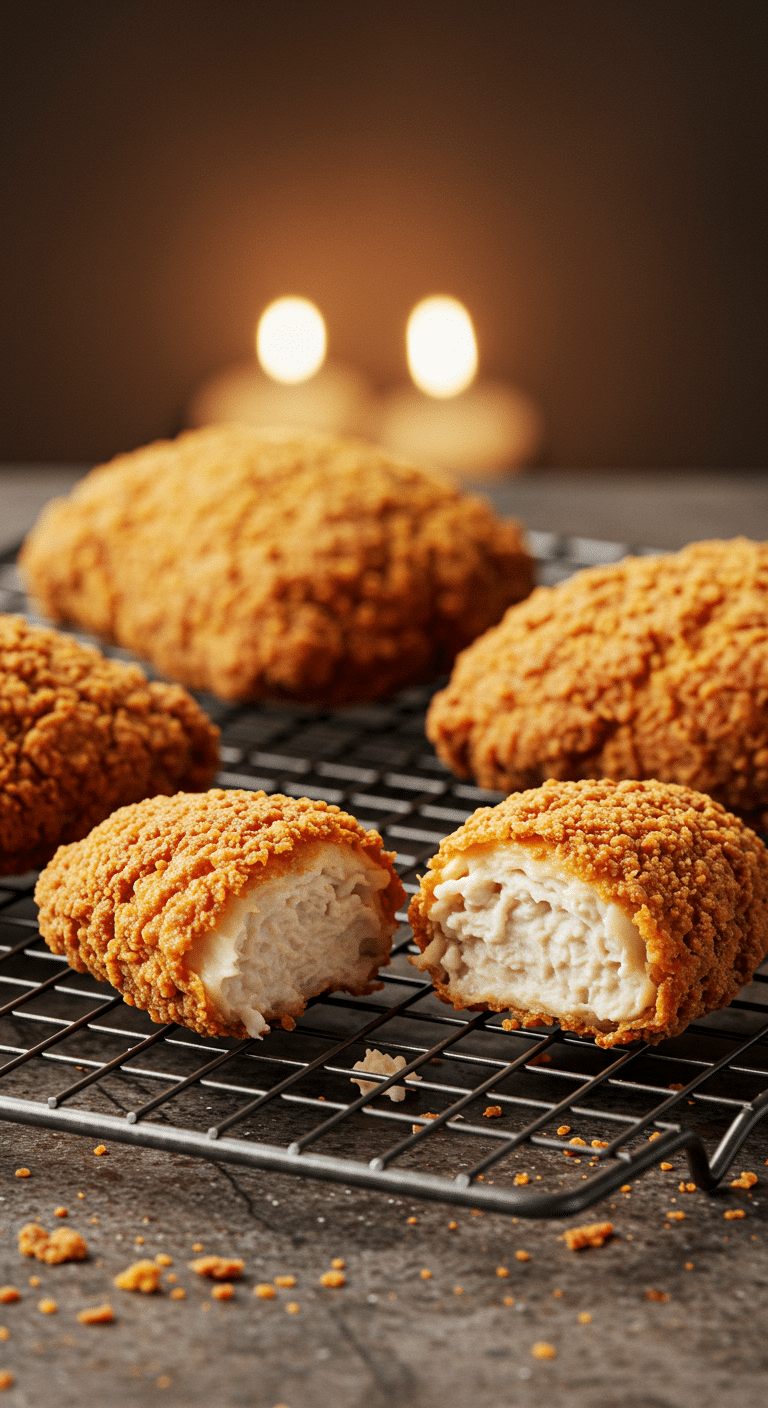
Step 4: The chicken is perfectly done when the crust is a deep, beautiful golden brown and an instant-read thermometer inserted into the thickest part of the meat (near the bone, but not touching it) reads 165°F (74°C).
Step 5: Carefully transfer the finished fried chicken to a cooling rack set over a paper towel-lined baking sheet. Let the chicken sit for at least 10 minutes before serving. This allows the juices to redistribute, ensuring a perfectly moist result. Repeat the frying process with the remaining chicken pieces.

The Best Crispy & Juicy Buttermilk Fried Chicken
A classic recipe for Southern-style buttermilk fried chicken. A whole chicken, cut into eight pieces, is marinated for at least six hours in buttermilk seasoned with a complex blend of herbs and spices including paprika, rosemary, thyme, and sage. After marinating, the chicken is dredged in a seasoned flour mixture and deep-fried in peanut oil until it is golden brown, crispy, and cooked through to a juicy finish.
- Prep Time: 25 minutes
- Cook Time: 50 minutes
- Total Time: 7 hours 25 minutes (includes marinating and resting time)
- Yield: 4 servings
- Category: Main Course
- Method: Deep-Frying, Marinating
- Cuisine: American
Ingredients
- For the Chicken and Marinade:
- 1 (3 1/2) pound chicken, cut into 8 pieces
- 1 teaspoon black pepper
- 1 teaspoon salt
- 1 teaspoon paprika
- ½ teaspoon white pepper
- ¼ teaspoon dried rosemary
- ¼ teaspoon ground thyme
- ¼ teaspoon dried oregano
- ¼ teaspoon dried sage
- ¼ teaspoon cayenne pepper
- 2 cups buttermilk
- For the Seasoned Flour:
- 2 cups all-purpose flour
- 1 teaspoon salt
- ½ teaspoon paprika
- ½ teaspoon cayenne pepper
- ½ teaspoon garlic powder
- ½ teaspoon white pepper
- ½ teaspoon onion powder
- 2 ½ quarts peanut oil, for frying
Instructions
- In a large bowl, toss the chicken pieces with the black pepper, 1 teaspoon of salt, 1 teaspoon of paprika, white pepper, rosemary, thyme, oregano, sage, and cayenne pepper.
- Pour in the buttermilk and stir until the chicken is evenly coated. Cover the bowl and refrigerate for at least 6 hours.
- In a large shallow dish, combine the flour with 1 teaspoon of salt, ½ teaspoon of paprika, ½ teaspoon of cayenne, garlic powder, white pepper, and onion powder to create the seasoned flour dredge.
- Heat the peanut oil in a large Dutch oven to 350°F (175°C).
- Remove the chicken pieces from the buttermilk marinade one at a time, allowing excess to drip off. Dredge each piece thoroughly in the seasoned flour, shake off any excess, and transfer to a plate.
- Working in batches, carefully add the chicken pieces to the hot oil. Fry for 10 minutes on the first side.
- Turn the chicken pieces over and fry for another 10 to 15 minutes, until the chicken is deeply golden brown and an instant-read thermometer inserted near the bone reads 165°F (74°C).
- Transfer the fried chicken to a wire cooling rack set over a paper towel-lined baking sheet to drain.
- Let the chicken rest for 10 minutes before serving.
Notes
- The 6-hour marination in seasoned buttermilk is a crucial step that tenderizes the chicken and adds flavor.
- Using a deep-fry thermometer is the best way to maintain the correct oil temperature (350°F) for crispy, not greasy, chicken.
- Always check for doneness with a meat thermometer to ensure the chicken is cooked to a safe internal temperature of 165°F.
- Resting the chicken for 10 minutes after frying allows the juices to redistribute, resulting in a juicier final product.
Storage and Make-Ahead Tips
While fried chicken is at its absolute peak of crispiness when it’s fresh, the leftovers are still incredibly delicious.
- Storage: Store any leftover fried chicken in an airtight container or a zip-top bag in the refrigerator for up to 4 days.
- Serving Leftovers: You can enjoy the leftovers cold (a classic picnic treat!), or you can reheat it to bring back some of the crispiness.
- Reheating: The best way to reheat fried chicken is in a single layer on a wire rack in a 375°F (190°C) oven or an air fryer for about 10-15 minutes, until it is warmed through and the skin has crisped up again.
For more recipe follow my Pinterest account
Creative Recipe Variations
This classic fried chicken recipe is a perfect canvas for your own flavorful twists.
- Make it Extra Spicy: If you love a good kick of heat, you can easily make this a spicy fried chicken. Simply double the amount of cayenne pepper in both the brine and the dredge. For even more flavor, add a few dashes of your favorite Louisiana-style hot sauce to the buttermilk brine.
- Modern Pickle-Brined Fried Chicken: For a tangy, modern twist that is famously delicious, you can substitute 1/2 to 1 cup of the buttermilk in the brine with an equal amount of dill pickle juice.
- Make it with Boneless Chicken: This recipe is also fantastic when made with boneless, skinless chicken thighs or chicken tenders. You will need to significantly reduce the frying time. Boneless thighs will take about 5-7 minutes per side, while tenders will only need about 3-4 minutes per side.
Enjoy the King of Comfort Food!
You’ve just created a truly special, from-scratch meal that is the very definition of American comfort food. This classic Buttermilk Fried Chicken, with its perfectly seasoned crispy crust and its unbelievably juicy and tender meat, is a rewarding project that is guaranteed to be a massive hit with your family and friends. It’s the kind of timeless, celebratory meal that creates wonderful, lasting memories.
We hope you enjoy every last, perfect, crispy, and juicy bite!
If you enjoyed making this recipe, please leave a comment below or share it with a friend who loves classic comfort food!
Frequently Asked Questions (FAQs)
Q1: Why is brining the chicken in buttermilk so important?
The buttermilk brine is the secret to the best fried chicken for two reasons. First, the gentle acidity and the enzymes in the buttermilk work to tenderize the meat by breaking down its tough proteins, resulting in an incredibly tender and moist final product. Second, the thick buttermilk helps the seasoned flour coating to adhere to the chicken, which is key to a thick, crispy crust.
Q2: What is the best oil to use for frying chicken?
Peanut oil is the traditional and gold-standard choice for frying chicken. It has a high smoke point (so it won’t burn) and a very clean, neutral flavor. Other great, high-smoke-point, neutral oils include canola oil, vegetable oil, or shortening.
Q3: How do I keep my fried chicken from being greasy?
The number one secret to crispy, non-greasy fried chicken is proper oil temperature. It is crucial to use a deep-fry thermometer to ensure your oil is at 350°F before you add the chicken, and to maintain that temperature throughout the frying process. If the oil is too cool, the crust will absorb the oil instead of instantly crisping up in it.
Q4: How do I know for sure when my fried chicken is cooked through?
While a deep golden-brown crust is a good visual cue, the only way to know for sure that your chicken is perfectly and safely cooked is to use an instant-read meat thermometer. Insert the thermometer into the thickest part of the chicken piece, making sure not to touch the bone. The internal temperature should be 165°F (74°C).
Q5: Why rest the fried chicken on a wire rack instead of on paper towels?
Placing the hot, fresh fried chicken directly on a flat surface lined with paper towels will trap steam underneath the chicken. This steam will immediately begin to make that beautiful, crispy bottom crust that you just worked so hard to create soft and soggy. Resting it on a wire rack allows air to circulate all around the chicken, keeping the entire crust perfectly crispy.

