Introduction & Inspiration
There’s fried chicken, and then there’s fried chicken – the kind with an audibly crunchy, perfectly seasoned crust that shatters to reveal incredibly juicy, tender meat inside. Today, I’m absolutely thrilled to share what sounds like one of those legendary recipes: Millie Pasquinelli’s Fried Chicken. This method uses a classic double-dredge in seasoned flour with an egg dip in between, and a specific multi-stage frying technique designed to achieve that coveted golden-brown, ultra-crispy exterior while ensuring the chicken is cooked through perfectly.
My inspiration for highlighting a recipe like this comes from a deep love and respect for those time-honored, family-style or community-famous recipes that have been perfected over years. It’s about celebrating the art of making truly exceptional fried chicken, a dish that brings so much joy and comfort.
This isn’t just a quick weeknight meal; it’s an experience – perfect for Sunday dinners, family gatherings, picnics, or anytime you want to treat yourself and your loved ones to some seriously good, homemade fried chicken. It is a perfect recipe for fried chicken aficionados.
Nostalgic Appeal / Comfort Factor
Homemade fried chicken is the pinnacle of American comfort food, holding an almost sacred place in culinary nostalgia. It evokes powerful memories of family picnics, Sunday suppers, church gatherings, and the comforting, irresistible aroma of chicken frying in a skillet. It’s a taste of home, tradition, and simple, satisfying indulgence.
Millie Pasquinelli’s recipe, with its focus on a crispy crust and juicy meat, taps directly into that deep well of comfort. The process itself – cutting the chicken, the rhythmic dredging, the sizzle of the oil – can be a comforting ritual, promising a delicious reward. This is the kind of fried chicken that creates lasting memories.
Making this dish feels like connecting with a cherished culinary tradition, one that’s all about love, care, and creating truly satisfying food. A perfect comfort food dish.
Homemade Focus
This recipe is a true celebration of from-scratch, homemade cooking. You’re starting with whole chickens (or pre-cut pieces), preparing your own seasoned flour dredge with a generous amount of flavor, and employing a specific multi-stage frying technique. There are no shortcuts here for the coating or the cooking method – it’s all about building that perfect crust and juicy interior through careful homemade preparation.
The double-dredging technique is a key homemade step that ensures an extra-thick, durable, and crispy crust. You control the seasonings, the quality of the chicken, and, most importantly, the frying process – monitoring oil temperature and adjusting heat for perfect results.
It’s about taking the time and care to execute classic frying techniques to achieve an exceptional homemade fried chicken that rivals any restaurant or takeout. The homemade taste is incredible.
Flavor Goal
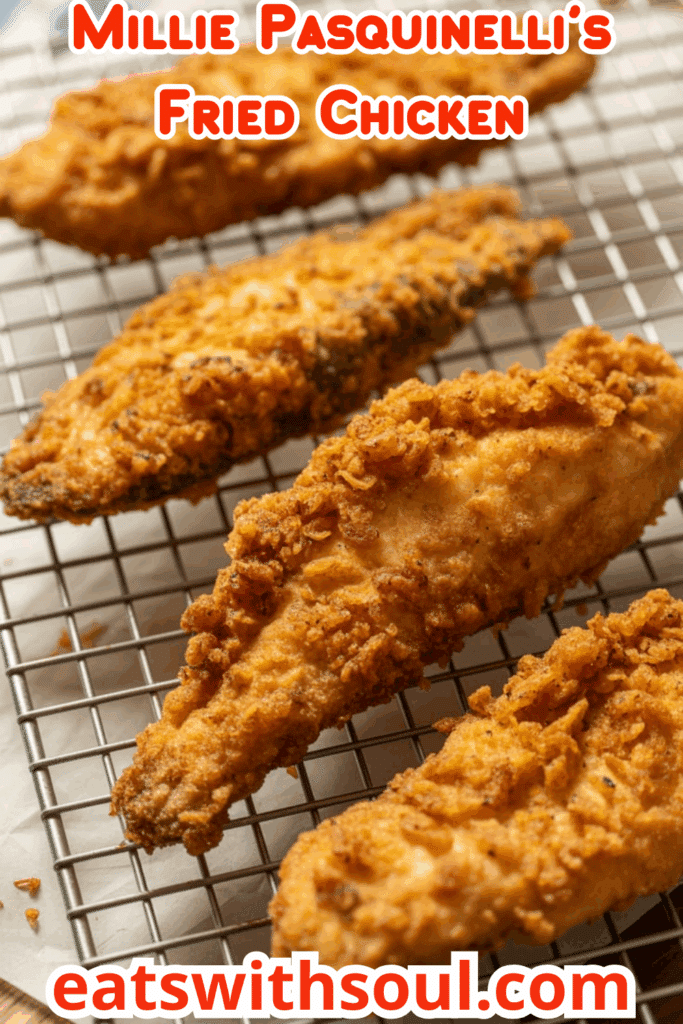
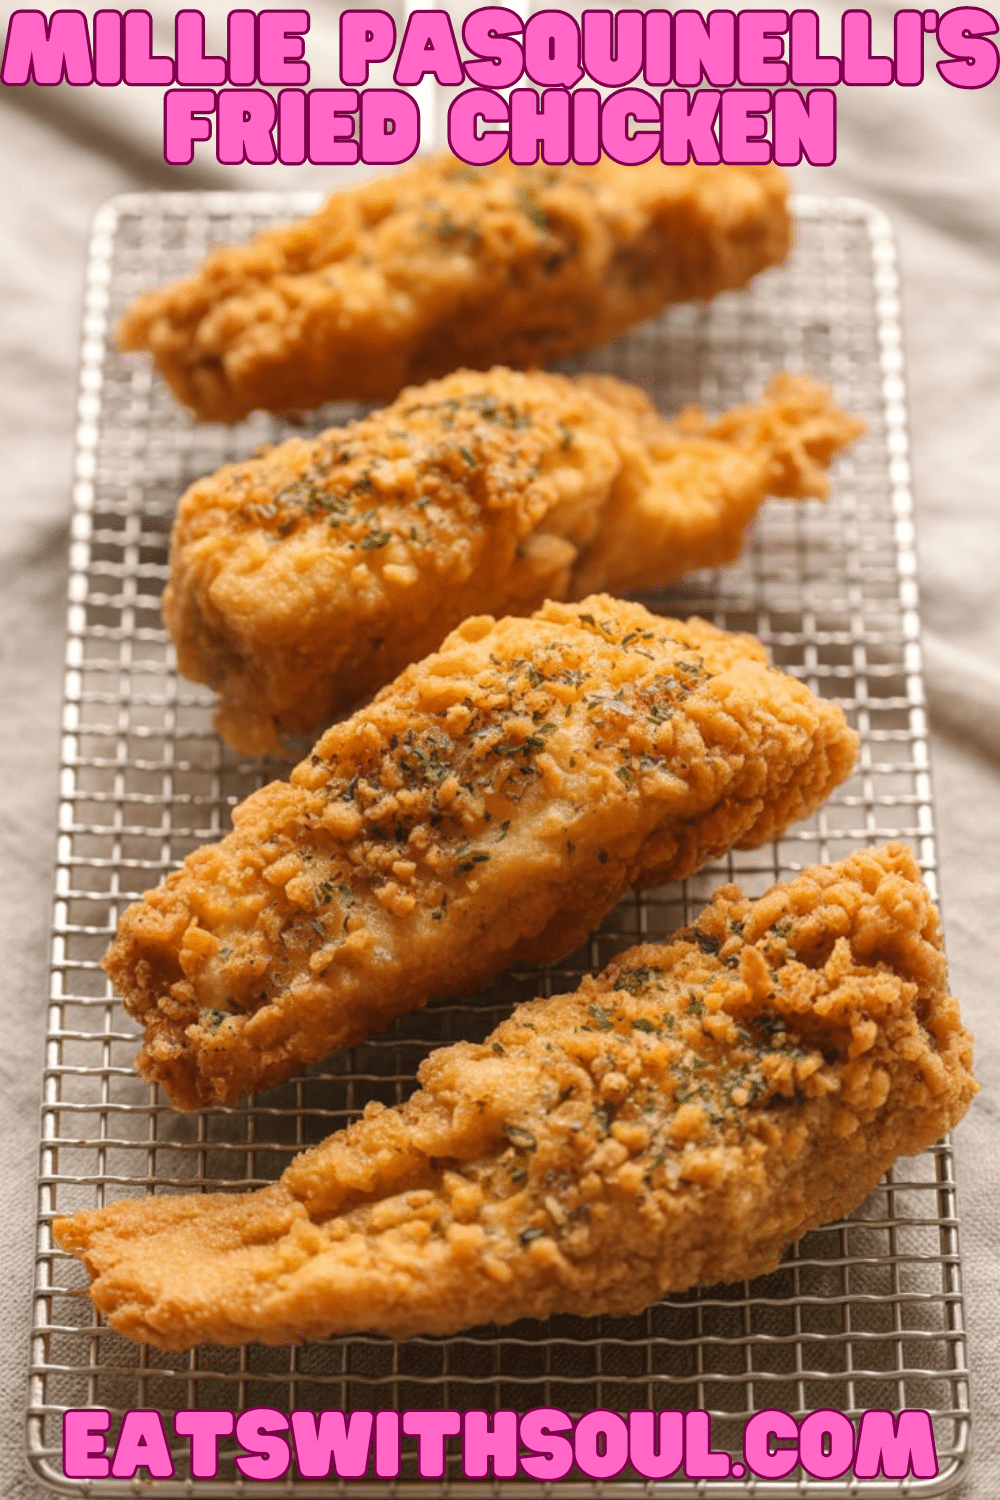
The primary flavor goal is exceptionally crispy, golden-brown chicken with a savory, well-seasoned crust and incredibly juicy, tender meat inside. The crust, seasoned generously with seasoned salt and garlic powder, should be flavorful and audibly crunchy.
The chicken meat itself, having been protected by the crust during frying, should be moist, tender, and perfectly cooked through. The overall flavor profile should be savory, slightly peppery, with distinct garlic notes from the seasoned salt and powder – classic, satisfying fried chicken flavor.
The textural contrast between the super crispy exterior and the succulent interior is paramount to this dish’s success. A perfect balance between flavour and texture.
Ingredient Insights
- Whole Chickens (Cut into pieces): Using bone-in, skin-on chicken pieces is traditional and essential for juicy, flavorful fried chicken. The recipe calls for two 2-to-3-pound chickens, cut into standard pieces (breasts, thighs, drumsticks, wings).
- All-Purpose Flour: Forms the base of the seasoned dredge, creating the structure for the crispy coating.
- Seasoned Salt: A key flavoring agent that typically includes salt, paprika, black pepper, onion powder, and garlic powder, among other spices. This provides a complex savory base.
- Garlic Powder: Adds extra pungent, aromatic garlic flavor to the crust.
- Salt and Pepper (to taste, in dredge): Allows for fine-tuning the seasoning of the flour mixture, though seasoned salt already contains salt.
- Large Eggs (Beaten): Used as an egg dip between the two flour dredges. The protein in the egg helps the second layer of flour adhere securely, contributing to a thicker, crispier crust.
- Vegetable Oil for Frying: A neutral oil with a high smoke point is needed for deep frying. Canola, peanut, or corn oil are good choices. About 1 quart (4 cups) is typically needed for frying in a large skillet, ensuring enough depth. Maintaining 375°F (190°C) initially is key.
Essential Equipment
- Two Shallow Plates or Bowls: One for the seasoned flour mixture, one for the beaten eggs.
- Platter: For placing the chicken pieces after each dredging step.
- Deep-Fryer OR Large, Heavy Skillet (Cast Iron Highly Recommended): Essential for frying the chicken evenly and maintaining oil temperature. A 10-12 inch cast iron skillet with deep sides is ideal.
- Tongs: Long-handled tongs are crucial for safely adding, turning, and removing chicken from hot oil.
- Thermometer (Candy/Deep Fry): Highly recommended for accurately monitoring and maintaining the oil temperature. This is critical for perfectly fried chicken.
- Meat Thermometer: The best way to ensure the chicken is cooked through to a safe internal temperature of 165°F (74°C) without overcooking.
- Paper Towels: For draining the fried chicken.
- Wire Cooling Rack (Optional but Recommended): Placing drained chicken on a wire rack over paper towels allows air to circulate, keeping the bottom crust crispy.
- Oven (for keeping warm): A low oven (e.g., 200°F) can be used to keep batches of fried chicken warm and crispy while others cook.
Ingredients
(Original recipe yields 12 servings)
Chicken & Dredge:
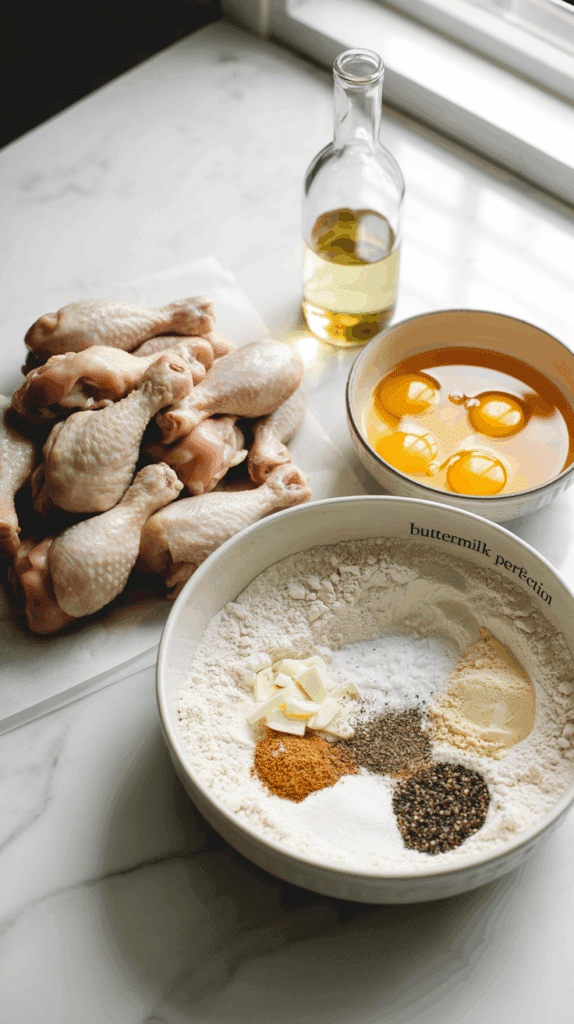
- ▢ 2 (2 to 3 pound) whole chickens, cut into 8-10 pieces each (or equivalent bone-in, skin-on pieces)
- ▢ 3 cups all-purpose flour
- ▢ 5 tablespoons seasoned salt (e.g., Lawry’s)
- ▢ 3 tablespoons garlic powder
- ▢ Salt and ground black pepper to taste (use sparingly if seasoned salt is very salty)
- ▢ 4 large eggs, beaten
Frying:
- ▢ 1 quart (4 cups) vegetable oil for frying (or enough for about 1-inch depth in skillet)

Step-by-Step Instructions
1. Prepare Seasoned Flour, Egg Dip, and Chicken:
- Cut the whole chickens into serving pieces (breasts, thighs, drumsticks, wings), or use pre-cut bone-in, skin-on pieces. Pat the chicken pieces thoroughly dry with paper towels – this is crucial for a crispy crust!
- In a large shallow plate or bowl, combine the 3 cups of all-purpose flour, 5 tablespoons seasoned salt, 3 tablespoons garlic powder, and additional salt and pepper to taste (if needed). Whisk thoroughly to ensure seasonings are evenly distributed.
- In a separate shallow bowl, lightly beat the 4 large eggs.
- Place a clean platter or baking sheet nearby to hold the dredged chicken.
2. Double-Dredge the Chicken:
- Working with one chicken piece at a time:
- First Dredge: Roll or shake the dry chicken piece thoroughly in the seasoned flour mixture until completely coated. Shake off any excess flour.
- Place the flour-coated chicken piece on the platter. Repeat with all chicken pieces.
- Egg Dip: Once all pieces have their first flour coat, take one floured chicken piece and dip it completely into the beaten egg mixture, ensuring all sides are moistened. Let any excess egg drip off.
- Second Dredge: Immediately return the egg-dipped chicken piece to the seasoned flour mixture. Roll or shake it again, pressing the flour mixture gently onto the chicken to ensure a thick, even coating.
- Place the double-dredged chicken piece back on the platter (or a separate one for breaded chicken). Repeat the egg dip and second flour dredge for all remaining chicken pieces.
3. Heat the Frying Oil:
- Pour the vegetable oil into a deep-fryer or a large, heavy skillet (cast iron is ideal) to a depth of about 1 to 1.5 inches.
- Heat the oil over medium-high heat until it reaches 375°F (190°C) on a deep-fry thermometer. (If you don’t have a thermometer, a small pinch of the flour dredge dropped into the oil should sizzle vigorously and turn golden quickly, but not burn instantly).
4. Fry the Chicken (Multi-Stage Process):
- Stage 1 (Initial Fry & Brown): Carefully place the coated chicken pieces into the hot oil, skin-side down if applicable, being careful not to overcrowd the skillet (this will lower the oil temperature and result in greasy chicken – fry in batches if necessary).
- Fry for about 5 minutes on each side, until the coating is nicely golden brown and beginning to crisp.
- Stage 2 (Cook Through): Once browned on both sides, cover the skillet tightly with a lid and reduce the heat to low or medium-low. Continue to cook the chicken, covered, for about 10 minutes. This step allows the chicken to cook through gently with steam without the crust burning.
- Stage 3 (Final Crisp): Remove the cover from the skillet. Turn the heat back up to medium or medium-high. Continue to fry the chicken, uncovered, for another 5 minutes on each side. This final fry is to make the chicken crust extra crispy and deep golden brown.
5. Check for Doneness and Drain:
- The chicken is done when it is no longer pink at the bone, the juices run clear when pierced with a fork, and an instant-read thermometer inserted into the thickest part of a piece (near the bone but not touching it) reads 165°F (74°C).
- As batches are cooked, use tongs to carefully remove the fried chicken from the hot oil, allowing excess oil to drip back into the skillet.
- Drain the fried chicken thoroughly on paper towels. For even better crispiness, place the chicken on a wire rack set over paper towels or a baking sheet.
- If cooking in batches, you can keep the cooked chicken warm in a low oven (around 200°F / 95°C) on a wire rack while the remaining pieces fry. Ensure oil temperature returns to 375°F before adding the next batch.
6. Serve:
- Serve Millie Pasquinelli’s Fried Chicken hot and crispy with your favorite Southern sides. Enjoy!

Troubleshooting
- Breading Falling Off: Chicken was too wet before first dredge (pat dry thoroughly!); didn’t press flour on firmly during second dredge; oil not hot enough initially; overcrowded pan.
- Crust Soggy: Oil temperature too low (chicken absorbs oil instead of crisping); drained directly on paper towels without a rack (bottom steams); covered after frying while still very hot.
- Crust Burnt, Chicken Raw Inside: Oil temperature too high during initial fry; didn’t reduce heat enough or cook long enough during the covered stage. The multi-stage heat is key.
- Chicken Greasy: Oil temperature too low; overcrowded pan. Maintain oil temp!
- Chicken Dry/Tough: Overcooked, especially white meat pieces. Use a meat thermometer and remove pieces as they reach 165°F.
Tips and Variations
- Pat Chicken DRY: Crucial first step for ensuring the flour dredge adheres properly.
- Double Dredge is Key: This creates that thick, substantial, crispy crust. Don’t skip it!
- Oil Temperature Management: Use a thermometer! Maintaining the correct oil temperature is critical for perfectly fried chicken. Adjust stove heat as needed.
- Don’t Overcrowd: Fry chicken in batches to maintain oil temperature and ensure even crisping.
- Spice it Up: Add 1-2 teaspoons of cayenne pepper or smoked paprika to the flour mixture for extra heat or smoky flavor. Blackening seasoning could also be interesting.
- Buttermilk Soak (Optional Pre-Step): For extra tenderness, you could soak the chicken pieces in buttermilk for a few hours (or overnight) before patting dry and proceeding with the dredging. This isn’t in Millie’s recipe but is a common fried chicken technique.
- Chicken Pieces: While the recipe implies whole chickens cut up, you can use your favorite bone-in, skin-on pieces like thighs and drumsticks, which are more forgiving than breasts.
Serving and Pairing Suggestions
- Serve Hot & Crispy: Fried chicken is always best enjoyed fresh from the fryer (after a brief drain!).
- Classic Southern Sides: Mashed potatoes and gravy (chicken or white gravy), biscuits, coleslaw, corn on the cob, mac and cheese, green beans, potato salad.
- Picnic Perfect: A staple for outdoor gatherings.
- Comfort Food Dinner: The ultimate satisfying family meal.
Nutritional Information
(Based on recipe yielding 12 servings. Highly variable based on chicken pieces chosen, skin consumption, and oil absorption during frying.)
- Calories: 400-600+ per piece (varies greatly by piece)
- Fat: 25-40g+
- Saturated Fat: 5-10g+
- Cholesterol: 90-130mg+
- Sodium: 1000mg+ (Seasoned salt is a major contributor)
- Total Carbohydrates: 15-25g+
- Dietary Fiber: <1-2g
- Sugars: <1g
- Protein: 30-40g+
Millie Pasquinelli’s Fried Chicken (Classic Crispy Recipe!)
Fry up a batch of Millie Pasquinelli’s famous Fried Chicken! This classic recipe features double-dredged chicken pieces fried using a special technique for an exceptionally crispy crust and juicy meat.
Ingredients
(Original recipe yields 12 servings)
Chicken & Dredge:
- ▢ 2 (2 to 3 pound) whole chickens, cut into 8-10 pieces each (or equivalent bone-in, skin-on pieces)
- ▢ 3 cups all-purpose flour
- ▢ 5 tablespoons seasoned salt (e.g., Lawry’s)
- ▢ 3 tablespoons garlic powder
- ▢ Salt and ground black pepper to taste (use sparingly if seasoned salt is very salty)
- ▢ 4 large eggs, beaten
Frying:
- ▢ 1 quart (4 cups) vegetable oil for frying (or enough for about 1-inch depth in skillet)
Instructions
1. Prepare Seasoned Flour, Egg Dip, and Chicken:
- Cut the whole chickens into serving pieces (breasts, thighs, drumsticks, wings), or use pre-cut bone-in, skin-on pieces. Pat the chicken pieces thoroughly dry with paper towels – this is crucial for a crispy crust!
- In a large shallow plate or bowl, combine the 3 cups of all-purpose flour, 5 tablespoons seasoned salt, 3 tablespoons garlic powder, and additional salt and pepper to taste (if needed). Whisk thoroughly to ensure seasonings are evenly distributed.
- In a separate shallow bowl, lightly beat the 4 large eggs.
- Place a clean platter or baking sheet nearby to hold the dredged chicken.
2. Double-Dredge the Chicken:
- Working with one chicken piece at a time:
- First Dredge: Roll or shake the dry chicken piece thoroughly in the seasoned flour mixture until completely coated. Shake off any excess flour.
- Place the flour-coated chicken piece on the platter. Repeat with all chicken pieces.
- Egg Dip: Once all pieces have their first flour coat, take one floured chicken piece and dip it completely into the beaten egg mixture, ensuring all sides are moistened. Let any excess egg drip off.
- Second Dredge: Immediately return the egg-dipped chicken piece to the seasoned flour mixture. Roll or shake it again, pressing the flour mixture gently onto the chicken to ensure a thick, even coating.
- Place the double-dredged chicken piece back on the platter (or a separate one for breaded chicken). Repeat the egg dip and second flour dredge for all remaining chicken pieces.
3. Heat the Frying Oil:
- Pour the vegetable oil into a deep-fryer or a large, heavy skillet (cast iron is ideal) to a depth of about 1 to 1.5 inches.
- Heat the oil over medium-high heat until it reaches 375°F (190°C) on a deep-fry thermometer. (If you don’t have a thermometer, a small pinch of the flour dredge dropped into the oil should sizzle vigorously and turn golden quickly, but not burn instantly).
4. Fry the Chicken (Multi-Stage Process):
- Stage 1 (Initial Fry & Brown): Carefully place the coated chicken pieces into the hot oil, skin-side down if applicable, being careful not to overcrowd the skillet (this will lower the oil temperature and result in greasy chicken – fry in batches if necessary).
- Fry for about 5 minutes on each side, until the coating is nicely golden brown and beginning to crisp.
- Stage 2 (Cook Through): Once browned on both sides, cover the skillet tightly with a lid and reduce the heat to low or medium-low. Continue to cook the chicken, covered, for about 10 minutes. This step allows the chicken to cook through gently with steam without the crust burning.
- Stage 3 (Final Crisp): Remove the cover from the skillet. Turn the heat back up to medium or medium-high. Continue to fry the chicken, uncovered, for another 5 minutes on each side. This final fry is to make the chicken crust extra crispy and deep golden brown.
5. Check for Doneness and Drain:
- The chicken is done when it is no longer pink at the bone, the juices run clear when pierced with a fork, and an instant-read thermometer inserted into the thickest part of a piece (near the bone but not touching it) reads 165°F (74°C).
- As batches are cooked, use tongs to carefully remove the fried chicken from the hot oil, allowing excess oil to drip back into the skillet.
- Drain the fried chicken thoroughly on paper towels. For even better crispiness, place the chicken on a wire rack set over paper towels or a baking sheet.
- If cooking in batches, you can keep the cooked chicken warm in a low oven (around 200°F / 95°C) on a wire rack while the remaining pieces fry. Ensure oil temperature returns to 375°F before adding the next batch.
6. Serve:
- Serve Millie Pasquinelli’s Fried Chicken hot and crispy with your favorite Southern sides. Enjoy!
Recipe Summary and Q&A
Summary: Millie Pasquinelli’s Fried Chicken involves cutting two whole chickens into pieces, then double-dredging them: first in a seasoned flour mixture (flour, seasoned salt, garlic powder, salt, pepper), then in beaten egg, and finally back into the seasoned flour. The coated chicken pieces are fried in hot vegetable oil (375°F) for about 5 minutes per side until golden, then the skillet is covered, heat reduced, and chicken cooked for about 10 minutes more. Finally, the cover is removed, heat increased, and chicken is fried again for 5 minutes per side to ensure crispiness and that it’s cooked through (165°F internal temperature). The chicken is drained on paper towels before serving.
Q&A:
- Q: Why the multi-stage frying process (fry, cover/lower heat, then fry again)?
- A: This classic technique aims for perfection:
- Initial High-Heat Fry: Sets the crust and gets it golden brown and initially crispy.
- Covered, Lower Heat: Allows the chicken to cook through to the bone gently with steam, without burning the crust.
- Final Uncovered, Higher Heat Fry: Re-crisps the crust beautifully after the steaming phase.
- A: This classic technique aims for perfection:
- Q: Do I have to use seasoned salt? Can I make my own seasoning?
- A: Seasoned salt (like Lawry’s) is a convenient all-in-one blend. If you don’t have it, you can create your own by increasing the plain salt and adding more onion powder, paprika, and perhaps a pinch of celery salt or other favorite spices to the flour mixture. The recipe relies heavily on the 5 tablespoons of seasoned salt for its primary flavor.
- Q: Can I use an air fryer or bake this chicken?
- A: This specific recipe is designed for traditional skillet frying to achieve its signature crust and juiciness. While you can adapt breaded chicken for baking or air frying, the results (especially the crust texture and moistness) will be significantly different from Millie Pasquinelli’s method. For baking/air frying, you’d typically spray the breaded chicken with oil and cook at around 400°F until done, flipping once.
- Q: How do I make sure the chicken is cooked through without drying out?
- A: The best way is to use an instant-read meat thermometer. Insert it into the thickest part of a piece, avoiding the bone. It should read 165°F (74°C). The covered cooking stage is crucial for cooking it through gently. Dark meat (thighs, drumsticks) is more forgiving than white meat (breasts).

