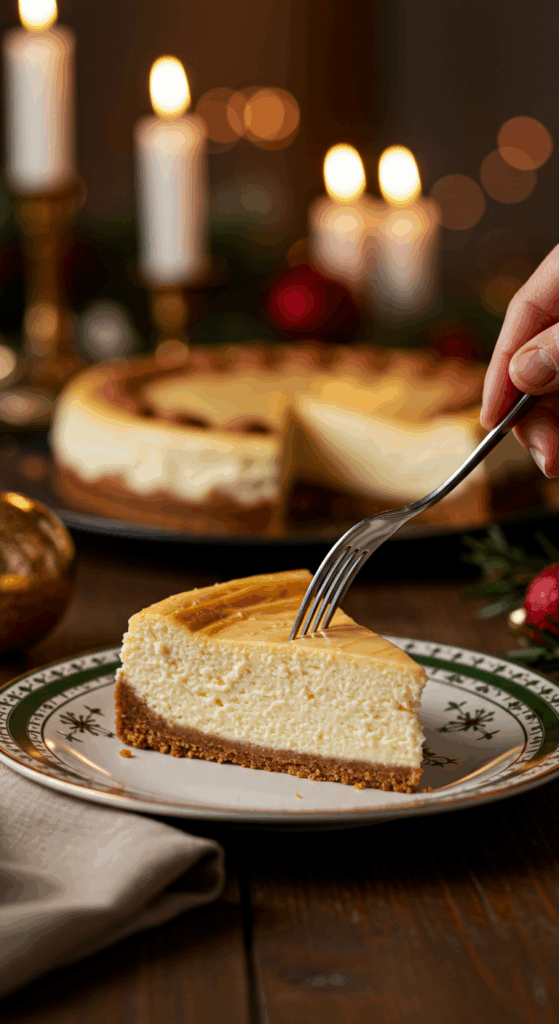
Are you a true cheesecake purist? Do you love the simple, unadorned perfection of a rich, tangy, and impossibly creamy New York-style cheesecake? This incredible, from-scratch Nutmeg Cheesecake is a masterpiece of elegant simplicity and sophisticated technique. It is the ultimate dessert for the true cheesecake connoisseur.
This isn’t just a recipe; it’s your ultimate guide to mastering a flawless, restaurant-quality cheesecake. We’ll show you the professional secrets to a perfectly smooth, velvety, and completely crack-free custard, thanks to a gentle water bath and a slow cool-down. And for the grand finale, we’ll reveal a clever, old-school baker’s trick for creating the absolute crispiest, crunchiest graham cracker crust on the bottom after the cheesecake has been baked. Get ready to create a truly unforgettable dessert.
Table of Contents
Table of Contents
Recipe Overview: A Masterpiece of Elegant Simplicity
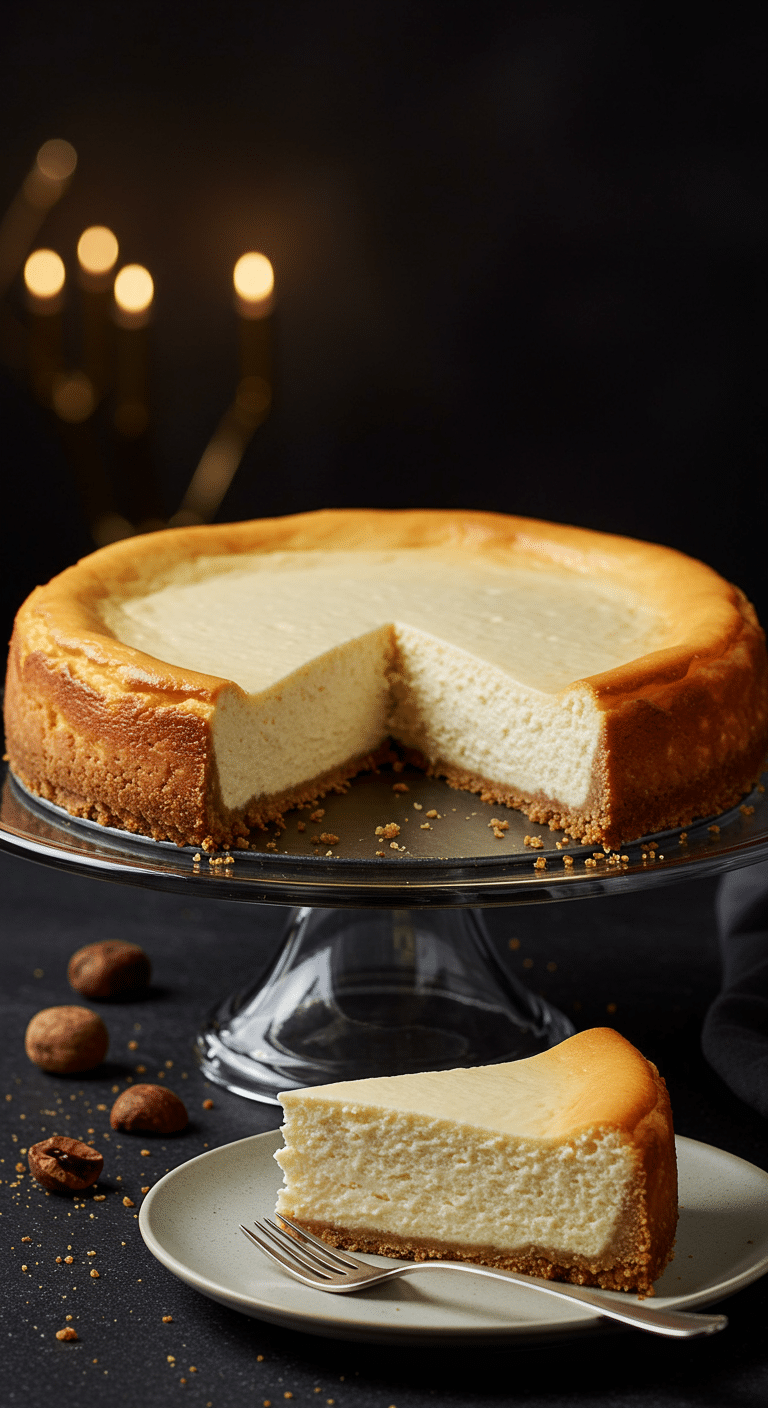
What makes this Nutmeg Cheesecake so spectacular is its focus on pure, classic flavor and perfect, creamy texture. The filling is a rich, dense, and tangy New York-style cheesecake, beautifully and simply flavored with the warm, aromatic perfume of freshly grated nutmeg. The recipe uses a foolproof water-bath baking method to guarantee a stunning, crack-free result. The unique, post-bake crust application is a brilliant professional technique that ensures the crispiest possible base, providing a wonderful textural contrast to the silky-smooth filling.
| Metric | Time / Level |
| Total Time | 12 hours (includes overnight chilling) |
| Active Prep Time | 30 minutes |
| Difficulty Level | Intermediate |
| Servings | 12-16 |
The Essential Ingredients for a Perfect Cheesecake
This recipe uses a handful of simple, high-quality ingredients to create a truly spectacular result.
- The Cheesecake Filling: This is the rich, creamy, and tangy heart of our dessert.
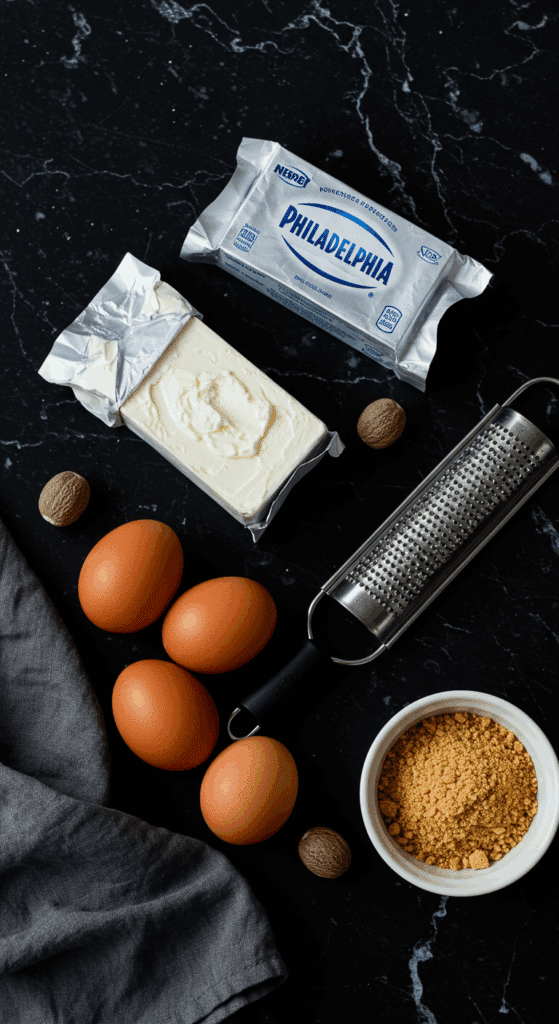
- Room Temperature Ingredients: This is the single most important secret to a smooth, non-lumpy cheesecake batter. Your full-fat, block-style cream cheese and your large eggs must all be at room temperature before you begin mixing.
- Full-Fat Cream Cheese: For a classic, rich, and dense New York-style cheesecake, you must use 2 pounds of full-fat, block-style cream cheese. The kind sold in a tub is too soft and contains more water, which will not produce the correct texture.
- The Flavorings: The elegant simplicity of this cheesecake comes from its primary flavor: freshly grated nutmeg. The flavor of a freshly grated whole nutmeg is infinitely more aromatic, complex, and potent than the pre-ground kind. A tiny splash of pure almond extract adds a wonderful, subtle, and sophisticated background note.
- The Post-Baked “Crust”:
- Graham Cracker Crumbs: A simple sprinkle of classic graham cracker crumbs is all you need for the crunchy base.
- The Double-Butter Pan Coat: A classic, professional technique of coating the springform pan in a thick, double layer of chilled, unsalted butter is the secret to a beautiful finish and a clean, easy release for our “crustless” bake.

Step-by-Step to a Flawless Cheesecake
Making a cheesecake from scratch is a rewarding process. Follow these detailed steps for a perfect, show-stopping result.
Part 1: Preparing the Pan and the Silky-Smooth Filling
Step 1: First, prepare your pan. Using a pastry brush, thickly brush a 9-inch springform pan with half of your melted butter. Place the pan in the freezer for 10 minutes to harden the butter. Repeat this process with a second coating of butter to create a thick, non-stick layer.
Step 2: Adjust your oven rack to the lowest position and preheat the oven to 350°F (175°C).
Step 3: In the large bowl of an electric mixer fitted with a paddle attachment, beat the 2 pounds of room temperature cream cheese until it is fluffy and completely smooth.
Step 4: Beat in the 1 teaspoon of pure vanilla extract, the 1/4 teaspoon of pure almond extract, the 1 teaspoon of freshly grated nutmeg, the 1 3/4 cups of sugar, and the 1/8 teaspoon of salt.
Step 5: One at a time, add the 4 large, room temperature eggs, making sure to scrape down the sides of the bowl after each addition.
Pro Tip: Be very careful not to over-beat the batter, especially after you add the eggs. This is a key secret to a crack-free cheesecake.
Part 2: The Gentle Water Bath Bake
Step 1: Prepare your pan for a water bath. Tightly wrap the outside of your butter-coated springform pan with a large, double layer of heavy-duty aluminum foil to make it waterproof. Pour the cheesecake batter into the pan. Place the wrapped pan inside a larger roasting pan.
Step 2: Bring a large pot or kettle of water to a boil.
Step 3: Gently place the roasting pan on the oven rack. Carefully pour the boiling water into the roasting pan until the water comes about halfway up the sides of your cheesecake pan.
Step 4: Bake for about 1 hour and 30 minutes. The cheesecake is perfectly baked when the top of the cake is a beautiful golden brown and dry to the touch, but the very center is still a bit soft and has a slight jiggle to it when you gently tap the pan.
Step 5: Remove the cheesecake pan from the water bath and remove the foil. Let the cheesecake cool at room temperature for 15 minutes.
Step 6: Refrigerate the cheesecake, uncovered, for 2 hours.
Part 3: The Art of the Inversion and the Crumb Crust
This is a professional technique for a perfect finish. Be confident!
Step 1: After the initial 2-hour chill, remove the cheesecake from the refrigerator. Carefully run a thin knife around the inside edge of the pan to loosen the cheesecake. Then, remove the sides of the springform pan.
Step 2: Cover the top surface of the cheesecake with a piece of plastic wrap. Place a large, flat plate upside down over the cake. In one swift, confident motion, flip the cake over so that it is resting, upside down, on the plate.
Step 3: Carefully remove the metal bottom of the springform pan.
Step 4: Evenly sprinkle the 1/3 cup of graham cracker crumbs over the now-exposed surface (which was the bottom of the cake).
Step 5: Place your final serving plate upside down over the crumbs. In another swift, confident motion, flip the entire thing over one more time.
You will now have a beautiful, flawless cheesecake with a perfect, crisp graham cracker crust on the bottom!
Part 4: The Final Chill
Refrigerate the finished cheesecake, lightly covered, for at least 3 hours, or preferably overnight. This final, long chill is absolutely essential for the cheesecake to fully set its signature dense and creamy texture and for the flavors to meld.

The Best Creamy & Elegant Nutmeg Cheesecake
A classic, rich, and creamy baked cheesecake with a prominent warm nutmeg flavor. The recipe features a unique method where the crust, made from graham cracker crumbs, is applied to the bottom of the cheesecake *after* it’s baked and chilled. The smooth filling is made with a generous amount of cream cheese, seasoned with nutmeg and both vanilla and almond extracts. A key technique is baking the cheesecake in a water bath (bain-marie) to ensure an even, gentle cook for a crack-free surface and a dense, smooth texture. The cheesecake is chilled for several hours before its final assembly and serving.
- Prep Time: 25 minutes
- Cook Time: 1 hour 30 minutes
- Total Time: 8 hours (includes chilling times)
- Yield: 12-16 servings
- Category: Dessert
- Method: Baking
- Cuisine: American
- Diet: Vegetarian
Ingredients
- 3 tablespoons unsalted butter, melted
- 2 pounds (four 8-ounce blocks) cream cheese, at room temperature
- 1 teaspoon pure vanilla extract
- 1/4 teaspoon pure almond extract
- 1 teaspoon nutmeg
- 1 3/4 cups sugar
- 1/8 teaspoon salt
- 4 eggs
- 1/3 cup graham cracker crumbs
Instructions
- Adjust an oven rack to the lowest position and preheat to 350°F.
- Thickly brush a 9-inch springform pan with half of the melted butter. Place the pan in the freezer for 10 minutes to harden the butter, then repeat with a second coat of butter.
- Make the Filling: In a stand mixer with a paddle attachment, beat the room-temperature cream cheese until fluffy and very smooth. Beat in the extracts, nutmeg, sugar, and salt.
- One at a time, add the eggs, scraping down the bowl after each addition.
- Pour the filling into the prepared pan. Wrap the outside of the pan in a double layer of aluminum foil.
- Bake the Cheesecake: Place the springform pan in a large roasting pan. Pour hot water into the roasting pan to create a water bath that comes about 1-inch up the sides of the cake pan.
- Bake for about 1 1/2 hours, until the top is golden brown and the center still has a slight jiggle.
- Cool and Chill: Remove the pan from the water bath and the foil. Let it cool at room temperature for 15 minutes. Refrigerate, uncovered, for 2 hours.
- Apply the Crust and Finish: Remove the sides of the springform pan. Cover the surface of the cheesecake with plastic wrap. Place a large plate over the cake and carefully flip it over.
- Remove the pan bottom. Evenly sprinkle the exposed surface (now the bottom) with the graham cracker crumbs.
- Place a serving plate over the crumbs and flip the cake again. Remove the plastic wrap.
- Refrigerate, lightly covered, for at least 3 more hours or overnight before serving.
Notes
- This recipe uses a unique reverse-assembly method where the graham cracker crust is applied to the bottom of the cake *after* it has been baked and chilled.
- Baking the cheesecake in a water bath (bain-marie) is a crucial step that provides moist, even heat and helps prevent the top from cracking.
- The long chilling periods are essential for the cheesecake to fully set and for the best texture and flavor.
- Using a blow torch or a warm stove burner on the bottom of the pan can help release the cake if it sticks.
Storage and Make-Ahead Tips
Cheesecake is the absolute perfect make-ahead dessert for a stress-free holiday or party.
- Make-Ahead: This cheesecake is actually better when made a day or two in advance! You can bake the entire cheesecake completely up to 3 days ahead of time. Let it cool and chill completely, and then keep it, covered, in the refrigerator.
- Storage: Store any leftover cheesecake, covered, in the refrigerator for up to a week.
For more recipe follow my Pinterest account
Creative Recipe Variations
This stunning, pure cheesecake is a wonderful base for your favorite toppings and flavors.
- Add a Classic Fruit Topping: This simple, elegant cheesecake is a perfect canvas for a beautiful fruit topping. Serve each slice with a spoonful of a simple, fresh strawberry or raspberry sauce, or the Warm Lemon Blueberry Topping from our other classic cheesecake recipe.
- Use a Different Warm Spice: If you’re not a fan of nutmeg, you can create a different but equally delicious flavor profile by substituting the nutmeg with an equal amount of ground cinnamon, ground ginger, or a fragrant, floral ground cardamom.
- Make it a Traditional Press-In Crust: If you are nervous about the double-inversion technique, you can easily make this with a more traditional crust. Simply mix your 1 1/2 cups of graham cracker crumbs with 6 tablespoons of melted butter and 1 tablespoon of sugar, and press this mixture into the bottom of your pan before you add the filling and bake.
Enjoy Your Perfect, Flawless Cheesecake!
You’ve just created a truly special, show-stopping dessert that is the very definition of a decadent indulgence. This perfect, from-scratch Nutmeg Cheesecake, with its creamy, dense texture and its beautiful, flawless top, is a rewarding baking project that is guaranteed to impress any true cheesecake lover. It’s a timeless classic that will make any occasion feel special.
We hope you enjoy every last, perfect, rich, and creamy bite!
If you enjoyed making this recipe, please leave a comment below or share it with a friend who is ready to master homemade cheesecake!
Frequently Asked Questions (FAQs)
Q1: What is the secret to a perfect, crack-free cheesecake?
This recipe uses two main secrets! First, it is baked in a water bath, which creates a very humid, steamy environment in the oven and provides a gentle, even heat that is perfect for a delicate custard. Second, it is crucial that you do not over-mix the batter, especially after you add the eggs, as this incorporates too much air which can cause the cheesecake to puff up and then crack as it cools.
Q2: Do I really have to invert the cheesecake? That seems scary!
The double-inversion technique is a classic, old-school pastry chef’s trick. The main reason to do it is to create a perfectly flat, smooth top (what was the bottom of the pan becomes the top) and to create the crispiest possible crust, since the crumbs are never baked with the wet batter. However, if you are nervous, you can absolutely skip this step and simply make a classic, press-in graham cracker crust in the bottom of the pan before you bake, as described in the “Variations” section.
Q3: How do I know for sure when my cheesecake is done baking?
The key is the “jiggle test.” A perfectly baked cheesecake should not be completely firm all the way through when you take it out of the oven. The outer 2-3 inches of the cheesecake should look set and matte, but the very center should still have a distinct wobble or jiggle, similar to a pan of Jell-O. This small, jiggly center will continue to cook and set up perfectly from the residual heat as the cheesecake cools.
Q4: Do my ingredients really all need to be at room temperature?
Yes, this is non-negotiable for a smooth, lump-free cheesecake! If your cream cheese is cold, it will not blend smoothly and you will have small, unpleasant lumps in your final cheesecake. Cold eggs can also cause the cream cheese to seize up. To quickly bring your ingredients to room temperature, you can place the wrapped cream cheese and the eggs in a bowl of warm (not hot) tap water for about 10-15 minutes.
Q5: What is the best way to get perfect, clean slices of my cheesecake?
The secret to clean slices is a well-chilled cheesecake and a hot, sharp knife. Use a long, thin knife. For each slice, dip the blade of the knife into a pitcher of hot water, wipe the blade completely dry with a paper towel, and then make one clean, decisive cut. Repeat this process of heating and wiping the knife for every single slice.

