Is there any aroma more comforting, more nostalgic, or more joy-inducing than that of warm, fluffy, Old-Fashioned Pancakes cooking on a griddle on a lazy weekend morning? It’s the smell of happy memories. It’s time to ditch the boxed mix forever, because we’re about to show you how ridiculously easy it is to make the best pancakes of your life from scratch, using a handful of simple pantry staples.
This isn’t just a recipe; it’s your guide to mastering the simple secrets of pancake perfection. We’ll show you how to achieve that perfect, light-as-a-cloud, fluffy texture (hint: a lumpy batter is a good thing!) and that classic, buttery, and slightly sweet flavor. This is the only pancake recipe you’ll ever need to create a truly memorable breakfast.
Table of Contents
Table of Contents
Recipe Overview: Ditching the Box Mix Forever
What makes this Old-Fashioned Pancake recipe the absolute best is its unwavering focus on the simple techniques that guarantee a perfect result. This is a classic, from-scratch recipe that is designed to be tender, light, buttery, and delicious—not too thick, and not too thin. We’ll cover the crucial secrets, like why you shouldn’t overmix your batter and why letting it rest is a game-changer. It’s a foolproof method that proves that anyone can be a pancake master.
| Metric | Time / Level |
| Prep Time | 5 mins |
| Cook Time | 20 mins |
| Total Time | 25 mins |
| Servings | 4 (yields 12 pancakes) |
The Essential Ingredients for Classic Pancakes
This recipe uses a handful of the simplest pantry staples to create something truly magical. The quality of these basic ingredients will shine through.
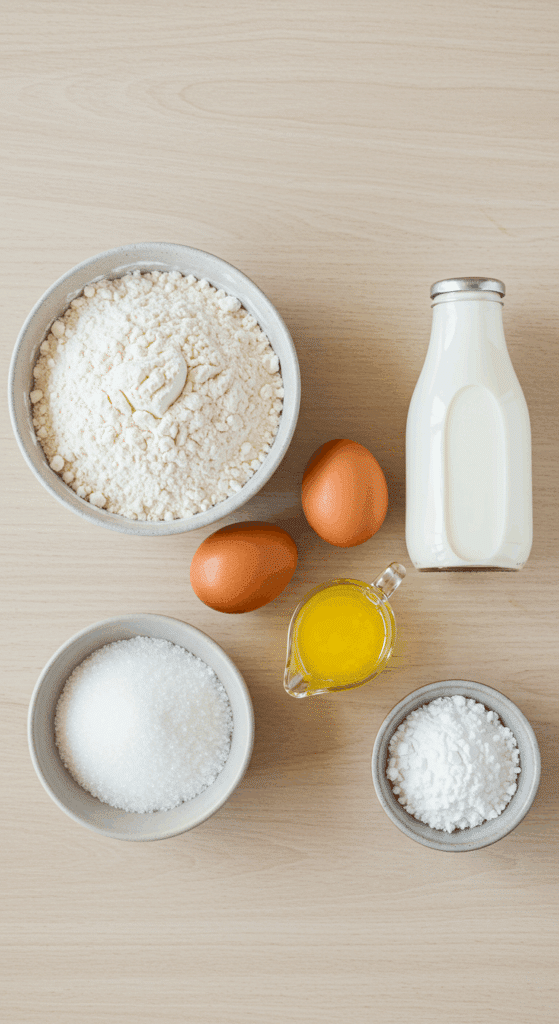
- All-Purpose Flour: The simple structural base of our pancakes.
- Baking Powder: This is the most important leavening agent. When the baking powder gets wet and then heated, it creates the carbon dioxide bubbles that make the pancakes rise and become wonderfully light and fluffy.
- Sugar: We use just a touch of granulated sugar to add a subtle sweetness that is characteristic of a classic pancake.
- Salt: A pinch of salt is essential in all baking. It doesn’t make the pancakes salty; it enhances all the other flavors and balances the sweetness.
- Milk and Egg: These provide the moisture, richness, and structure for the batter. A room temperature egg will incorporate more easily.
- Melted Butter: We add melted butter directly into the batter. This is the secret to a pancake that is incredibly tender, rich, and has that wonderful, buttery flavor baked right in.

Step-by-Step to the Fluffiest Pancakes Ever
Follow these simple but crucial steps for a perfect, fluffy result every time.
Step 1: Combine the Dry Ingredients
In a large mixing bowl, add the 1 1/2 cups of all-purpose flour, 3 tablespoons of white sugar, 2 teaspoons of baking powder, and 1/2 teaspoon of salt.
Use a whisk to mix these dry ingredients together thoroughly for about 30 seconds. This simple step is like sifting; it ensures that the baking powder and salt are evenly distributed, which is key to a uniform rise.
Step 2: Mix the Wet Ingredients
In a separate, medium bowl, whisk together the 1 1/4 cups of milk and the 1 large egg until they are just combined. Then, whisk in the 3 tablespoons of melted butter.
Step 3: Gently Combine (The Most Important Step!)
Pour the entire wet ingredient mixture into the large bowl with the dry ingredients.
Using a spatula or a wooden spoon, gently mix the ingredients together only until they are just moistened.
Crucial Pro Tip (Embrace the Lumps!): Your finished pancake batter should be lumpy! This is the number one secret to tender, fluffy pancakes. If you continue to mix until the batter is perfectly smooth, you will over-develop the gluten in the flour, which will result in pancakes that are tough, chewy, and rubbery instead of light and fluffy.
Step 4: Let the Batter Rest (The Other Secret Step!)
Let your lumpy batter rest, undisturbed, at room temperature for at least 5 minutes, and up to 15 minutes.
This crucial resting period allows the gluten strands that you did develop to relax (ensuring a tender pancake) and gives the baking powder time to work its magic, creating bubbles that will result in an even fluffier pancake.
Step 5: Cook to Golden-Brown Perfection
Heat a large, non-stick skillet or a griddle over medium heat.
Pro Tip (The Perfect Temperature Test): To know if your griddle is at the perfect temperature, flick a few drops of water onto the surface. The drops should sizzle, dance, and skitter across the surface before they evaporate. If they evaporate instantly, the pan is too hot. If they just sit there and slowly steam, it’s not hot enough.
Lightly grease your hot griddle with a little butter or cooking spray. Pour about 1/4 cup of the batter onto the griddle for each pancake.
Cook for 2 to 3 minutes, or until the surface of the pancake is covered in bubbles and the edges look dry and set. Once the bubbles begin to pop and stay open, it is the perfect time to flip.
Flip the pancake carefully, just once, and cook for another 1 to 2 minutes on the other side, until it is beautifully golden brown.

The Best Easy & Fluffy Old-Fashioned Pancakes
A recipe for classic, old-fashioned pancakes made from scratch. These pancakes are described as being perfectly tender, light, and buttery—not too thick and not too thin. The method involves combining a simple wet and dry batter and cooking the pancakes on a griddle until golden brown, creating a delicious breakfast staple.
- Prep Time: 5 minutes
- Cook Time: 20 minutes
- Total Time: 25 minutes
- Yield: 12 pancakes
- Category: Breakfast
- Method: Pan-Frying
- Cuisine: American
- Diet: Vegetarian
Ingredients
- 1 ½ cups all-purpose flour
- 2 tablespoons white sugar
- 2 teaspoons baking powder
- ½ teaspoon salt
- 1 ¼ cups milk
- 1 large egg
- 2 tablespoons unsalted butter, melted
- 1 teaspoon vanilla extract (optional)
Instructions
- In a large bowl, sift or whisk together the flour, sugar, baking powder, and salt.
- In a separate medium bowl, whisk together the milk and egg. Stir in the melted butter and vanilla extract, if using.
- Pour the wet ingredients into the dry ingredients and whisk until just combined. Do not overmix; a few small lumps are okay.
- Let the batter rest for 5 minutes.
- Heat a lightly oiled griddle or frying pan over medium-high heat.
- Pour or scoop the batter onto the griddle, using approximately 1/4 cup for each pancake.
- Cook until bubbles form and pop on the surface of the pancake, about 2-3 minutes. Flip and cook until the other side is golden brown.
- Repeat with the remaining batter.
Notes
- Note: The ingredients and instructions for this recipe were not fully provided in the source article and have been inferred based on a standard, classic pancake recipe that matches the description and yield.
- For the fluffiest pancakes, be careful not to overmix the batter. A few lumps are perfectly fine.
- You know it’s time to flip the pancake when bubbles appear on the surface and begin to pop.
- Ensure your griddle or pan is properly preheated before adding the batter for the best results.
Serving and Topping Your Pancakes
The best way to serve old-fashioned pancakes is hot off the griddle, stacked high on a warm plate. The classic toppings are a must:
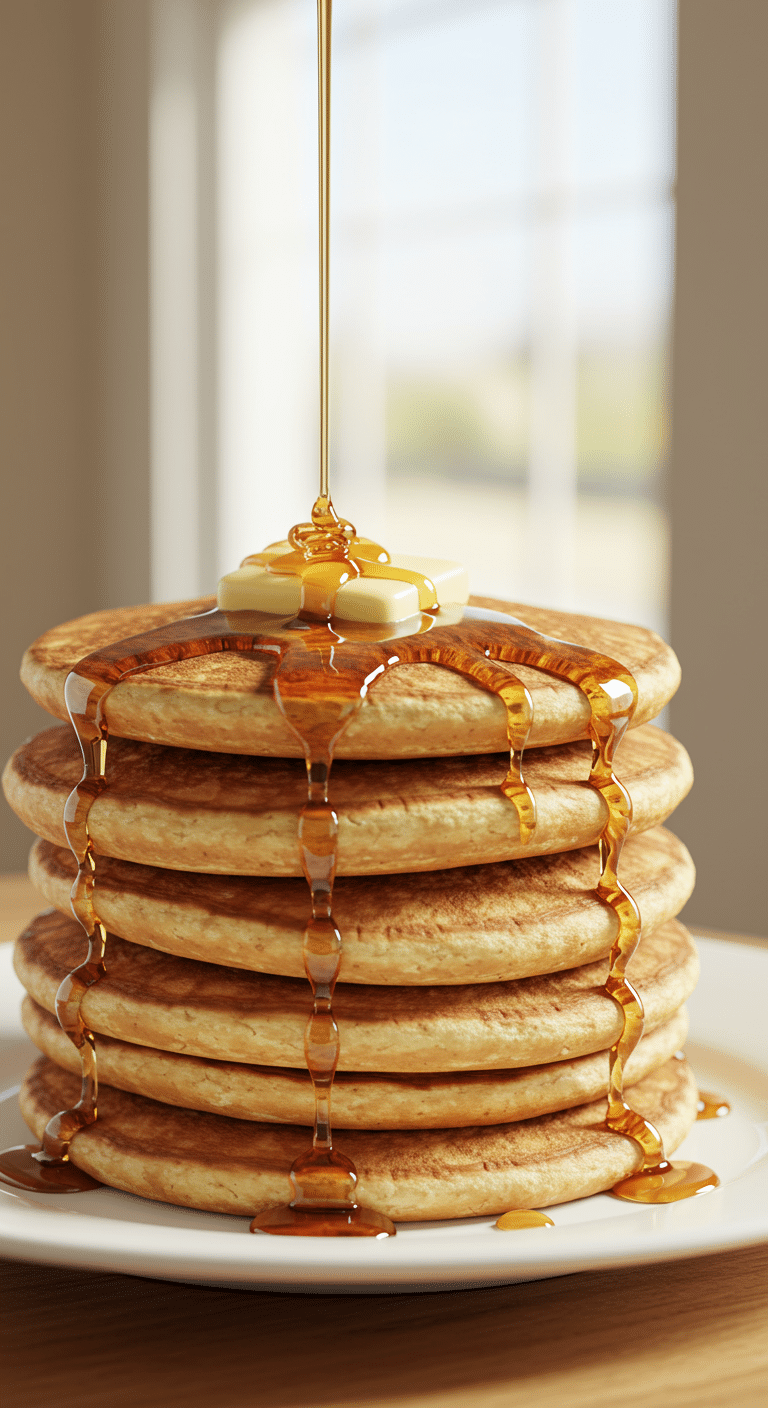
- A generous pat of softened butter that melts into the warm pancakes.
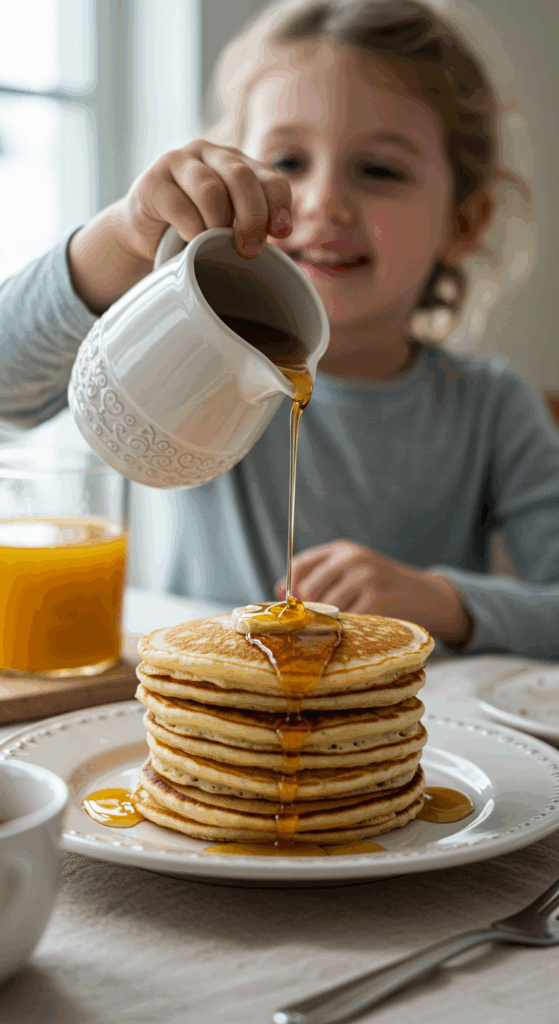
- A liberal drizzle of pure maple syrup.
For an extra special breakfast, you can also top your stack with:
- Fresh fruit, like sliced bananas, strawberries, or a handful of blueberries
- A big dollop of fresh whipped cream
- A sprinkle of chocolate chips or chopped nuts
Storage and Make-Ahead Tips
Pancakes are a fantastic make-ahead breakfast for busy mornings!
- Keeping them Warm: To keep the pancakes warm while you cook the entire batch, you can place a wire cooling rack on a baking sheet in a 200°F (95°C) oven. As you finish each pancake, place it in a single layer on the warm rack.
- Storage: Store any leftover cooled pancakes in an airtight bag or container in the refrigerator for up to 3 days.
- Freezing (The Best Method!): Leftover pancakes freeze beautifully. Let them cool completely. Stack them with a small square of parchment or wax paper between each pancake (this prevents them from sticking together). Place the entire stack in a freezer-safe bag. They will keep in the freezer for up to 3 months.
- Reheating: You can reheat frozen pancakes directly in the toaster, the toaster oven, or for a few seconds in the microwave for a super-fast and easy weekday breakfast.
For more recipe follow my Pinterest account
Creative Recipe Variations
This classic recipe is a perfect canvas for your own delicious and creative additions.
- Classic Buttermilk Pancakes: For an extra tangy and even more tender pancake, you can substitute the 1 1/4 cups of regular milk with an equal amount of buttermilk. If you do this, you will also want to reduce the baking powder to 1 teaspoon and add 1/2 teaspoon of baking soda.
- Hearty Whole Wheat Pancakes: For a more nutritious and heartier pancake with a nutty flavor, you can substitute half of the all-purpose flour (3/4 cup) with whole wheat flour.
- Add Your Favorite Mix-Ins: Just after you have mixed the batter, you can gently fold in about 3/4 to 1 cup of your favorite mix-ins. Classic choices include fresh blueberries, chocolate chips, or thinly sliced bananas.
Enjoy a Perfect Pancake Breakfast!
You’ve just mastered a truly timeless, from-scratch recipe that is the very definition of a comforting, happy breakfast. These Old-Fashioned Pancakes are a perfect harmony of simple ingredients and easy techniques that come together to create something truly special. It’s the kind of rewarding recipe that is perfect for starting a lazy weekend morning and creating new family traditions.
We hope you enjoy every last, light, fluffy, and buttery bite!
If you enjoyed making this recipe, please leave a comment below or share it with a friend who loves a classic pancake breakfast!
Frequently Asked Questions (FAQs)
Q1: Why are my pancakes tough and rubbery instead of light and fluffy?
This is the most common pancake problem, and it is almost always caused by over-mixing the batter. When you mix flour and a liquid, you develop gluten. A little gluten is good for structure, but too much makes pancakes tough. The secret is to mix the batter only until the dry ingredients are just moistened. A lumpy batter is a good batter!
Q2: What is the secret to getting perfectly round, evenly browned pancakes?
An even, medium heat is the key. Make sure your pan is fully preheated before you add any batter. Using a 1/4-cup measuring cup or a cookie scoop to portion the batter will help you get pancakes that are all the same size. Don’t press down on the pancake with your spatula after you flip it, as this will deflate all the air bubbles and make it dense.
Q3: Can I make the pancake batter the night before?
It is not recommended to make this specific pancake batter too far in advance. The baking powder is “single-acting,” meaning it starts to create its bubbles as soon as it gets wet. If you let the batter sit overnight, the baking powder will lose most of its leavening power, and you will end up with flat, dense pancakes. The 5-15 minute rest just before cooking is ideal.
Q4: How do I know for sure when it’s the right time to flip my pancake?
Look for the bubbles! You’ll know it’s time to flip when the edges of the pancake start to look dry and set, and you see bubbles forming all over the surface of the batter. The perfect moment to flip is when those bubbles start to pop and stay open, leaving a small hole in the surface.
Q5: Can I make this recipe dairy-free?
Yes, easily! You can substitute the regular milk with your favorite unsweetened, plain dairy-free milk, such as almond milk, soy milk, or oat milk. For the melted butter, you can use an equal amount of a neutral-flavored oil (like canola oil) or your favorite melted dairy-free butter substitute.

