Are you looking for the absolute easiest, most foolproof, and most deliciously cozy fall dessert you will ever make? A spectacular treat that requires just one baking dish, absolutely no mixing bowls, and about five minutes of active prep time? Get ready to fall in love with this incredible, magical, and completely irresistible Dump Pumpkin Pie, also known as a Pumpkin Dump Cake.
This isn’t just a recipe; it’s the ultimate holiday dessert hack. This is your definitive guide to creating a stunning dessert that has the perfect combination of a smooth, creamy, and perfectly spiced pumpkin pie custard on the bottom, and a rich, buttery, and wonderfully crunchy cake and pecan topping on top. It’s the perfect, stress-free dessert for Thanksgiving, a last-minute potluck, or any crisp autumn evening.
Table of Contents
Table of Contents
Recipe Overview: The Ultimate Easy Fall Dessert
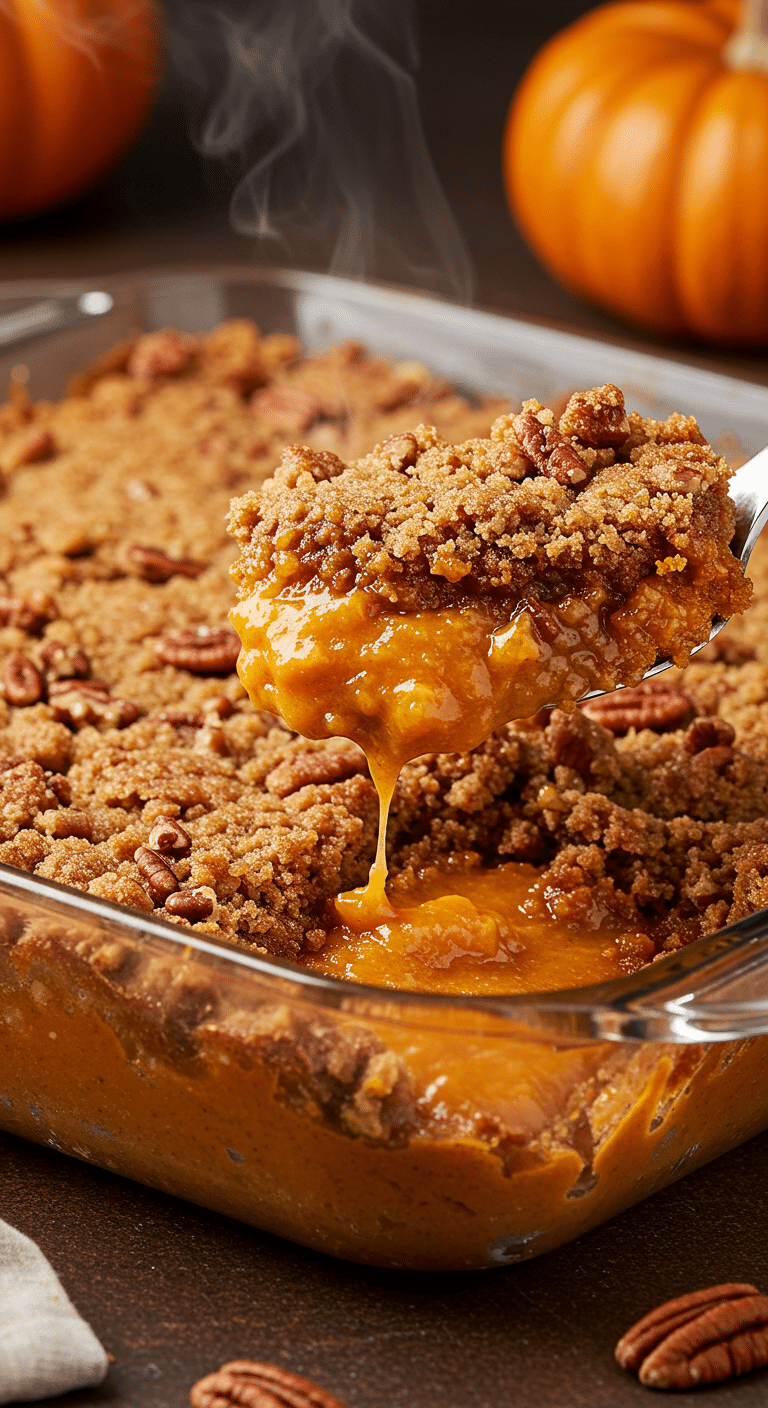
What makes this Dump Pumpkin Pie so brilliant is its incredible “dump-and-bake” simplicity and its amazing texture contrast. Unlike a traditional pie, there is no fussy crust to make. You simply whisk the pumpkin pie filling together directly in your baking dish, “dump” a dry cake mix and other toppings over it, and let the oven do all the magic. As it bakes, the butter melts down into the dry cake mix, creating an unbelievable, cobbler-like, crunchy topping over the soft, creamy pumpkin custard.
| Metric | Time / Level |
| Total Time | 1 hour 30 minutes |
| Active Prep Time | 5 minutes |
| Difficulty Level | Easy |
| Servings | 12-15 |
The Essential Ingredients for This Easy Dessert
This recipe uses a handful of simple pantry staples and smart shortcuts to create a truly spectacular result.
- The Creamy Pumpkin Custard Base: This is the smooth, rich, pie-like layer on the bottom.
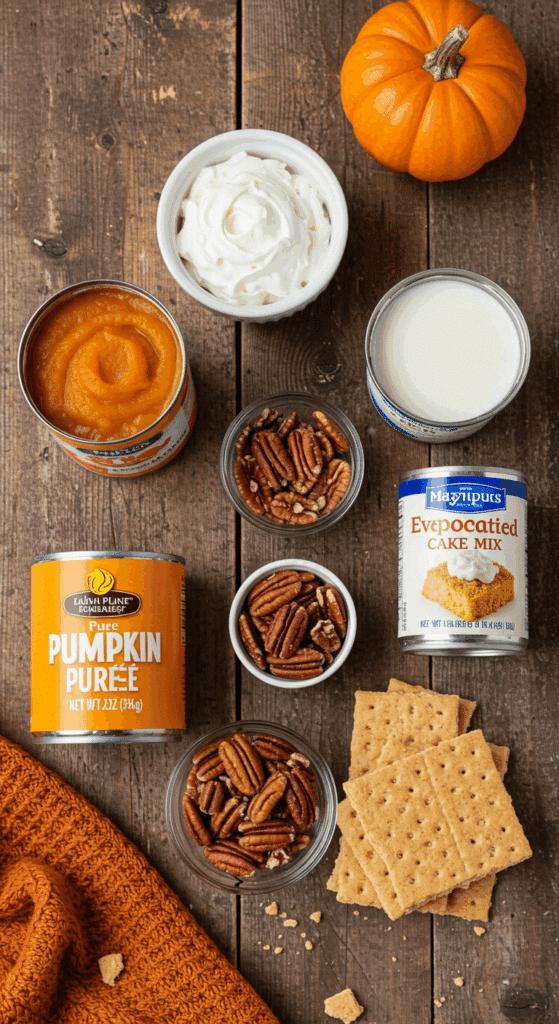
- Pure Pumpkin Purée: It is absolutely essential to use 100% pure pumpkin purée, not pumpkin pie filling. This provides the authentic pumpkin flavor and allows you to control the sweetness and spice.
- Evaporated Milk: Using evaporated milk instead of regular milk is a classic trick that creates a richer, creamier, and more stable custard that won’t become watery.
- Eggs & Brown Sugar: The eggs are what help the filling to set up into a beautiful custard, while the brown sugar adds a deep, caramel-like sweetness.
- The Crunchy “Dump Cake” Topping: This is where the magic happens!
- Spice Cake Mix: This is the ultimate shortcut! A box of spice cake mix provides the flour, sugar, leavening, and a perfect blend of warm fall spices all in one convenient package.
- Graham Crackers & Pecans: A layer of crushed graham crackers and chopped pecans adds an extra dimension of crunchy, nutty, and toasty flavor to the topping.
- Diced Butter: It is crucial to dot the top of the dry cake mix with small pieces of cold, unsalted butter. As the butter melts in the oven, it will seep down and moisten the dry cake mix, creating those delicious, buttery, crunchy clusters.

Step-by-Step to the Easiest Pumpkin Dessert Ever
This recipe is wonderfully simple. The best part is that you mix the filling right in the pan!
Step 1: Mix the Pumpkin Pie Filling (Right in the Pan!)
First, preheat your oven to 350°F (175°C). Spray a 9×13-inch baking dish generously with nonstick cooking spray.
Directly in your prepared baking dish, add the 3 large eggs, the 12-ounce can of evaporated milk, the 1 tablespoon of pumpkin pie spice, the 1 teaspoon of vanilla, and the 1 teaspoon of kosher salt. Use a whisk to combine everything until it is smooth.
Whisk in the 15-ounce can of pumpkin purée and the 1/2 cup of packed light-brown sugar until the mixture is uniform and well blended.
Step 2: “Dump” on the Toppings
Now for the fun and easy part! Sprinkle the entire box of the dry spice cake mix evenly over the top of the wet pumpkin mixture in the baking dish.
Crush the 3 graham crackers by hand into coarse crumbs and sprinkle them over the cake mix.
Top with the 1/2 cup of chopped pecans, and then evenly dot the top of the entire casserole with the 1 cup (2 sticks) of diced, cold butter.
Pro Tip: It is very important that the cake mix layer is completely dry when you add it, and that you distribute the butter pieces evenly over the top. This is the secret to creating that perfect, crunchy, cobbler-like topping.
Step 3: Bake to Golden, Bubbly Perfection
Bake the pie for about 1 hour, until the pumpkin custard is set around the edges and the topping is a beautiful, deep golden brown.
Pro Tip (How to Tell When It’s Done): The center of the dump cake will still have a slight jiggle to it when you gently nudge the pan. This is perfect! The custard will continue to set up from the residual heat as it cools.
Let the finished Dump Pumpkin Pie cool on a wire rack for at least 20 minutes before serving.
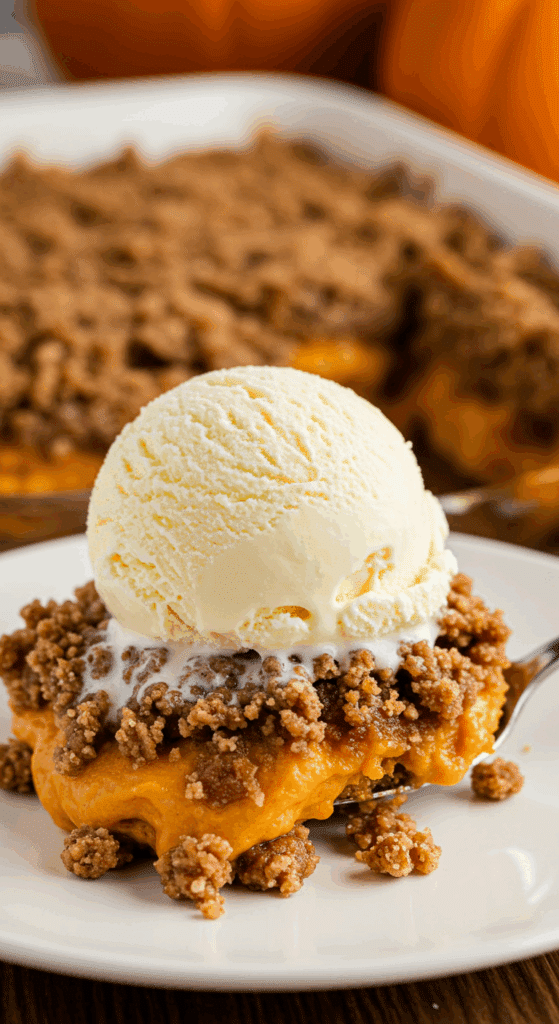
Serve the crumble warm, scooped directly from the baking dish into bowls. It is absolutely heavenly served with a large scoop of vanilla ice cream or a generous dollop of fresh whipped cream.

The Easiest 5-Minute Prep Pumpkin Dump Cake (Pumpkin Pie Cobbler!)
A classic, from-scratch recipe for a deep-dish apple pie. This dessert features a generous filling of Granny Smith apples tossed with citrus zests, juices, sugar, and warm spices like cinnamon and nutmeg. The recipe includes detailed instructions for a homemade ‘Perfect Pie Crust’ that uses both butter and shortening for a tender, flaky texture. The pie is assembled with a full double crust, brushed with an egg wash for a golden shine, and baked for over an hour until the filling is bubbly.
- Prep Time: 1 hour 15 minutes (includes chilling)
- Cook Time: 1 hour 15 minutes
- Total Time: 5 hours 30 minutes (includes cooling time)
- Yield: 8 servings
- Category: Dessert
- Method: Baking
- Cuisine: American
- Diet: Vegetarian
Ingredients
- For the Perfect Pie Crust:
- 12 tablespoons (1 1/2 sticks) very cold unsalted butter
- 3 cups all-purpose flour
- 1 teaspoon kosher salt
- 1 tablespoon sugar
- 1/3 cup very cold vegetable shortening
- 6 to 8 tablespoons (about 1/2 cup) ice water
- For the Filling:
- 4 pounds Granny Smith apples, peeled, quartered, and cored
- 1 lemon, zested and juiced
- 1 orange, zested and juiced
- 1/2 cup sugar, plus 1 teaspoon for sprinkling
- 1/4 cup all-purpose flour
- 1 teaspoon kosher salt
- 3/4 teaspoon ground cinnamon
- 1/2 teaspoon ground nutmeg
- 1/8 teaspoon ground allspice
- 1 egg beaten with 1 tablespoon water, for egg wash
Instructions
- Make the Pie Crust: In a food processor, pulse the flour, salt, and sugar. Add the cold butter and shortening and pulse until the butter is the size of peas. With the machine running, pour in the ice water and pulse until the dough begins to form a ball.
- Turn the dough out, wrap it in plastic, and refrigerate for at least 30 minutes.
- Make the Filling: Preheat the oven to 400°F. Cut each apple quarter into thirds crosswise. In a large bowl, combine the apple chunks with the lemon zest, orange zest, lemon juice, orange juice, 1/2 cup of sugar, flour, salt, cinnamon, nutmeg, and allspice. Toss well.
- Assemble the Pie: Roll out half of the chilled pie dough and place it in a 9- or 10-inch pie pan.
- Fill the pie with the apple mixture, mounding it slightly in the center. Brush the edge of the bottom crust with the egg wash.
- Roll out the second half of the dough and place it on top. Trim the edges, tuck the top crust under the bottom crust, and crimp to seal.
- Brush the entire top crust with the egg wash, sprinkle with 1 teaspoon of sugar, and cut 4 or 5 slits for steam to escape.
- Bake: Place the pie on a sheet pan and bake for 1 to 1 1/4 hours, until the crust is browned and the juices are bubbly.
- Let the pie cool on a wire rack for several hours before serving to allow the filling to set.
Notes
- Using very cold butter, shortening, and ice water is the key to a flaky pie crust.
- The recipe for the pie crust makes enough for one double-crust pie.
- Baking the pie on a sheet pan is a helpful tip to catch any potential drips from the bubbling filling.
- It is crucial to let the pie cool for several hours before slicing to ensure the filling is properly set and not runny.
Storage and Make-Ahead Tips
This Pumpkin Dump Cake is a fantastic make-ahead dessert for a stress-free holiday.
- Make-Ahead: You can fully assemble the entire, unbaked dump cake in your casserole dish up to 24 hours in advance. Simply cover it tightly with foil and store it in the refrigerator. When you are ready to bake, you may need to add 10-15 minutes to the baking time since it is starting from cold.
- Storage: Store any leftover dump cake, covered, in the refrigerator for up to 5 days.
- Reheating: You can enjoy leftovers cold or at room temperature, but it’s best when reheated. The best way to re-crisp the topping is to reheat individual portions in a 350°F oven or an air fryer for 5-10 minutes, until it is warmed through and the topping is crunchy again.
For more recipe follow my Pinterest account
Creative Recipe Variations
This incredibly simple dump cake recipe is a fantastic base for all sorts of delicious and creative twists.
- Use a Different Cake Mix: This recipe is wonderfully versatile! You can easily swap the spice cake mix for a classic yellow cake mix or even a chocolate cake mix for a delicious and unique chocolate-pumpkin combination.
- Add a Nutty Crunch: If you love a nutty dessert, you can swap the pecans for an equal amount of chopped walnuts. For a nut-free version, you can use toasted pumpkin seeds (pepitas) for a delicious, seasonal crunch.
- Add a Decadent Caramel or Toffee Twist: For an even richer, more decadent dessert, you can sprinkle 1/2 cup of toffee bits over the top of the cake mix along with the pecans. You can also serve each warm scoop of the dump cake with a generous drizzle of your favorite store-bought or homemade salted caramel sauce.
Enjoy The Ultimate Easy Fall Dessert!
You’ve just discovered a truly magical recipe that delivers all the comforting, delicious flavor of a classic pumpkin pie with almost none of the work. This Pumpkin Dump Cake is a perfect harmony of a creamy, custardy filling and a buttery, crunchy topping. It’s a rewarding and deeply satisfying dessert that is guaranteed to become a new, much-requested fall tradition.
We hope you enjoy every last, warm, and delicious bite!
If you enjoyed making this recipe, please leave a comment below or share it with a friend who loves an easy dessert!
Frequently Asked Questions (FAQs)
Q1: What exactly is a “dump cake”?
A dump cake is a wonderfully easy, American-style cobbler where the ingredients are essentially “dumped” into the baking dish, usually without any separate mixing bowls. The classic method involves a fruit or custard filling on the bottom, which is then topped with a layer of dry cake mix, and then dotted with butter. As it bakes, the butter melts into the cake mix, creating a delicious, buttery, and crunchy topping.
Q2: Do I really not mix the cake mix with anything first? Correct! Do not mix it.
The absolute secret to a perfect dump cake is to sprinkle the cake mix on top of the wet filling while it is still completely dry. This is what allows the melting butter to create that signature, irresistible, crunchy, and crumbly cobbler-like topping, rather than a uniform, spongy cake.
Q3: How do I know for sure when my dump cake is done baking?
The key is the “jiggle test,” just like with a classic pumpkin pie. The egg-based custard filling is perfectly baked when the outer edges are set and puffed, but the very center still has a slight jiggle or wobble to it when you gently nudge the pan. It will continue to set up from the residual heat as it cools.
Q4: Can I make this dump cake ahead of time?
Yes, this is a perfect make-ahead dessert! You can fully assemble the entire unbaked dump cake, cover it tightly, and keep it in the refrigerator for up to 24 hours before you plan to bake it. This is a huge time-saver on a busy holiday cooking day.
Q5: Can I make this in a slow cooker?
Yes, this recipe works beautifully in a slow cooker! Simply prepare the filling in the bottom of your slow cooker. Top it with the dry cake mix, the graham crackers, and the pecans. Then, instead of dicing the butter, melt it completely and drizzle it as evenly as possible over the top of the dry cake mix. Cook on the Low setting for 3-4 hours or on the High setting for 2 hours, until the filling is set. For a crispier top, you can place a layer of paper towels under the lid to absorb condensation.

