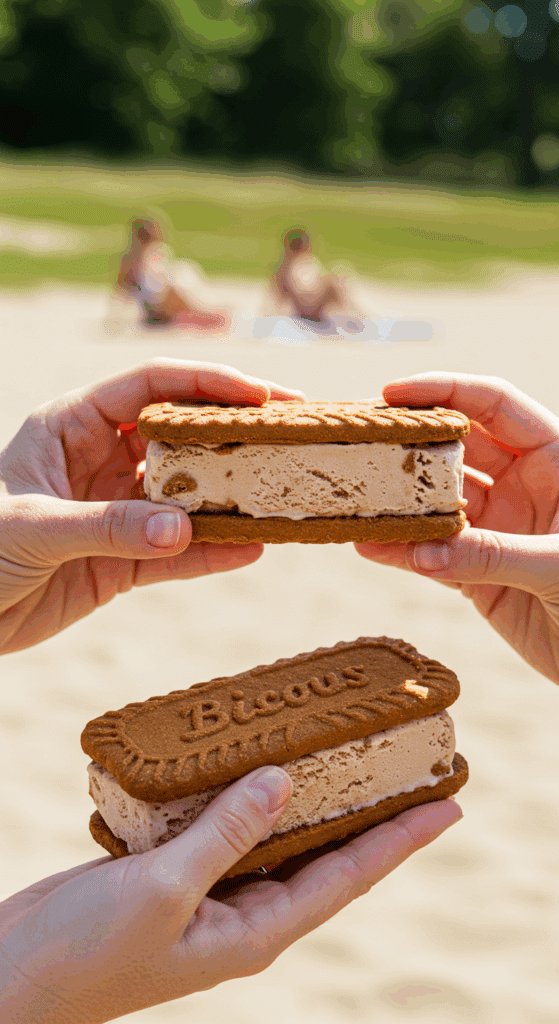
Calling all Biscoff fanatics! What if you could take the addictive, deeply caramelized, and warmly spiced flavor of Biscoff cookies and spread and transform it into the ultimate homemade frozen treat? Get ready to meet your new obsession: these incredibly easy, 4-ingredient, no-churn Biscoff Ice Cream Sandwiches.
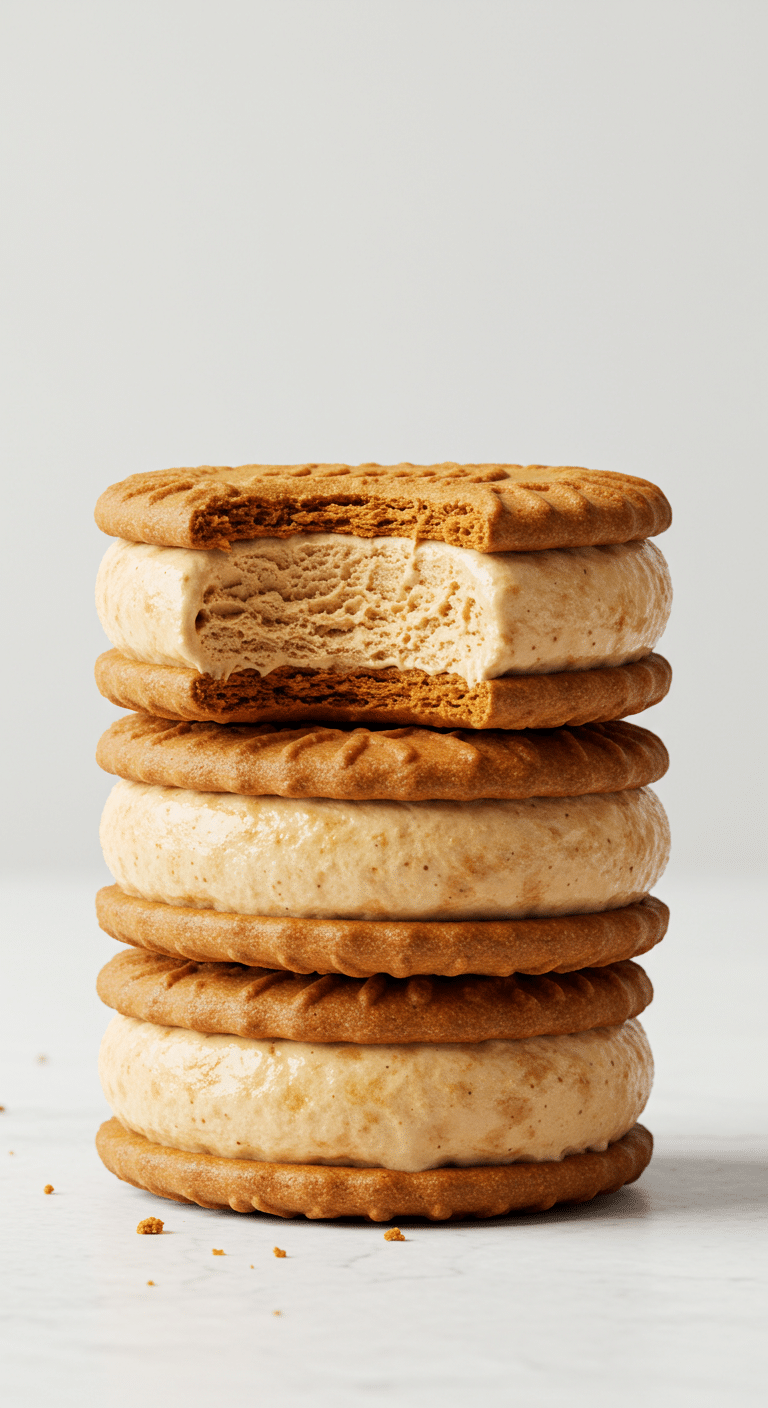
This isn’t just a recipe; it’s a dream come true for anyone who loves cookie butter. We create a light-as-air, creamy Biscoff mousse and sandwich it between two layers of the iconic Biscoff cookies. The result is a simple, yet profoundly delicious, frozen dessert that is soft, chewy, creamy, and bursting with that unmistakable speculoos flavor in every single bite. It’s the easiest, most impressive summer treat you’ll make all year.
Table of Contents
Table of Contents
Recipe Overview: Your New Biscoff Obsession
What makes these Biscoff Ice Cream Sandwiches so magical is their incredible simplicity and their intense, authentic flavor. This is a true no-bake, no-churn recipe that requires just four simple ingredients and a few minutes of active prep. The filling is technically a semifreddo—a light, frozen mousse made from whipped cream—which gives these sandwiches a uniquely light and airy texture that is completely irresistible. It’s the perfect make-ahead dessert to have stashed in your freezer.
| Metric | Time / Level |
| Total Time | 4 hours 15 minutes (includes freezing) |
| Active Prep Time | 15 minutes |
| Difficulty Level | Easy |
| Servings | 8-10 sandwiches |
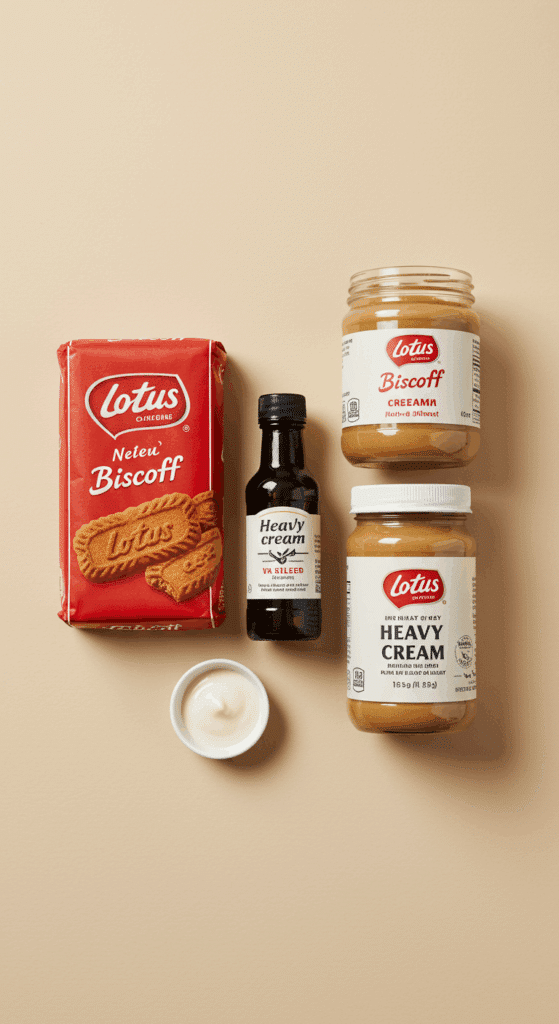
The 4 Essential Ingredients for Biscoff Bliss
This recipe uses just four simple, powerhouse ingredients to create its signature flavor and texture.
- Biscoff Cookies (Speculoos): These are the iconic, thin, and crispy Belgian shortcrust cookies with a deep, caramelized, and warmly spiced flavor (think cinnamon, nutmeg, and cloves). They act as the perfect, flavorful “bread” for our ice cream sandwiches, softening in the freezer to a perfect, chewy, cake-like consistency.
- Biscoff Spread (Cookie Butter): The secret to our intensely flavorful filling! This is a smooth, creamy, and utterly addictive spread made from the cookies themselves. We gently warm it and fold it into the whipped cream to create an instant, no-churn Biscoff ice cream.
- Heavy Whipping Cream: This is the key to the dessert’s incredibly light and airy texture. It is crucial to use cold, full-fat heavy whipping cream. When whipped to firm peaks, it incorporates air into the base, creating a beautiful, frozen mousse (or semifreddo) that is rich but not heavy.
- Vanilla Extract: A touch of pure vanilla extract enhances the sweet, warm notes of the Biscoff and adds a lovely depth of flavor to the whipped cream base.

Step-by-Step to Homemade Ice Cream Sandwiches
Follow these simple, detailed steps to create these stunning and delicious frozen treats.
Step 1: Prepare Your Pan and the Cookie Base
First, line a 9×9-inch square pan with two crisscrossing pieces of parchment paper, making sure to leave some overhang on all four sides. These overhangs will be your “handles” to easily lift the entire frozen block out of the pan later.
Arrange a single, tight layer of Biscoff cookies on the bottom of your lined pan. You may need to carefully cut some of the cookies with a serrated knife to fill in any gaps and create a solid, even base.
Step 2: Create the Light and Fluffy Biscoff Mousse
In a large, chilled mixing bowl, add the cold whipping cream and the vanilla extract.
Using an electric hand mixer or a stand mixer, beat the cream on medium-high speed until it becomes thick and holds firm peaks. “Firm peaks” means that when you lift the beaters, the peak that forms will mostly stand up straight, with just a slight curl at the tip.
Pro Tip: For the fluffiest, most stable filling, make sure your cream is very cold and that you don’t over-whip it. If you beat it for too long, it will start to look grainy and turn into butter.
Next, gently warm the Biscoff spread in a microwave-safe bowl in 15-second intervals, stirring in between, just until it becomes runny and has a pourable consistency. It should be warm, not hot.
Slowly stream the warm, runny Biscoff spread into the whipped cream. Using a rubber spatula, gently fold the two mixtures together until no streaks remain and the mixture is a uniform, beautiful café au lait color. Be careful not to stir or beat the mixture, as you want to keep all the air in the whipped cream.
Step 3: Assemble the Sandwich Block
Pour the light and fluffy Biscoff mousse mixture on top of the cookie layer in your prepared pan.
Use an offset spatula or the back of a spoon to smooth it into a flat, even layer.
Arrange another single, tight layer of Biscoff cookies on top of the mousse, trying to match the orientation of the bottom layer of cookies. This will help you cut even sandwiches later.
Step 4: Freeze, Slice, and Serve
Cover the pan with plastic wrap or foil and place it in the freezer. Freeze for at least 4 hours, or preferably overnight, until the block is completely firm and solid.
Once it’s fully frozen, use the parchment paper “handles” to lift the entire ice cream block out of the pan and onto a cutting board.
Use a large, sharp knife to slice the block into your desired number of rectangular or square ice cream sandwiches.
Pro Tip: For the cleanest, most perfect cuts, run the blade of your knife under hot water and then wipe it dry between each slice. The hot knife will glide through the frozen dessert with ease.
Serve the sandwiches immediately, or wrap each individual sandwich in plastic wrap or wax paper and return them to the freezer for later.

The Easiest 4-Ingredient Biscoff Ice Cream Sandwiches
An easy, 4-ingredient, no-churn Biscoff ice cream sandwich dessert. This recipe features a light and airy ice cream filling made by gently folding warm, runny Biscoff spread into freshly whipped cream. This creamy mixture is then sandwiched between two layers of whole Biscoff cookies in a square pan. The entire block is frozen until solid and then sliced into individual ice cream sandwiches.
- Prep Time: 20 minutes
- Cook Time: 0 minutes
- Total Time: 4 hours 20 minutes (includes freezing time)
- Yield: 9 sandwiches
- Category: Dessert
- Method: No-Bake, Layering, Freezing
- Cuisine: International
- Diet: Vegetarian
Ingredients
- 30 Biscoff cookies
- 400 g (about 1 ¾ cups) whipping cream or heavy cream
- 1 tablespoon vanilla extract
- 200 g (about 3/4 cup) Biscoff spread, warmed until runny
Instructions
- Line a 9×9-inch square pan with parchment paper on all sides, leaving an overhang to act as handles.
- Make the Filling: In a large mixing bowl, add the whipping cream and vanilla extract. Use an electric hand mixer to beat the mixture until it forms firm peaks.
- Gently warm the Biscoff spread in the microwave in 15-second intervals until it becomes runny and pourable.
- Slowly stream the warm Biscoff spread into the whipped cream while gently folding it all together with a spatula until no streaks remain.
- Assemble the Sandwiches: Arrange a single layer of Biscoff cookies on the bottom of your lined pan, cutting cookies as needed to fit snugly.
- Pour the Biscoff cream mixture on top of the cookie layer and smooth it into a flat, even layer with an offset spatula.
- Arrange a second layer of Biscoff cookies on top of the cream, matching the orientation of the bottom layer to make slicing easier.
- Freeze: Freeze for at least 4 hours, or preferably overnight, until completely firm.
- Slice and Serve: Lift the frozen block out of the pan using the parchment paper overhangs. Slice into individual ice cream sandwiches and serve immediately.
Notes
- This is a no-churn recipe, so no ice cream maker is required.
- Using a parchment paper sling in the pan is a key step that makes it easy to remove the frozen block for cutting.
- Warming the Biscoff spread until it is runny is crucial for it to incorporate smoothly into the whipped cream without deflating it.
- The dessert must be frozen for at least 4 hours to be firm enough to slice cleanly.
Storage and Make-Ahead Tips
These Homemade Biscoff Ice Cream Sandwiches are the absolute perfect make-ahead treat.
- Make-Ahead: You can make these sandwiches up to a month in advance! They are a fantastic dessert to have stashed in your freezer for a hot day, a party, or for unexpected guests.
- Storage: To store, it is crucial to wrap each individual ice cream sandwich tightly in plastic wrap, and then place them all in a larger, freezer-safe bag or container. This double-wrapping will protect them from absorbing any freezer odors and will prevent freezer burn, keeping them fresh and delicious.
For more recipe follow my Pinterest account
Creative Recipe Variations
This simple 4-ingredient recipe is a fantastic base for all sorts of delicious frozen creations.
- Ultimate Chocolate-Biscoff Sandwiches: For a decadent chocolatey finish, you can dip half of each frozen sandwich in melted dark or white chocolate. Place the dipped sandwiches on a parchment-lined baking sheet and return them to the freezer until the chocolate is set.
- Salted Caramel Biscoff Swirl: For a delicious sweet and salty twist, gently swirl 1/4 cup of a thick, high-quality salted caramel sauce into the Biscoff mousse just before you pour it over the cookie layer.
- Coffee & Biscoff “Tiramisu” Twist: Coffee and the spiced flavor of Biscoff are a match made in heaven. Dissolve 1 to 2 teaspoons of instant espresso powder into the vanilla extract before adding it to the cream. This will create a delicious and sophisticated Tiramisu-like flavor.
Enjoy Your Ultimate Homemade Biscoff Treat!
You’ve just created a truly special frozen dessert that is miles ahead of anything you can buy in a store. These Homemade Biscoff Ice Cream Sandwiches are a fun, satisfying project that results in a rich, creamy, and intensely flavorful treat. They are the perfect way to celebrate your love for all things cookie butter and are guaranteed to be a huge hit with everyone you share them with.
We hope you love every last, delicious bite!
If you enjoyed making this recipe, please leave a comment below or share it with a friend who is obsessed with Biscoff!
Frequently Asked Questions (FAQs)
Q1: What is Biscoff? Is it the same as cookie butter? Biscoff is the brand name for a type of Belgian spiced shortcrust cookie, which are also known by their generic name, speculoos. Biscoff Spread is a brand of cookie butter, which is a creamy, smooth spread made from the cookies themselves. For this recipe, you will need both the cookies and the spread.
Q2: My whipped cream filling isn’t very firm. What did I do wrong? A soft filling is usually because the heavy cream was not whipped enough. It is crucial to whip the cream until it reaches firm or stiff peaks. This means the cream is thick enough to stand up on its own when you lift the beaters. Thisしっかりした (shikkari shita – firm) structure is what gives the frozen dessert its body. Also, be sure you are folding the Biscoff spread in gently, so you don’t knock the air out.
Q3: How do I cut the sandwiches without the cookies on top shattering? The cookies will soften considerably in the freezer as they absorb moisture from the cream, so they shouldn’t shatter too much. However, the key to perfect cuts is to let the frozen block sit at room temperature for about 5 minutes to soften just slightly, and then to use a very sharp, large knife. Using the “hot knife” trick (running it under hot water and wiping it dry) will also help it glide through the cookies and ice cream cleanly.
Q4: Can I use Cool Whip or another frozen whipped topping instead of real whipped cream? For this particular recipe, it is highly recommended to use real, fresh heavy whipping cream. The recipe has very few ingredients, so the pure, rich dairy flavor of real whipped cream is a key component. Frozen whipped topping will work in a pinch, but the final result will be much sweeter and will be missing that authentic, luxurious flavor and texture.
Q5: Can I make this dessert gluten-free? Yes! Lotus, the maker of Biscoff, now makes a gluten-free version of their famous speculoos cookies. Simply substitute the regular cookies with the gluten-free variety to make the crust, and make sure your Biscoff spread is also certified gluten-free to create a delicious dessert for everyone to enjoy.

