What if you could take a simple package of cookies and a bowl of fresh whipped cream and, with a little chilling time, magically transform them into an elegant, stunning, and unbelievably delicious layered cake? Get ready to discover the ultimate no-bake magic trick: the classic, crowd-pleasing, and absolutely beautiful Zebra Cake.
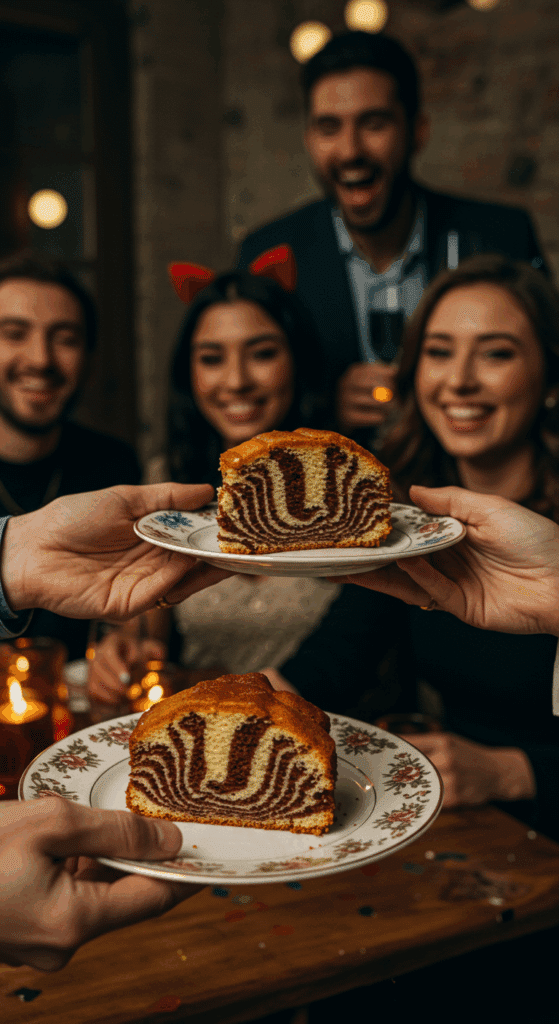
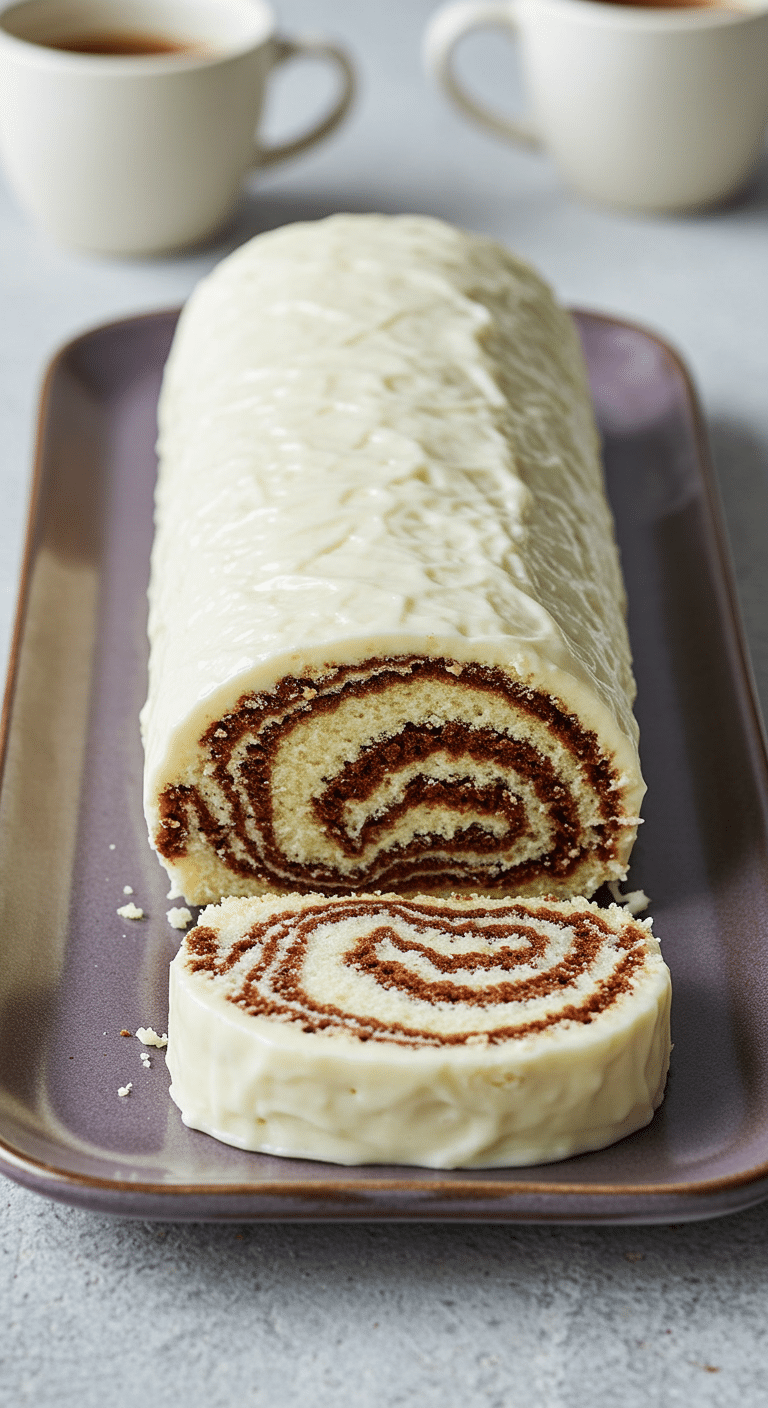
This isn’t just a dessert; it’s a delightful surprise. Known for decades as a Chocolate Wafer Icebox Cake, this timeless treat is a marvel of simplicity. We stack crisp chocolate wafers with sweet vanilla whipped cream, frost the entire log, and let it chill in the refrigerator. During this time, the magic happens: the cookies soften into a tender, cake-like texture. And when you slice it on a diagonal, you reveal the stunning black-and-white pattern that gives this cake its famous name.
Table of Contents
Table of Contents
Recipe Overview: The Ultimate No-Bake Magic Trick
What makes the Zebra Cake a legendary dessert is its incredible ease of assembly and its dramatic, surprising presentation. This recipe requires absolutely no baking and uses just a handful of simple ingredients. It’s the perfect make-ahead dessert for summer parties, holidays, or any occasion when you want to serve a show-stopping treat without turning on your oven. Its light, cool, and creamy cookies-and-cream flavor is a guaranteed hit with everyone.
| Metric | Time / Level |
| Total Time | 8 hours 15 minutes (includes chilling) |
| Active Prep Time | 15 minutes |
| Difficulty Level | Easy |
| Servings | 6-8 |
The Essential Ingredients for This Classic Cake
This recipe uses just a few simple ingredients to create its iconic look and flavor.
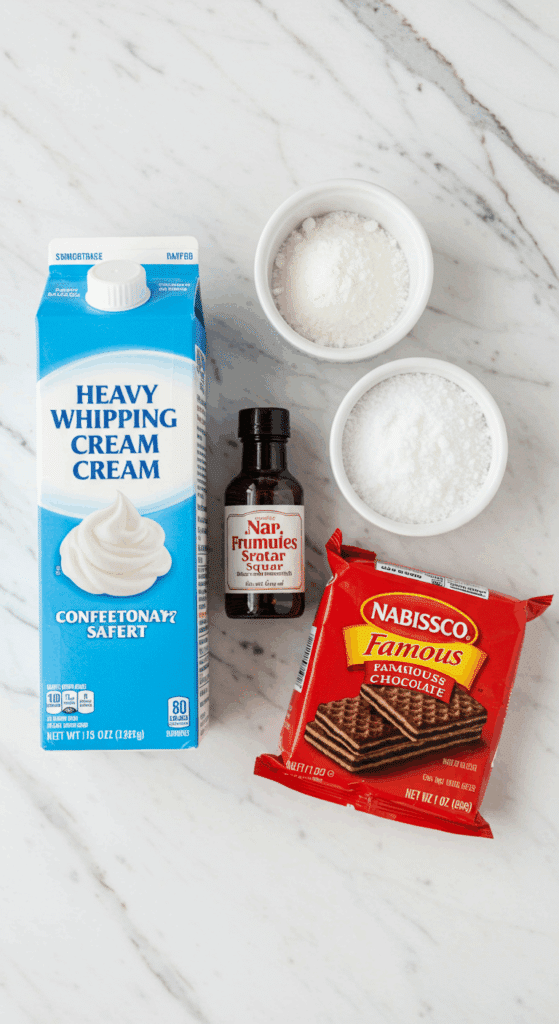
- Chocolate Wafer Cookies: This is the most important ingredient and the key to the cake’s structure and flavor. The classic choice is a 9-ounce package of Nabisco Famous Chocolate Wafers. These are thin, very crisp, and have a deep, dark, not-too-sweet cocoa flavor. Their crispness is essential, as it allows them to perfectly absorb the moisture from the cream to become soft and cake-like.
- Heavy Whipping Cream: The light, airy “glue” and “frosting” for our cake. We will whip fresh, cold heavy cream into a beautiful, stable topping. Its pure, dairy flavor is the perfect complement to the rich chocolate wafers.
- Confectioners’ Sugar: Also known as powdered sugar, this is used to lightly sweeten the whipped cream. It dissolves instantly, ensuring a perfectly smooth, grit-free texture.
- Vanilla Extract: A dash of pure vanilla extract adds a lovely, warm depth of flavor to the whipped cream.
- Grated Chocolate: A simple sprinkle of grated semi-sweet or dark chocolate is the perfect, elegant finishing touch for the top of the cake.

Step-by-Step to the Perfect No-Bake Zebra Cake
Follow these simple, detailed steps to assemble this magical, transformative dessert.
Step 1: Make the Perfect Whipped Cream
First, place a large glass or metal mixing bowl and the beaters from your electric mixer in the freezer for about 10-15 minutes.
Pro Tip: Using very cold equipment is the number one secret to making whipped cream that whips up quickly, with lots of volume, and is beautifully stable.
Pour the cold heavy whipping cream into the chilled bowl. Begin to beat the cream with an electric mixer on medium-high speed. As the cream starts to thicken, gradually add the confectioners’ sugar and the vanilla extract.
Continue to beat until the cream holds stiff peaks. This means that when you lift the beaters out of the cream, the peak that forms will stand up straight and not curl over.
Step 2: Assemble the Cookie Stacks
Now for the fun assembly. Spread a generous teaspoon of the fresh whipped cream onto the surface of a single chocolate wafer cookie. Place another cookie on top of the cream and press down gently. Continue stacking cookies and cream until you have a stack that is about 3 inches tall. Repeat this process to create several small stacks of cookies.
Step 3: Form the Zebra Cake Log
To create the log shape, spread a 1-inch-wide line of whipped cream down the center of your serving platter. This will act as a “glue” to hold your cake in place.
Carefully turn one of your cookie stacks on its side and place it at the beginning of the line of whipped cream. Take the next stack, turn it on its side, and join it to the end of the first stack. Continue this process until you have joined all the cookie stacks into one long log.
Step 4: Frost and Chill (This is Where the Magic Happens!)
Use an offset spatula or the back of a spoon to frost the entire cookie log with the remaining whipped cream, covering the top and sides completely to create a smooth, white finish.
Sprinkle the top of the frosted log with the grated chocolate.
Cover the cake tightly with plastic wrap (be careful not to touch the frosting) or a cake dome, and place it in the refrigerator to chill for at least 8 hours, or preferably overnight.
Crucial Pro Tip: Do not skip this long chilling time! This is the most important step of the entire recipe. During these hours, the magic happens: the crisp, dry chocolate wafers slowly absorb the moisture from the whipped cream, transforming their texture from a hard cookie into a soft, tender, and perfectly cake-like consistency.
Step 5: Slice and Reveal the Beautiful Stripes!
To serve, you will use a sharp knife. For the most dramatic and beautiful presentation, you must slice the cake on a sharp 45-degree diagonal.
This diagonal cut is what reveals the stunning, zebra-like black-and-white stripes inside the cake. Each slice will have beautiful, alternating layers of soft chocolate “cake” and sweet vanilla cream.

The Easiest Classic No-Bake Zebra Cake Recipe
A classic and easy no-bake dessert, this Zebra Cake is a type of icebox cake made with just a few ingredients. Homemade sweetened whipped cream is spread between thin chocolate wafer cookies, which are then stacked together to form a log. The entire log is frosted with the remaining whipped cream and chilled for several hours. The magic happens when the cake is sliced on a diagonal, revealing its iconic black and white ‘zebra’ stripes as the cookies soften into a cake-like texture.
- Prep Time: 20 minutes
- Cook Time: 0 minutes
- Total Time: 8 hours 20 minutes (includes chilling time)
- Yield: 6 servings
- Category: Dessert
- Method: No-Bake, Layering, Chilling
- Cuisine: American
- Diet: Vegetarian
Ingredients
- 1 ½ cups heavy whipping cream
- 2 tablespoons confectioners’ sugar
- 2 teaspoons vanilla extract
- 1 (9 ounce) package chocolate wafer cookies
- ¼ cup grated chocolate, for garnish
Instructions
- In a chilled glass or metal bowl, beat the heavy whipping cream with an electric mixer.
- Gradually add the confectioners’ sugar and vanilla extract, continuing to beat until stiff peaks form.
- Spread a generous teaspoon of the prepared whipped cream onto each chocolate wafer cookie.
- Stack the cream-covered cookies together to create several 3-inch-tall stacks.
- Spread a 1-inch-wide line of whipped cream down the center of a serving platter.
- Turn the cookie stacks on their sides and join them end-to-end to form a long log, placing it in the line of whipped cream on the platter to secure it.
- Frost the entire cookie log with the remaining whipped cream.
- Sprinkle the top with grated chocolate for garnish.
- Cover the cake tightly and refrigerate for at least 8 hours, or overnight.
- To serve, use a sharp knife to slice the cake on a diagonal to reveal the striped pattern.
Notes
- Using a well-chilled bowl and beaters will help the heavy cream whip up to stiff peaks more easily.
- The long chilling time (at least 8 hours) is a crucial step; it allows the cookies to soften and absorb moisture from the cream, creating a tender, cake-like texture.
- Slicing the finished log on a sharp diagonal is the key to revealing the ‘zebra’ stripe pattern.
Storage and Make-Ahead Tips
The Zebra Cake is the ultimate make-ahead dessert because it must be made ahead of time for the magic to work.
- Make-Ahead: You can assemble this entire cake up to 24 hours before you plan to serve it. The longer it sits (up to a day), the more tender the cookie layers will become.
- Storage: Store any leftover cake, tightly covered, in the refrigerator. It will stay fresh and delicious for up to 3 days. The cookie layers will continue to soften over time.
For more recipe follow my Pinterest account
Creative Recipe Variations
This simple, classic recipe is a wonderful canvas for your own creative flavor twists.
- Peppermint Zebra Cake: This is a perfect, easy dessert for the holiday season! Add 1/2 to 1 teaspoon of peppermint extract to the whipped cream along with the vanilla. Garnish the top of the finished cake with crushed candy canes or peppermint candies instead of the grated chocolate.
- Mocha Zebra Cake: For a sophisticated coffee-chocolate flavor, dissolve 1 tablespoon of instant espresso powder in the 1 1/2 cups of heavy cream before you begin to whip it. This creates a delicious mocha-flavored whipped cream.
- Lemon Zebra Cake: For a bright and sunny summer version, use a package of thin, crisp lemon wafer cookies or lemon shortbread instead of the chocolate wafers. Add the finely grated zest of one lemon to the whipped cream along with the sugar and vanilla.
Enjoy Your Magical No-Bake Creation!
You’ve just created one of the most charming, clever, and delicious no-bake desserts of all time. The Zebra Cake is a timeless classic that always delights guests with its surprising and beautiful striped interior. It’s the perfect, stress-free dessert for any party, holiday, or special occasion, proving that sometimes the simplest ideas are truly the best.
We hope you enjoy the magic of watching simple cookies and cream transform into an elegant cake!
If you enjoyed making this recipe, please leave a comment below or share it with a friend who loves an easy, impressive dessert!
Frequently Asked Questions (FAQs)
Q1: What are the best chocolate wafers to use, and what if I can’t find them?
The classic and best choice is the 9-ounce box of Nabisco Famous Chocolate Wafers, which are usually found in the cookie or ice cream topping aisle. If you absolutely cannot find them, you can substitute other very thin, crisp chocolate cookies. The best alternative would be to scrape the filling out of regular Oreo cookies and use the chocolate wafers. Thin, crisp chocolate biscotti could also work.
Q2: Why do I have to chill the Zebra Cake for so long?
The long chilling time is the most essential part of this recipe—it’s not just for making it cold. This is the “magic” step where the moisture from the whipped cream is slowly absorbed by the crisp, dry chocolate wafers. This process, called osmosis, completely transforms the texture of the cookies from crunchy to soft, tender, and cake-like. If you don’t chill it for long enough, the cookies will still be hard.
Q3: How do I get clean, beautiful diagonal slices?
For the cleanest slices, use a long, thin, sharp knife. It can be helpful to run the blade of the knife under hot water and then wipe it dry before each cut. The warm blade will glide through the cool cake more easily. Be sure to cut on a sharp 45-degree angle to get the best-looking stripes.
Q4: Can I use Cool Whip or another frozen whipped topping instead of real whipped cream?
You can, but the flavor and texture will be different. The beauty of the classic Zebra Cake is the pure, fresh taste of real vanilla whipped cream. If you do use a frozen whipped topping, you will need one 12-ounce container. The advantage is that it is very stable, but it will have a sweeter, more artificial flavor.
Q5: How do I keep my whipped cream from getting watery or “weeping”?
The key to stable whipped cream is to use very cold ingredients and a chilled bowl and beaters. Beating the cream until it reaches stiff peaks also makes it more stable. For an even more stabilized cream that will last longer, you can add 1 tablespoon of instant vanilla pudding mix along with the confectioners’ sugar.

